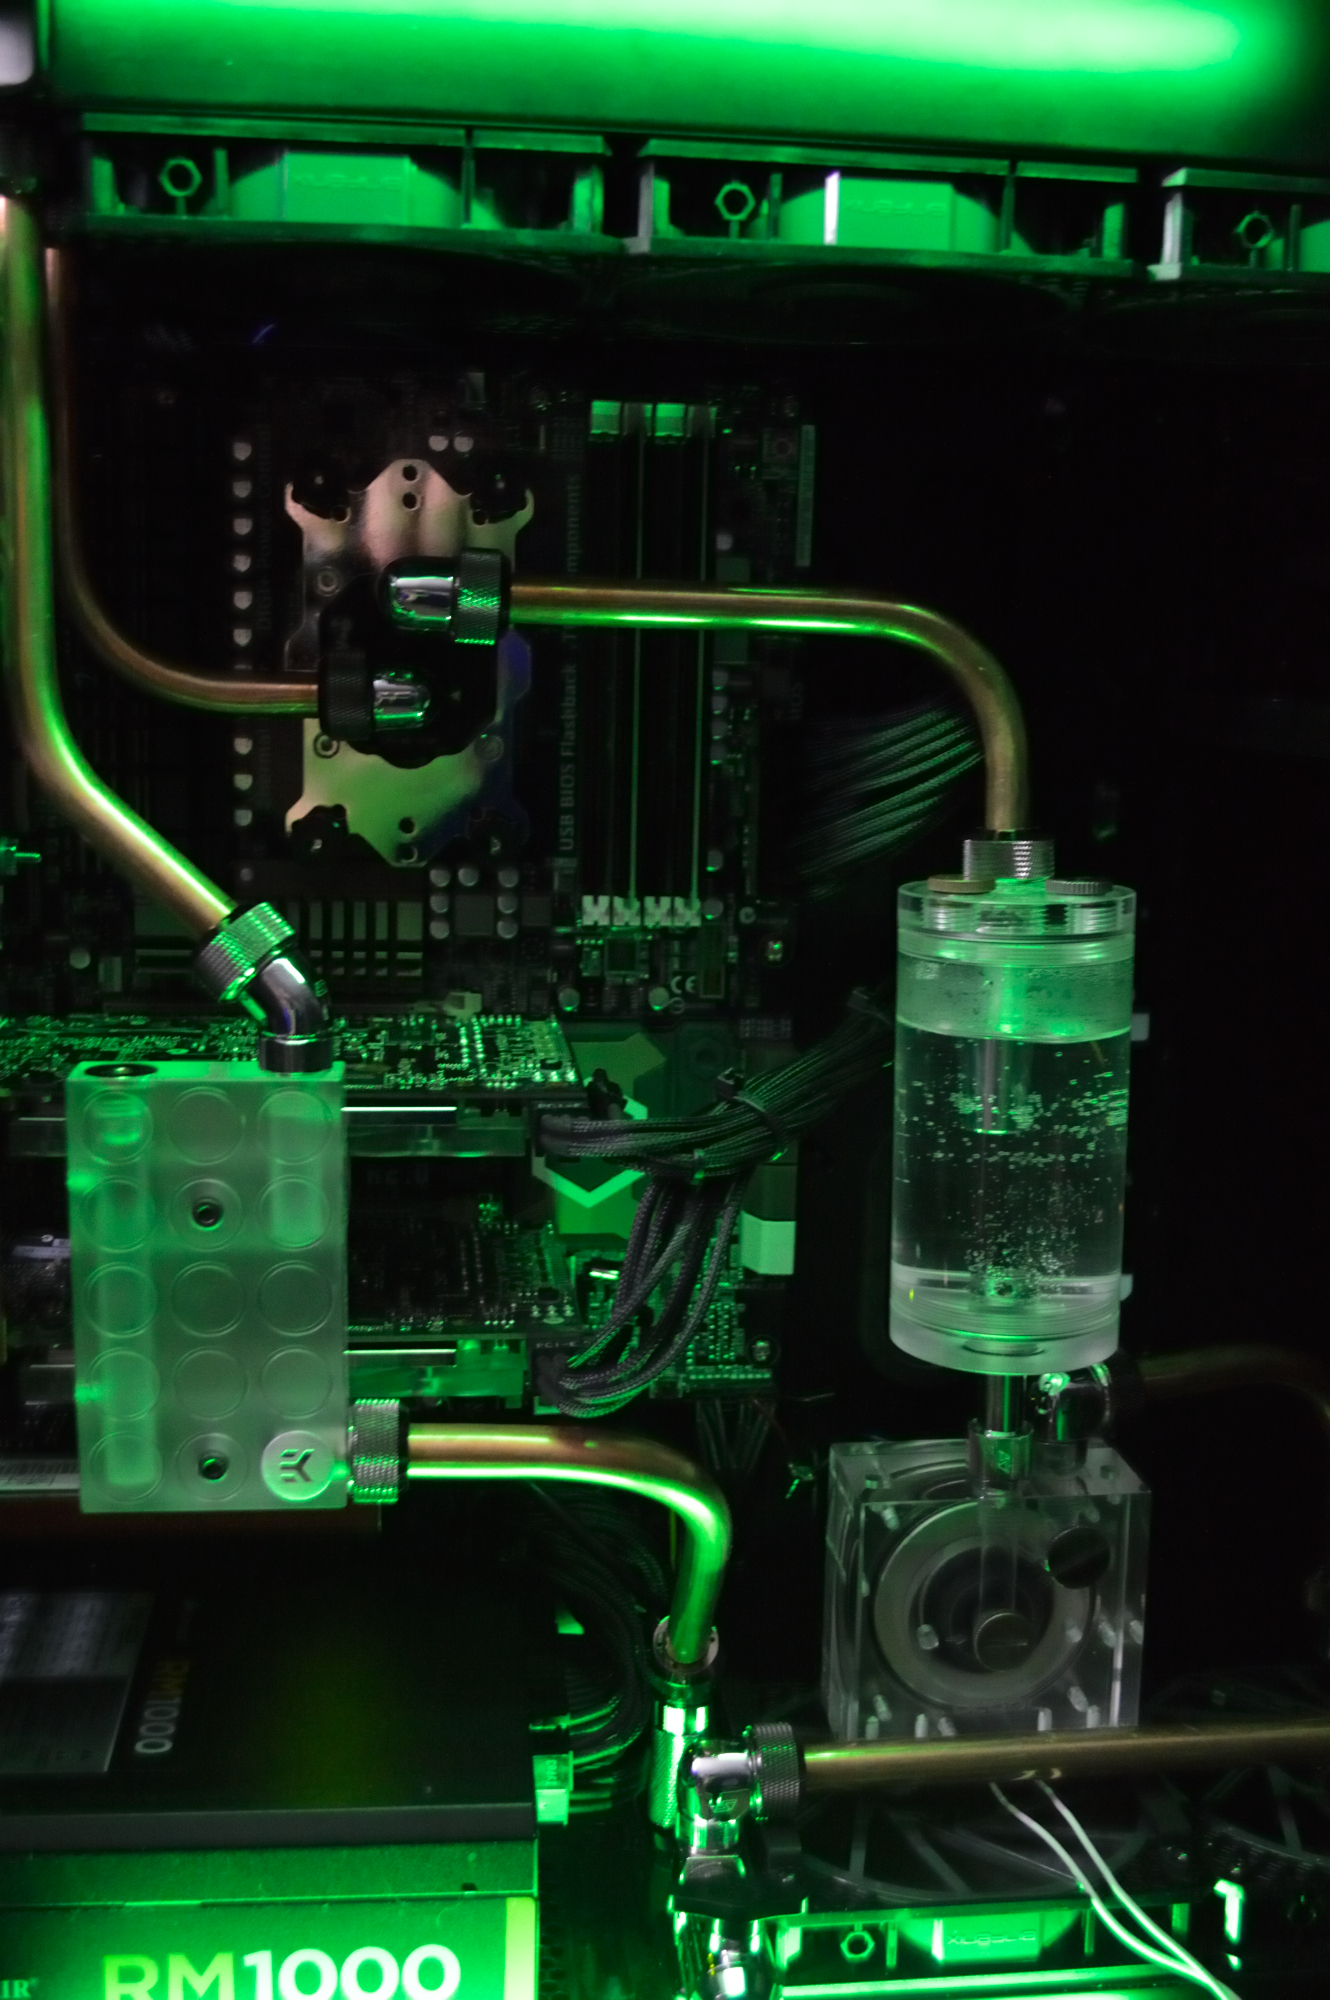
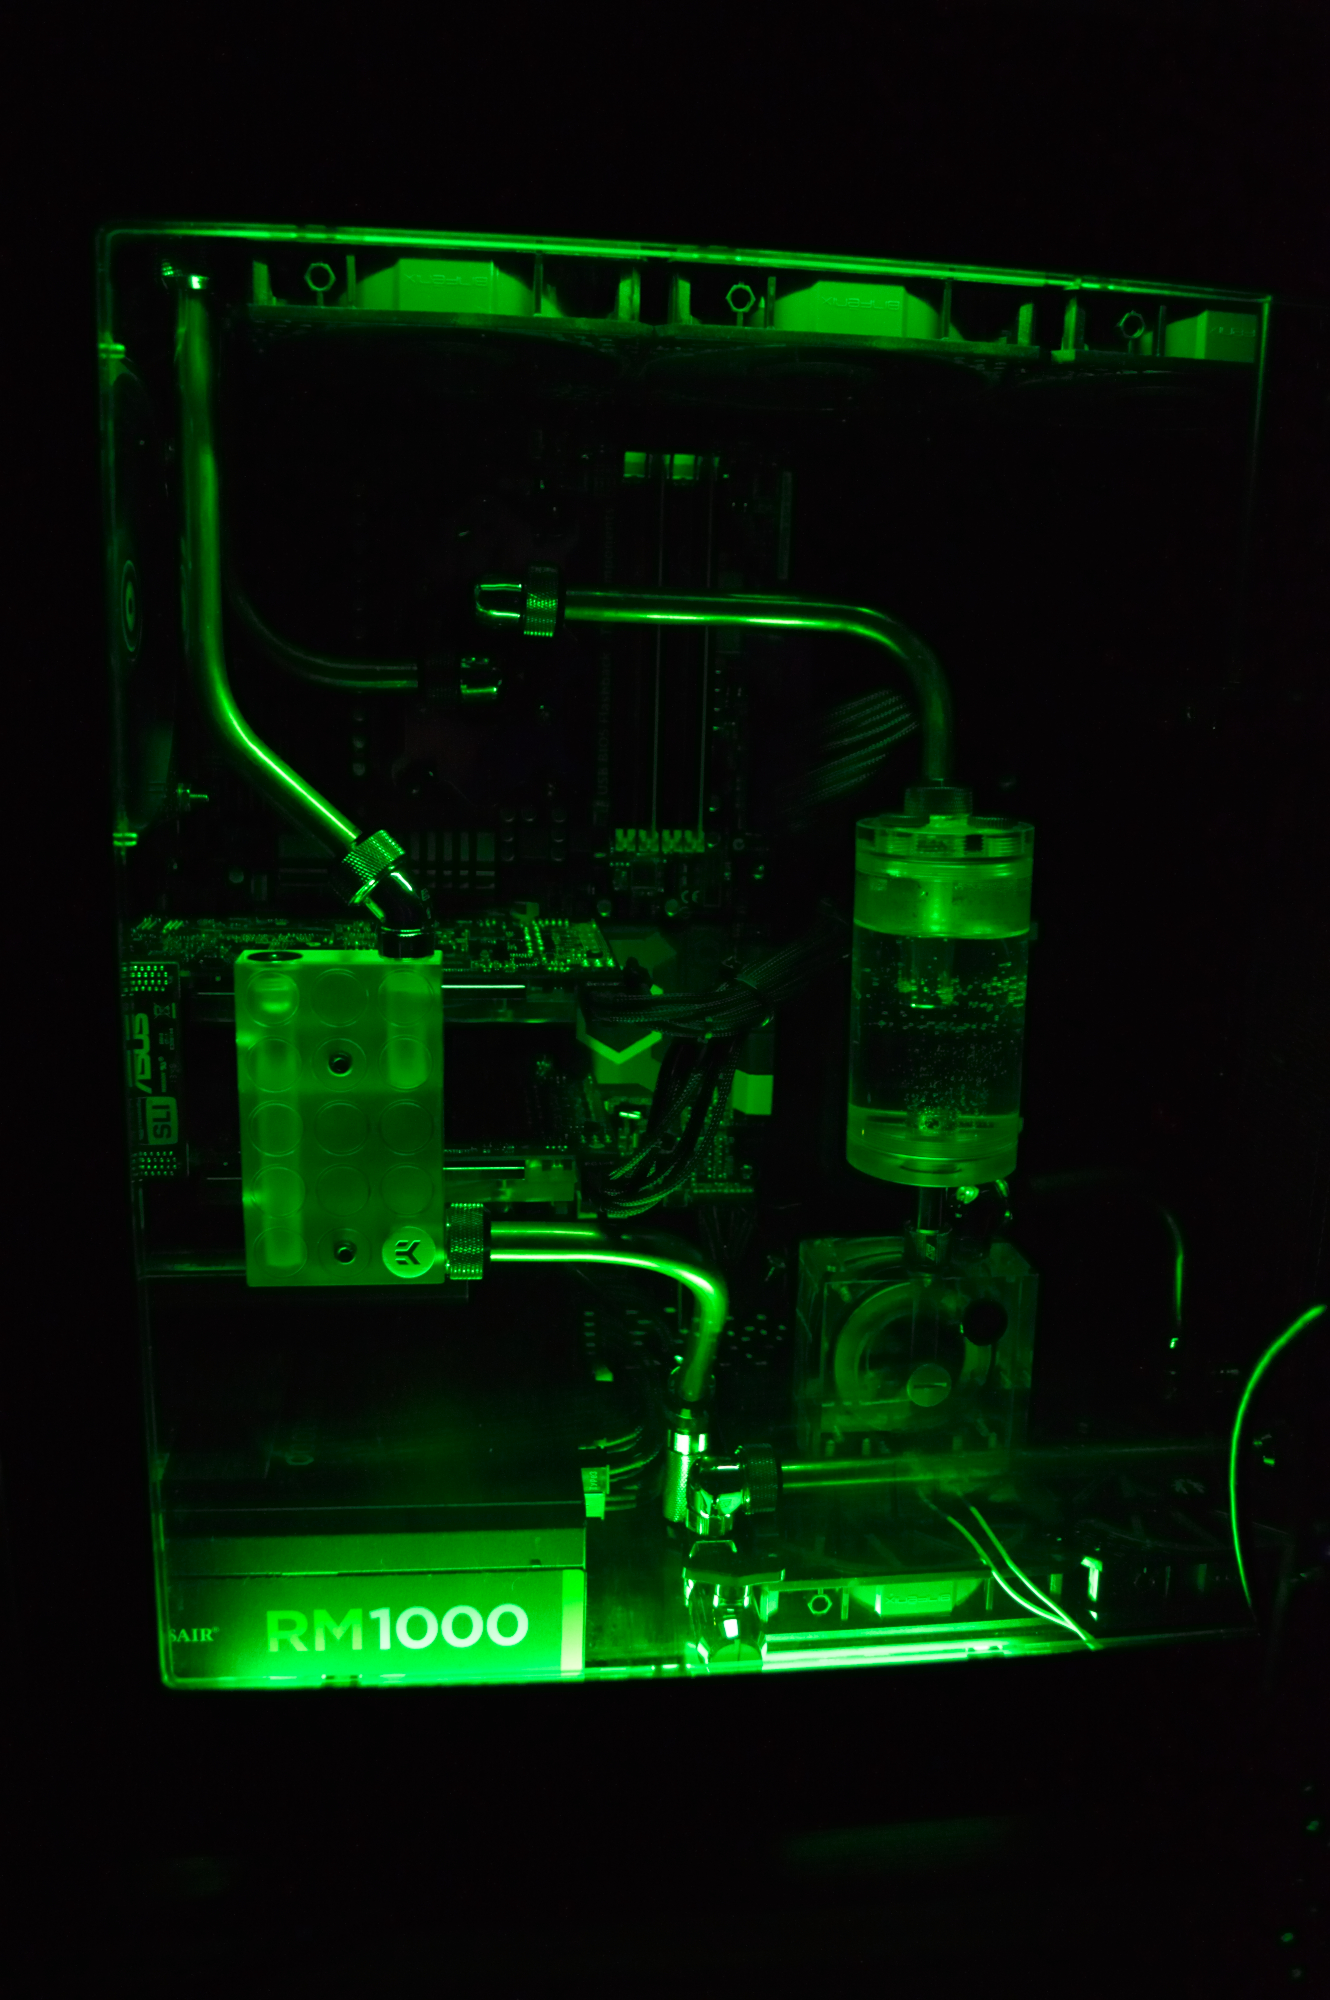
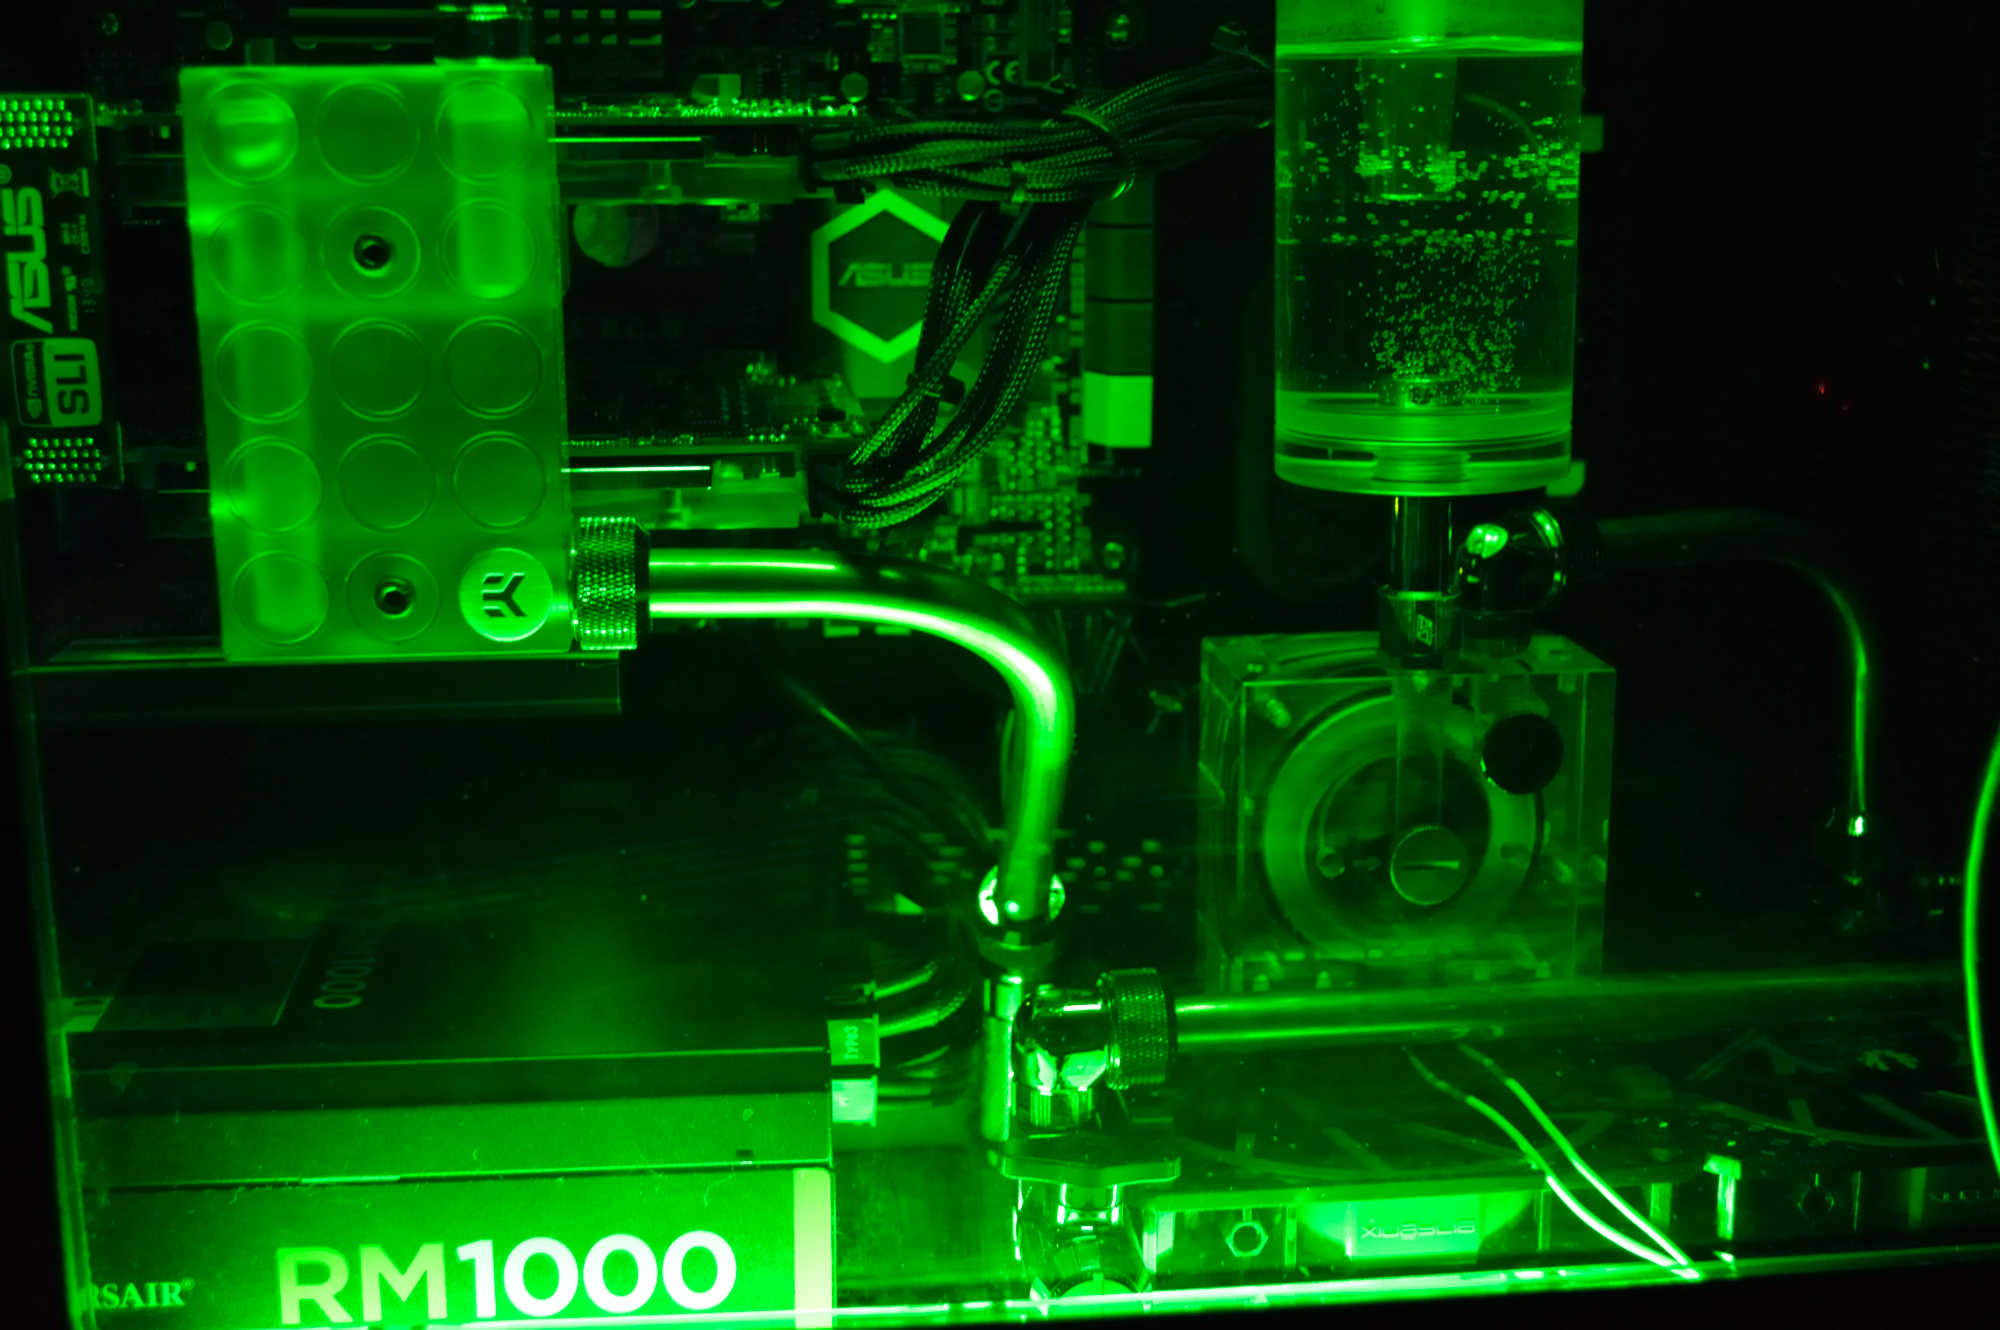
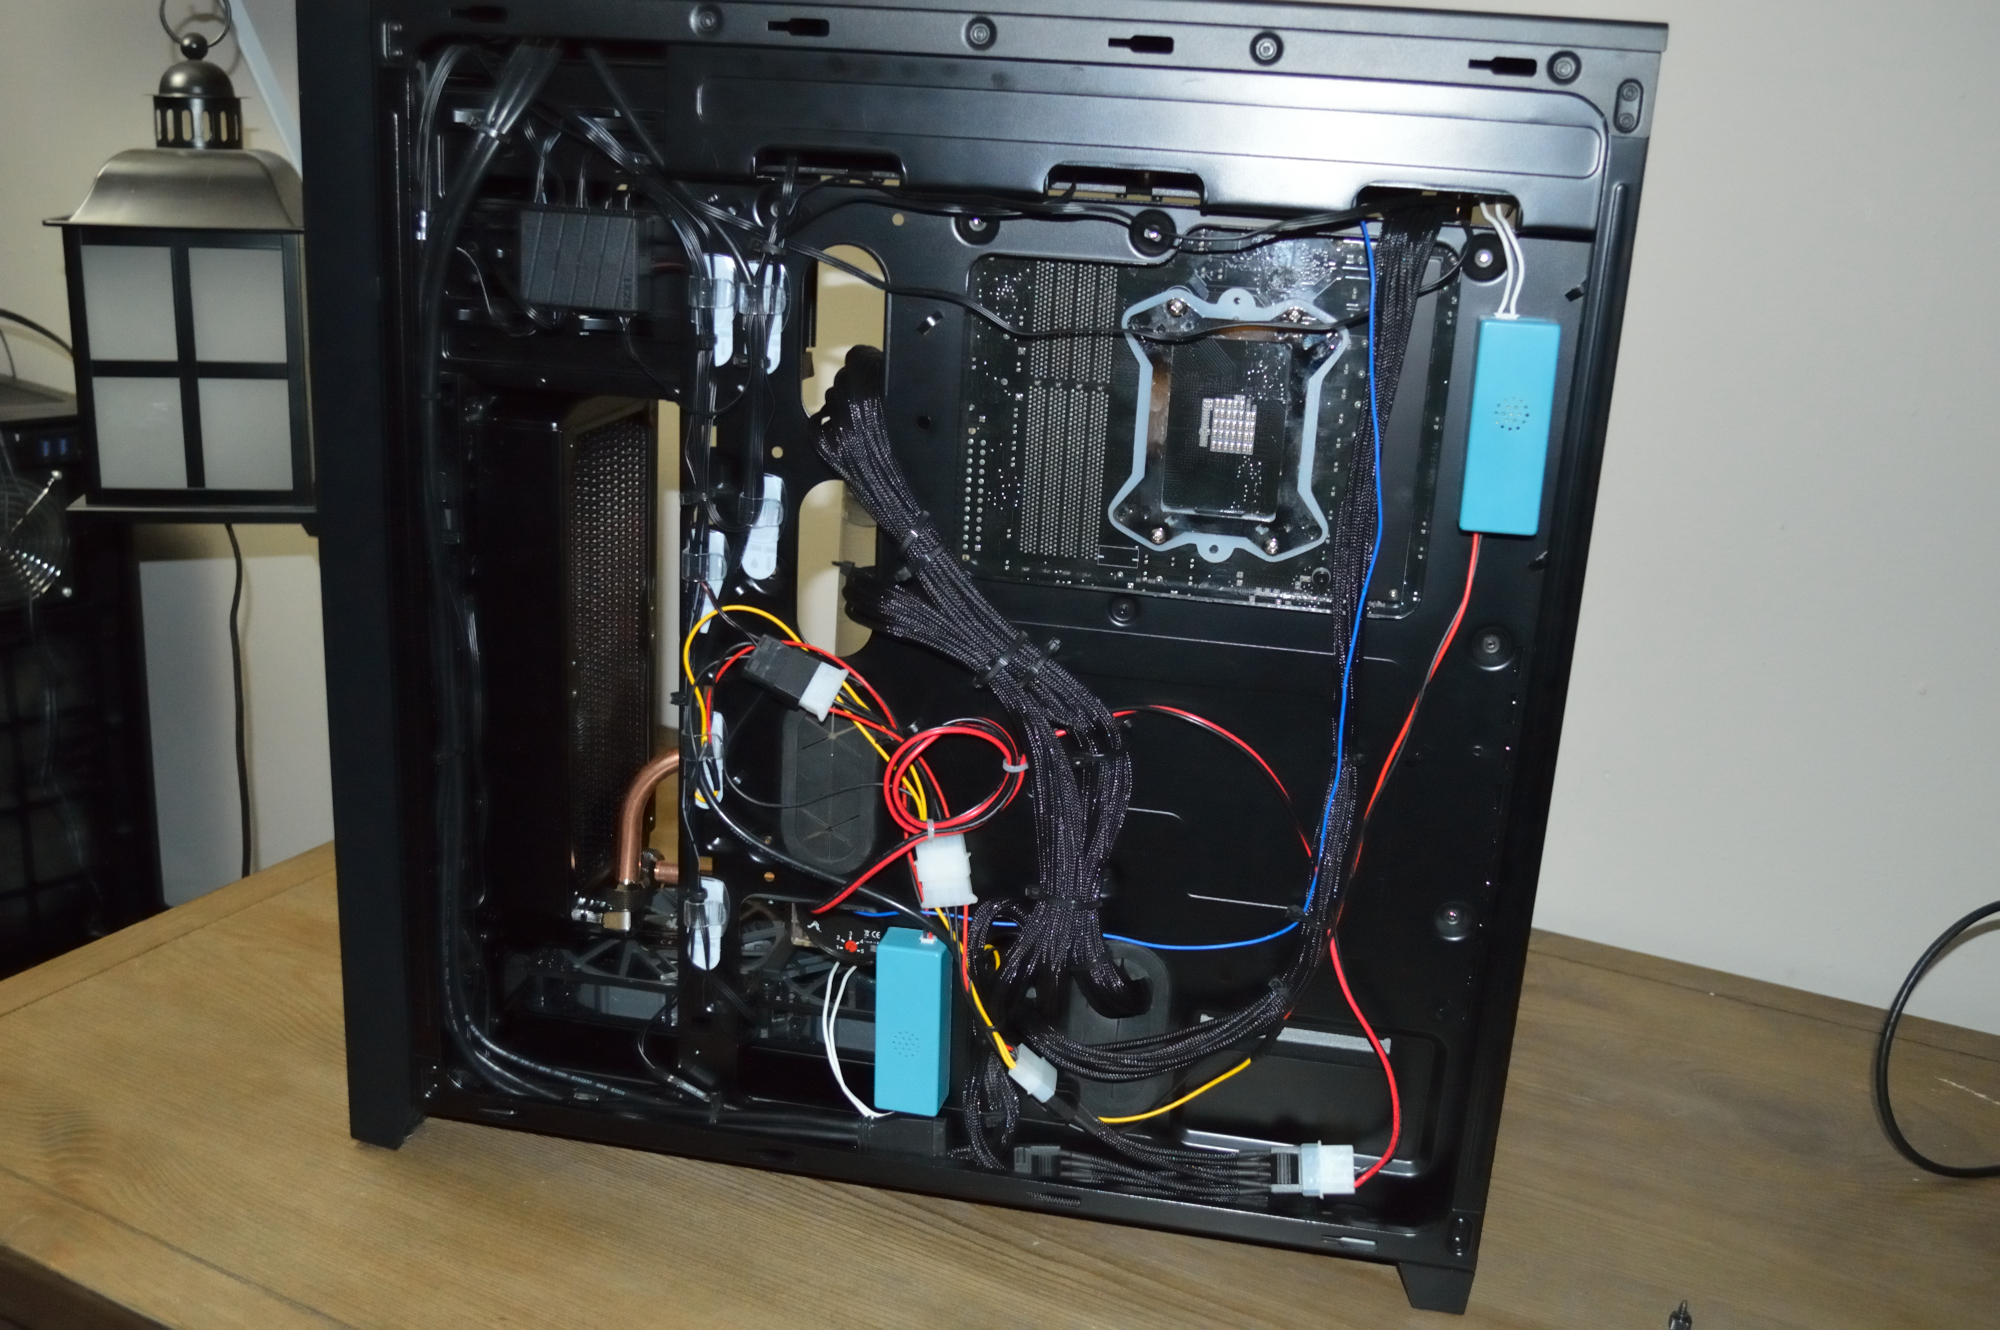
Projects are one thing that kind of keep me rolling — thank you to my father and grandfather for the genetic circuitry keeping that rolling. It’s what led me to build Absinthe and Beta Orionis — and the upgrades that will soon be coming to Absinthe. And it’s what is leading me to want to build another water-cooled system for one of my wife’s friends.
Beyond that, my wife is big into online gaming, and one game she plays particularly is Minecraft. She’s been bugging/begging me for a server. So instead of just taking another case and building out into that, I decided to take a different route: rack mount. Rack mount chassis can actually be acquired for a pretty decent price. I picked up the Logisys 4802 chassis from NewEgg for $55 plus shipping. It’s a four rack-unit chassis (4U), though it doesn’t have much in the way of fan space, and fan space is really my only complaint about it.
Now I just need a rack mount cabinet to hold it. Unfortunately pre-fab rack mount cabinets tend to come at a premium, and it’s one I don’t want to pay, so I’ve been looking at other options.
Now that we have an IKEA here in Kansas City, I’ve heard of a couple custom rack mount setups others have been making. One of the more infamous is the LACK rack, made with the IKEA LACK side table, available for about $10, and able to provide 8U of space. The only thing about it of which I’m not fond is that the legs are the mounting rails, and they’re made of particle board and fiber board. The shipping weight on the rackmount chassis was over 25lbs, meaning the weight of a loaded-down server in the chassis I selected will easily approach 40lbs, depending on components. About the only way that would be a viable option here is by turning the table upside down so the weight is fully supported without it having to rest down onto the floor. No thanks. Someone who mounted a RAID system in the so-called “enterprise” version of the rack had to use L-brackets to ensure the weight was adequately supported.
IKEA does distribute a LACK table on casters, which would provide the weight support, but 1) it’s $30 and 2) I’m still not fond of having to use the sides of the table as the mounting points.
Then there was another option: the RAST nightstand from IKEA. This one has my attention: the inside is exactly 19″ wide, perfect for rack mount rails, and made from 3/4″ solid yellow pine all around. If you take the table as it’s manufactured, you can get 6U out of it, but you can get 8U by moving the shelf down. So you take this, plus a 6U/8U pair of rails, and you’ve got a 6U/8U cabinet for less than $30 (plus tax and shipping, where applicable). So that’s the route I’ll be going for the server — I’ll need two and I’ll need to attach them together to have a full-depth rack since the server chassis is nearly 24″ long. Full instructions on making the cabinet are available.
They may also be stackable. Drill a couple holes down through the ends of the side walls for steel pegs and that should hold to provide a taller cabinet if needed. Or you can just use straight brackets to attach them together. Going taller of course means stability becomes a concern. Even if you make the 6U or 8U version of the RAST rack mount cabinet, then stacking these would be an easy way to get more rack mount space on the cheap — 4 of those stacked would give you 32U of rack space for less than $120, 24U if you go with the 6U build. Either way it’s one hell of a value.
I think I need to walk around IKEA with a tape measure looking for other possibilities.
Now one project I’m considering is converting my entertainment center into rack mount. I don’t have much that can be rack mounted — currently. I can create a rack mount cabinet using any of the options I’ve already mentioned, and then buy rack mount shelves to set it up however I need without having to mess with my existing hardware at all. But where’s the fun in that?
Now before continuing, I should mention that virtually all of the electronic components in my entertainment center are beyond warranty. Trying any of the ideas in mind will likely void your existing warranties, if any, so that is your risk to assume. Continuing…
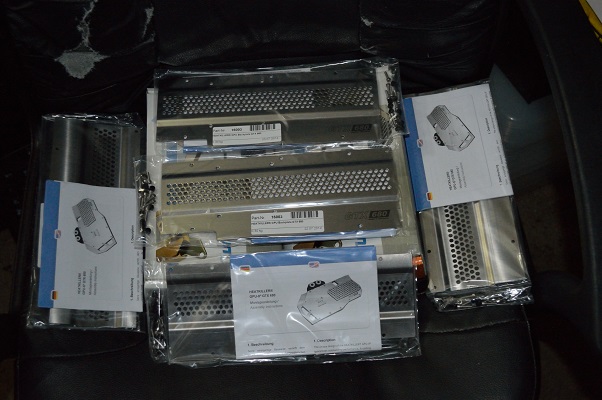
Recently I discovered a company called Circuit Specialists. One of the products they put out are rack mount enclosures. They’re available in 300mm (a little under 12″) and 350mm (about 13.75″) depth, and from 1U to 5U height. The front panel is aluminum, but the rest of the enclosure is steel. It seems to be thin steel — 1/10″, about 12 gauge — based on the dimensions provided, which isn’t something I can cut with tools I have or am willing to acquire.
Bud Industries makes enclosures as well, but pricing varies based on distributor (they don’t sell them directly), and they tend to be more expensive than Circuit Specialists. They’re made of aluminum, though, which is easier to work and mod with just a jigsaw, possibly even a Dremel. They also have plastic rack mount enclosures available at 8″ depth only but 1U to 3U height. I think I’ll need to investigate that a little more. The 1U option could be very handy for creating a rack-mount server from a Raspberry Pi with cooling fans and a hard drive, or you can tear apart drive enclosures and build a rack mount drive array for a fraction of the price.
One of the 2U enclosures would be a good experiment for rack mounting my original X-Box (yes I still have one of those) while a 1U enclosure would be good for my HD-DVD player (yes, I still have one of those, too).
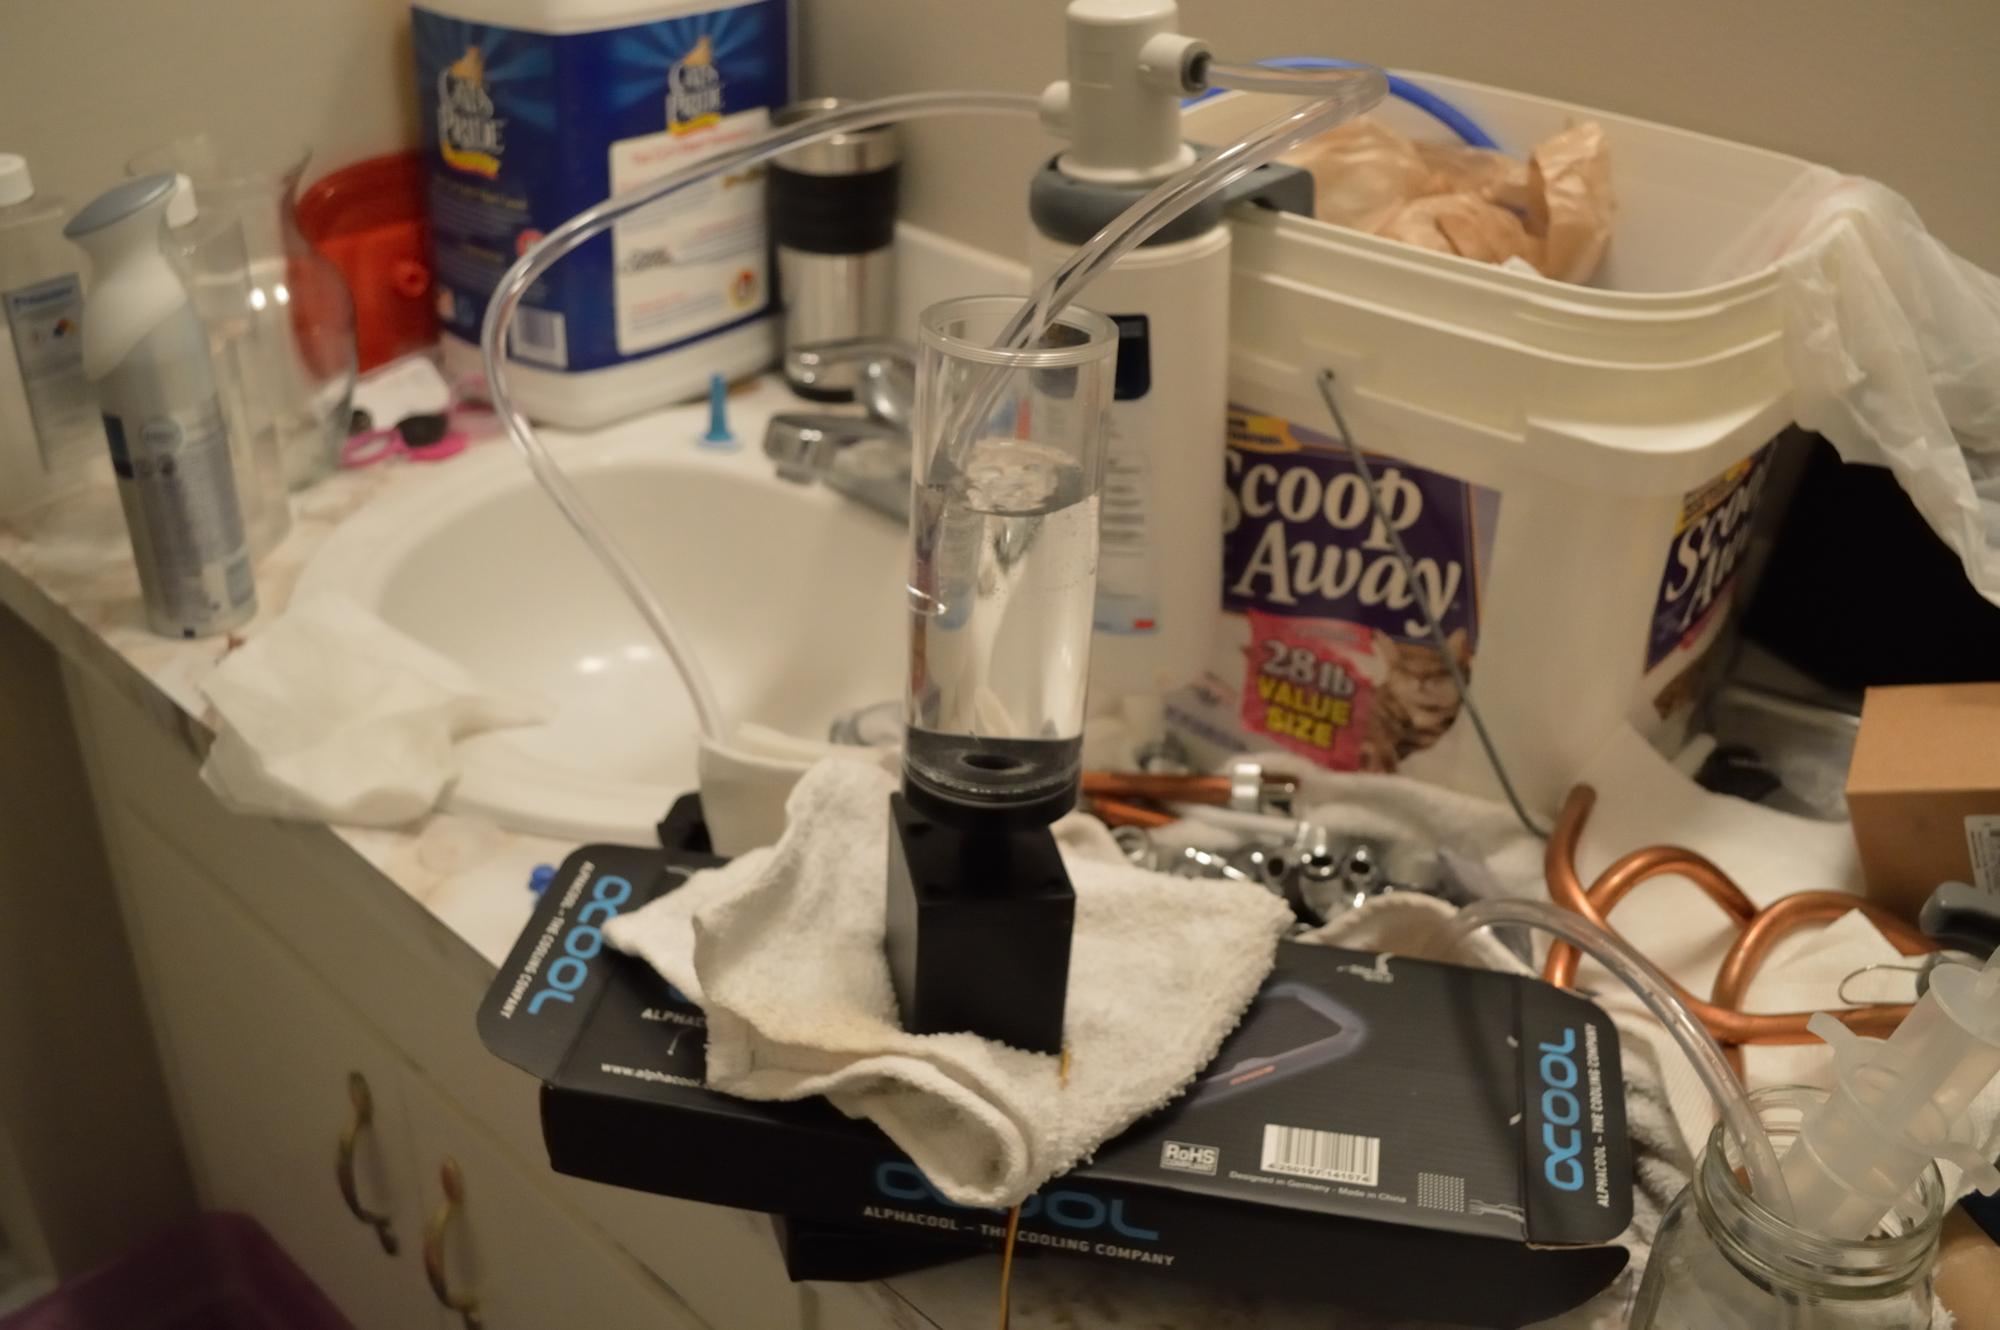
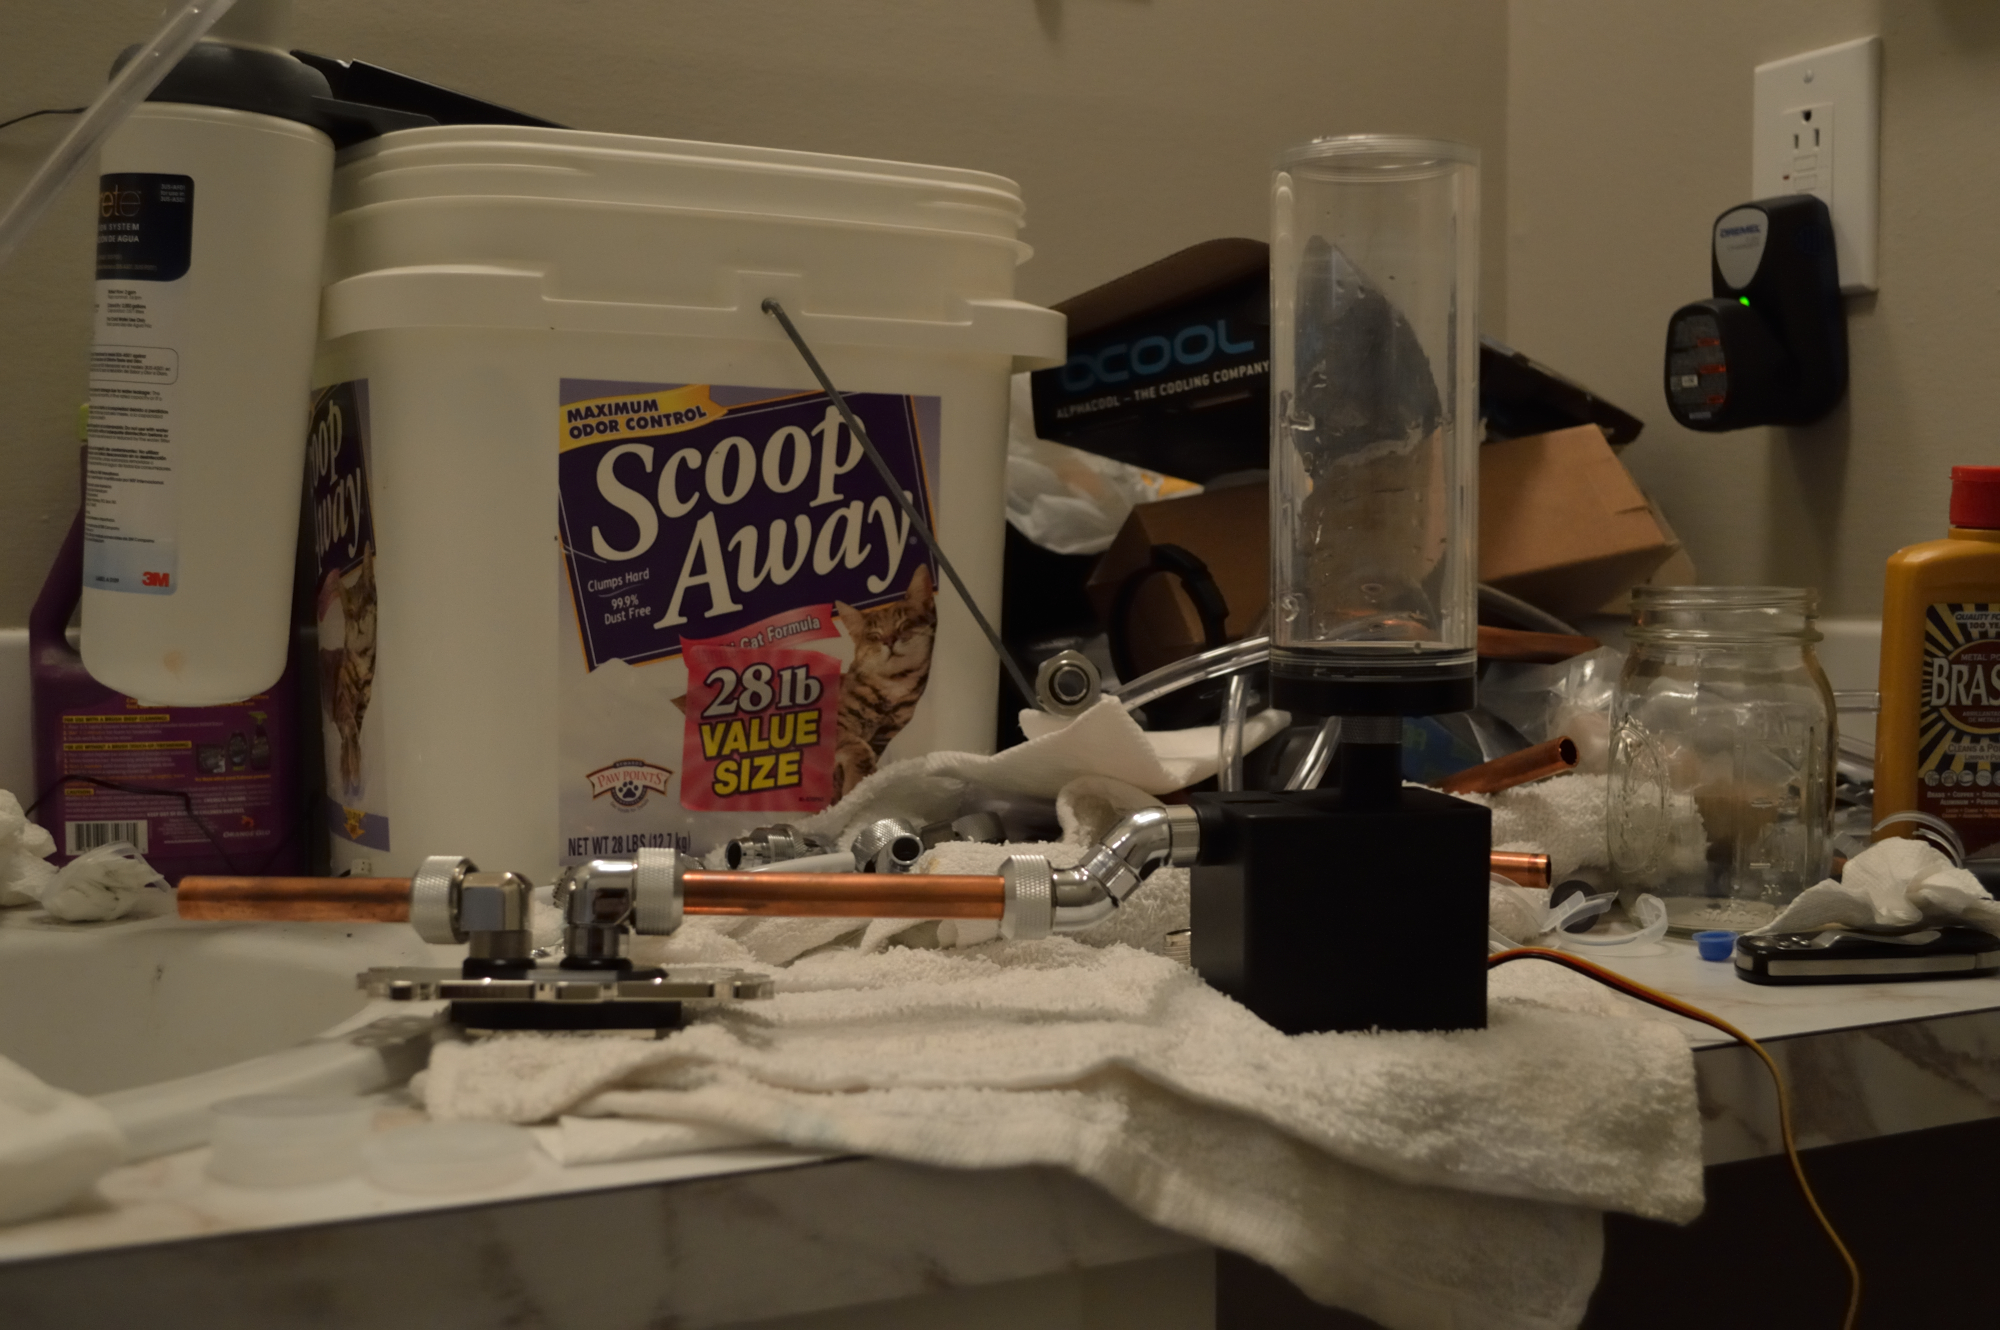
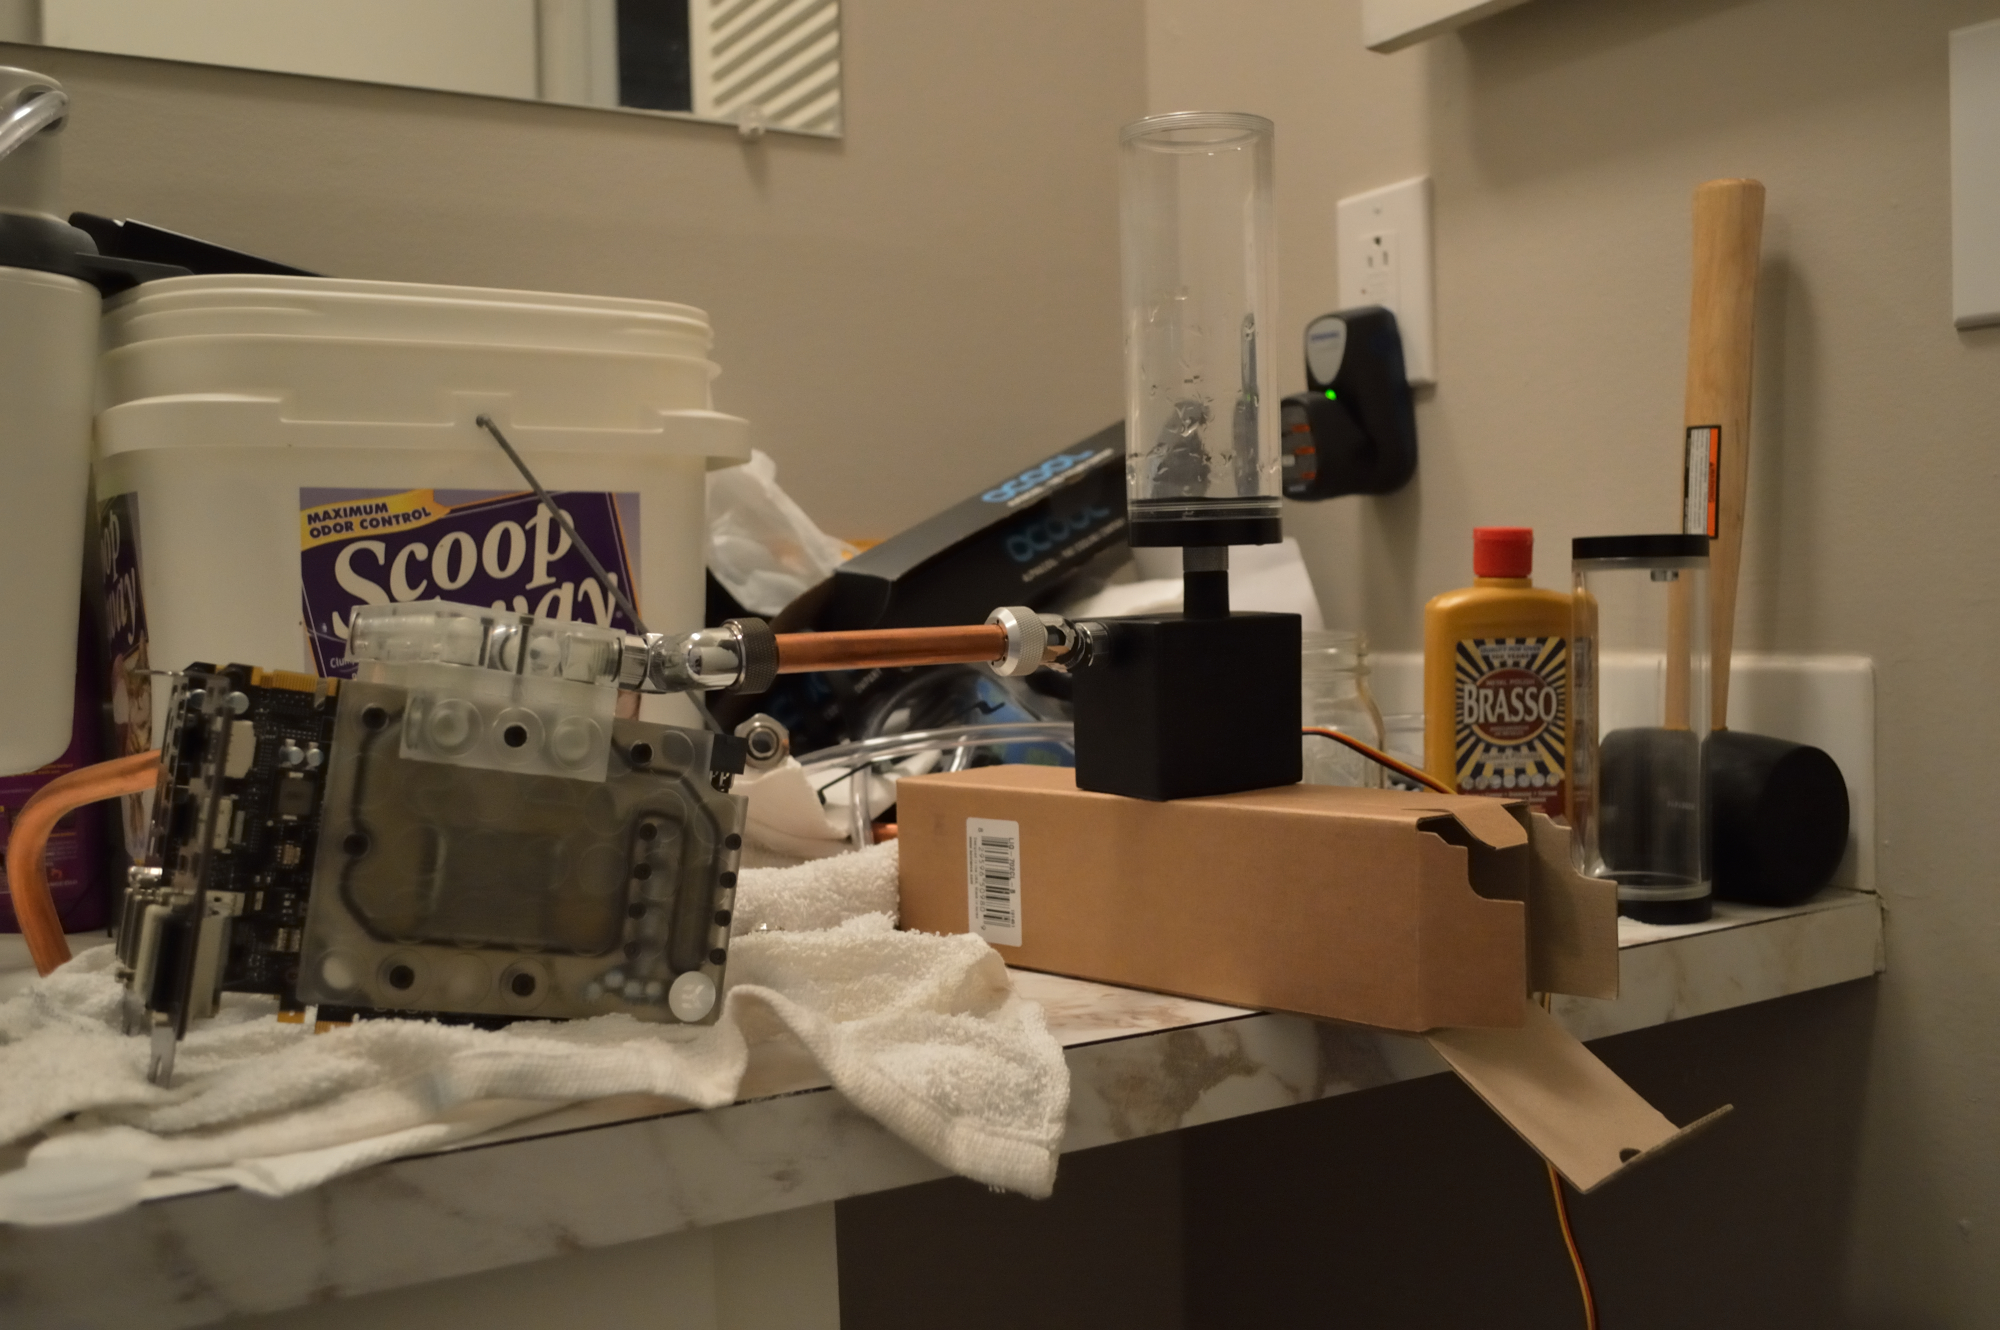
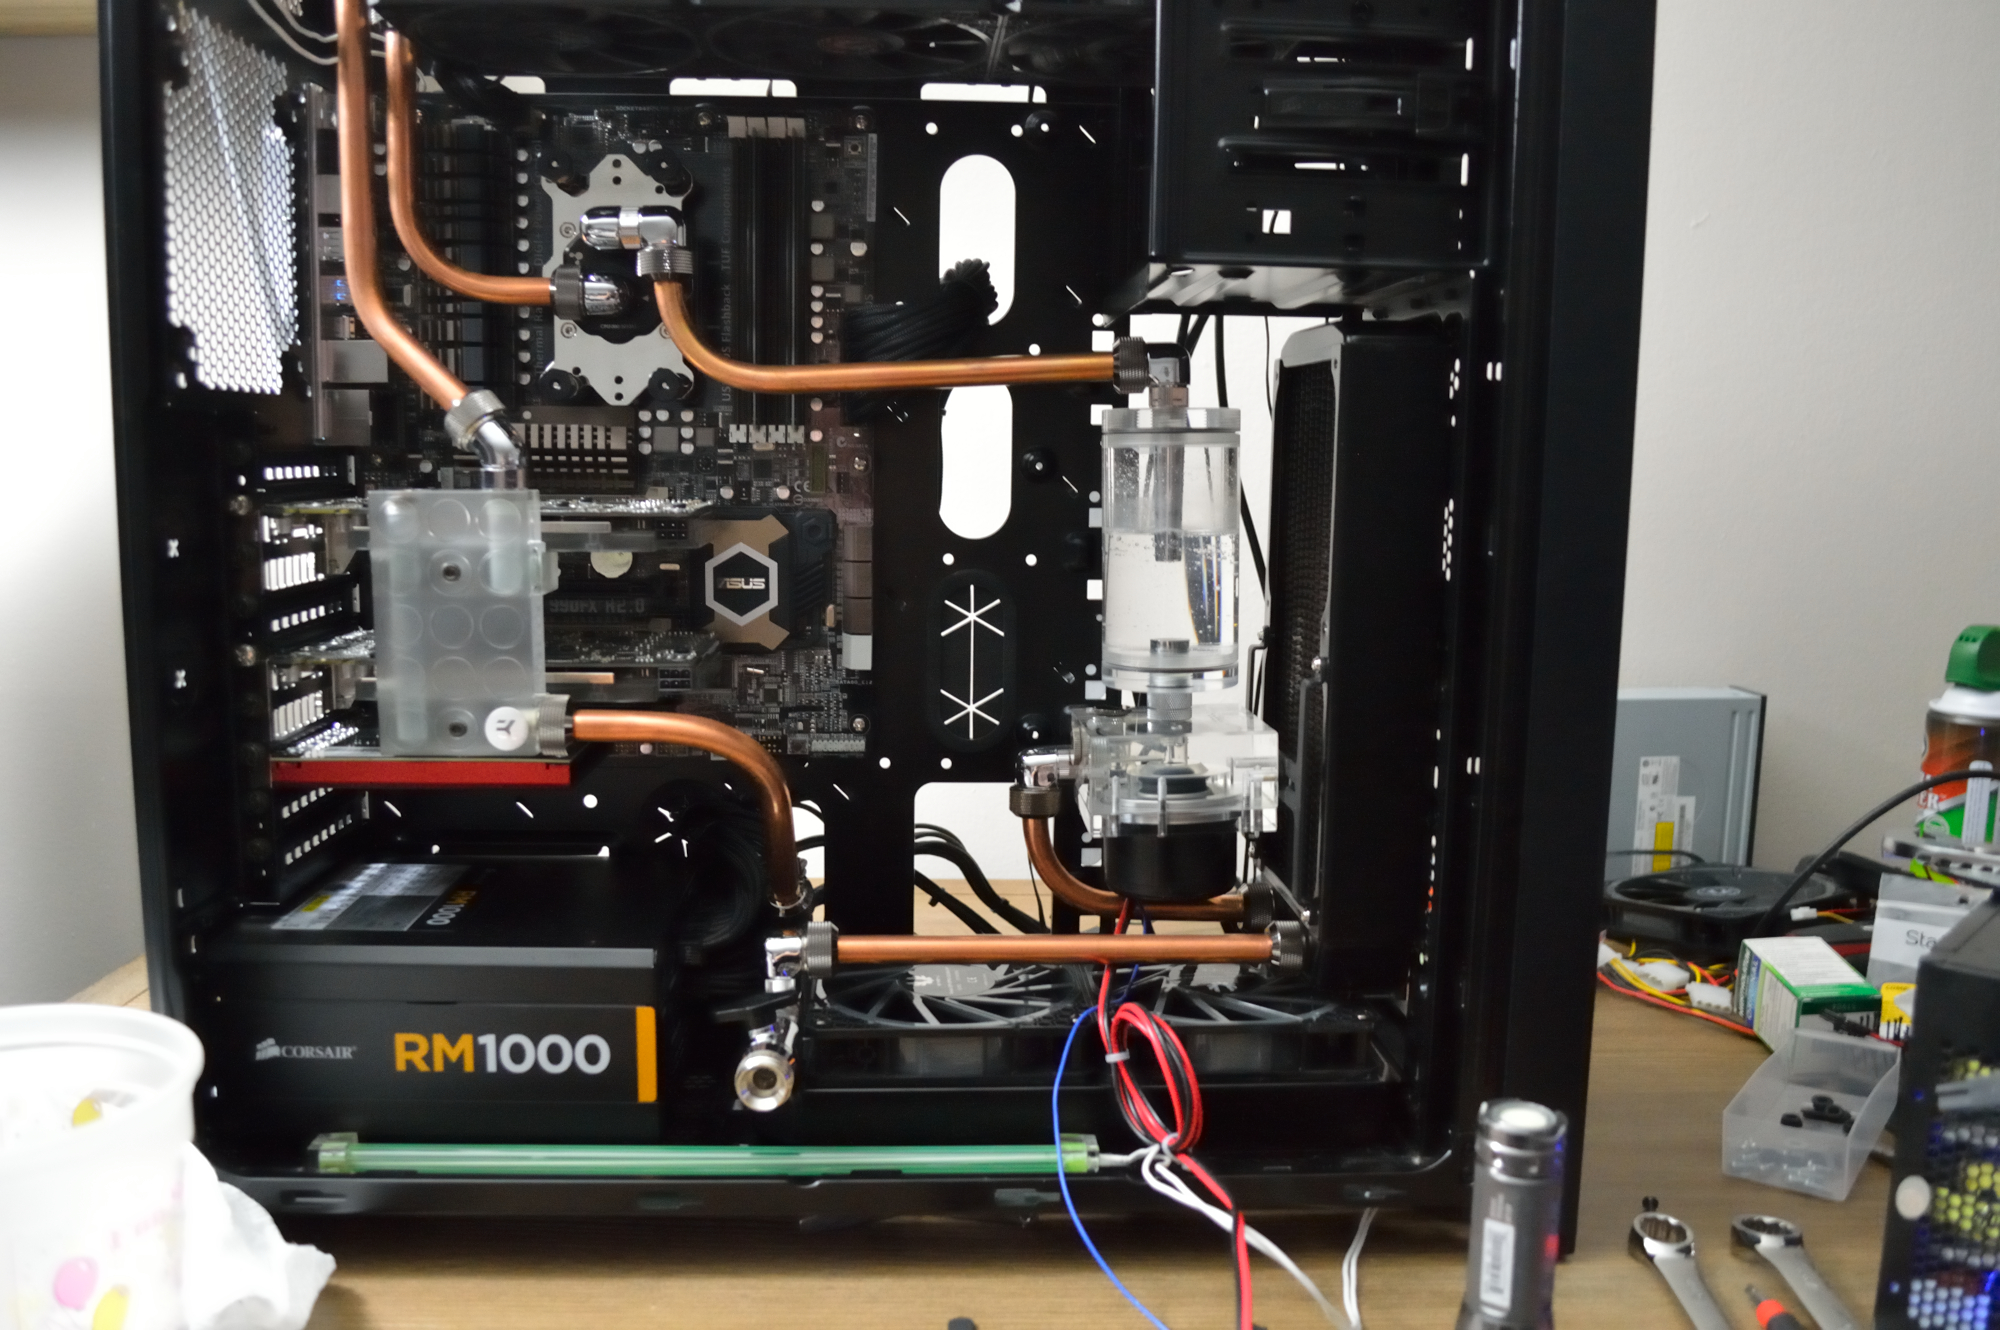
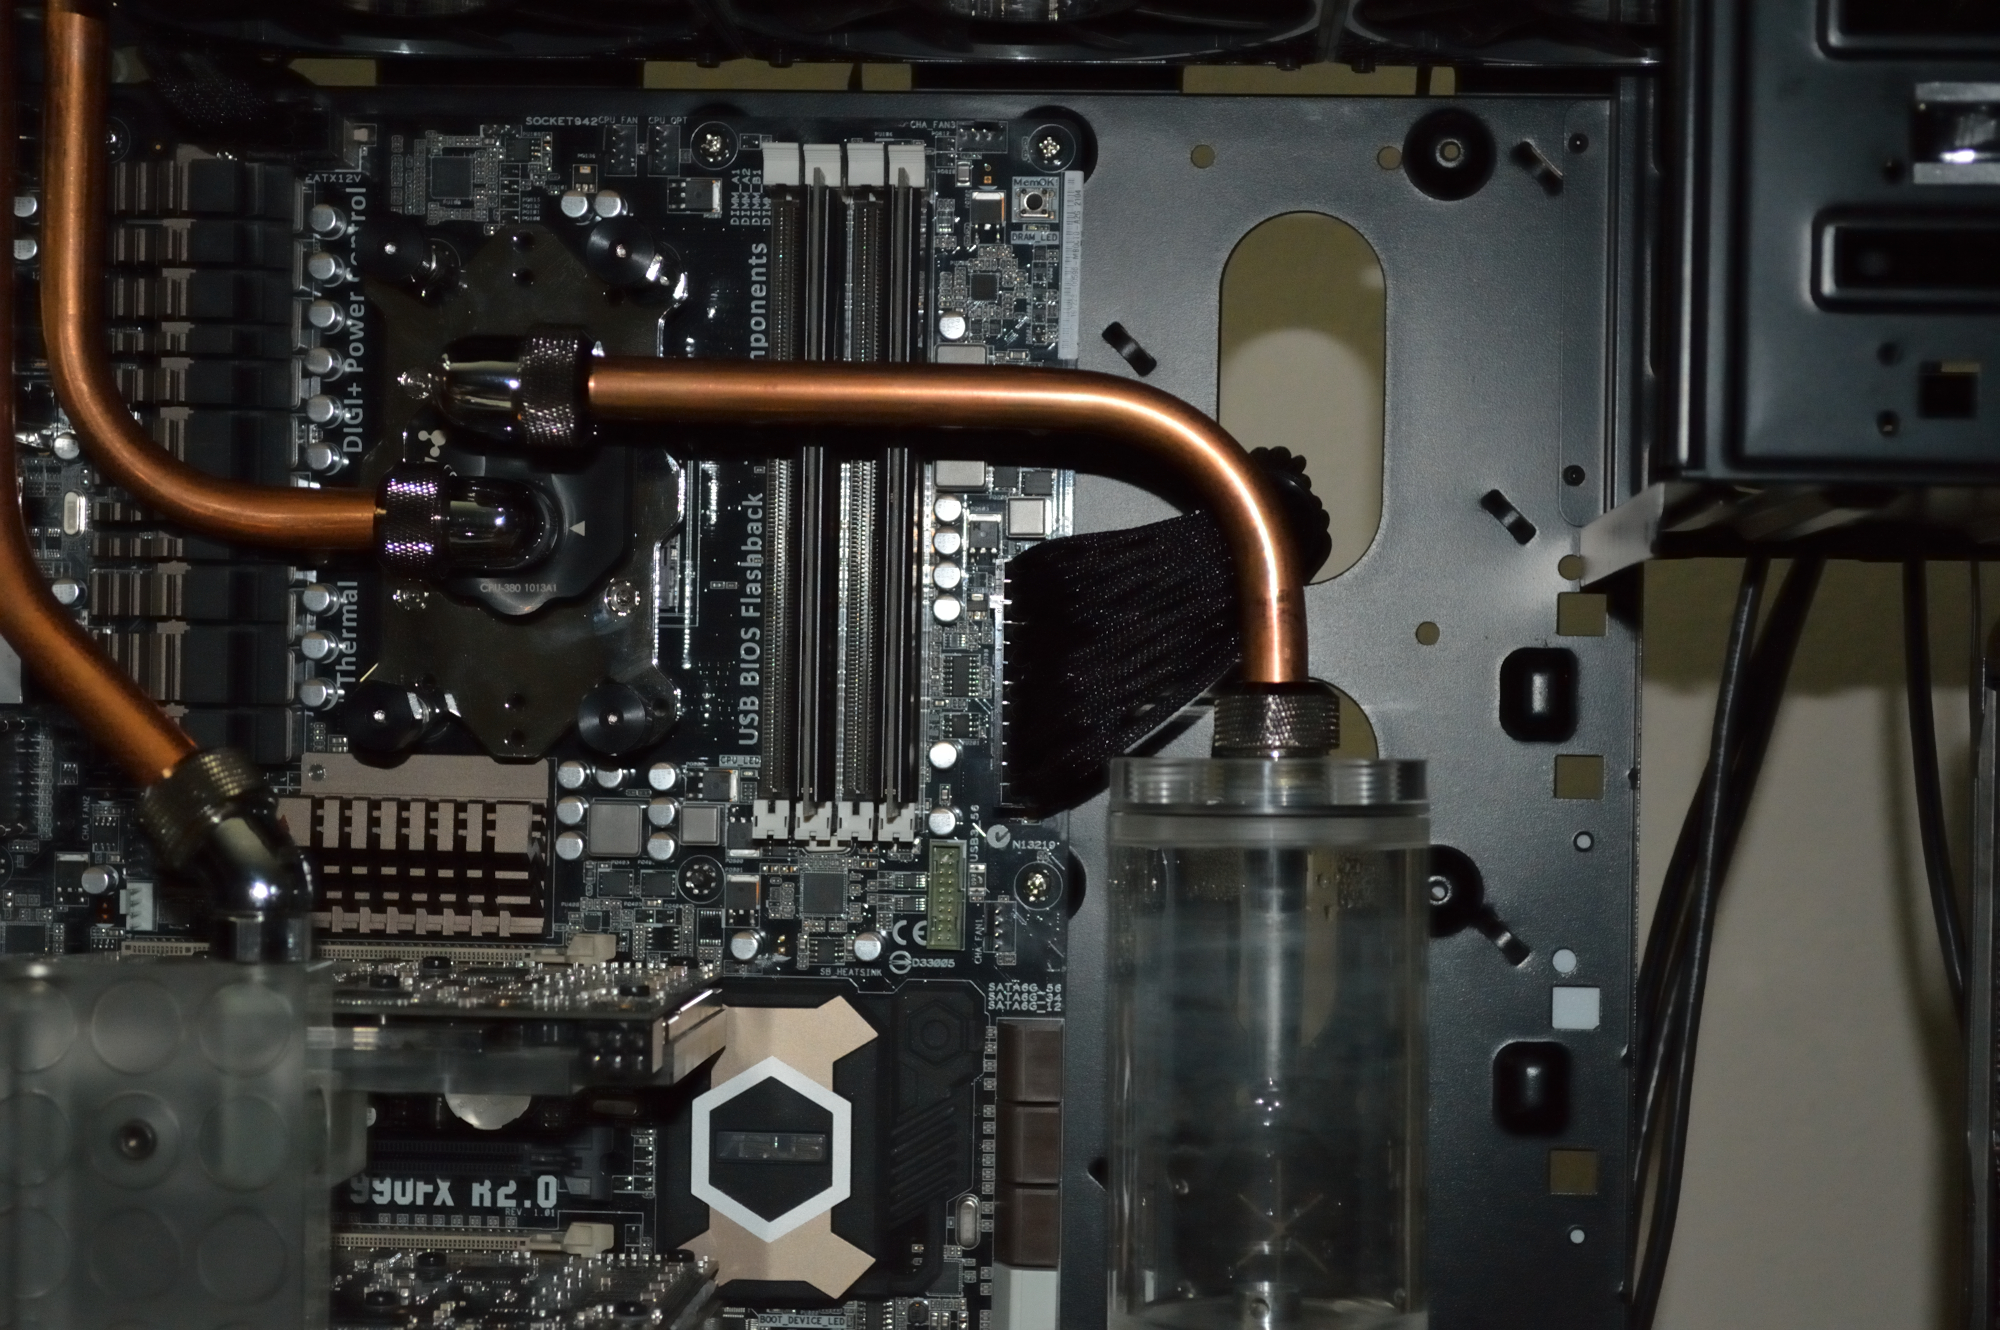
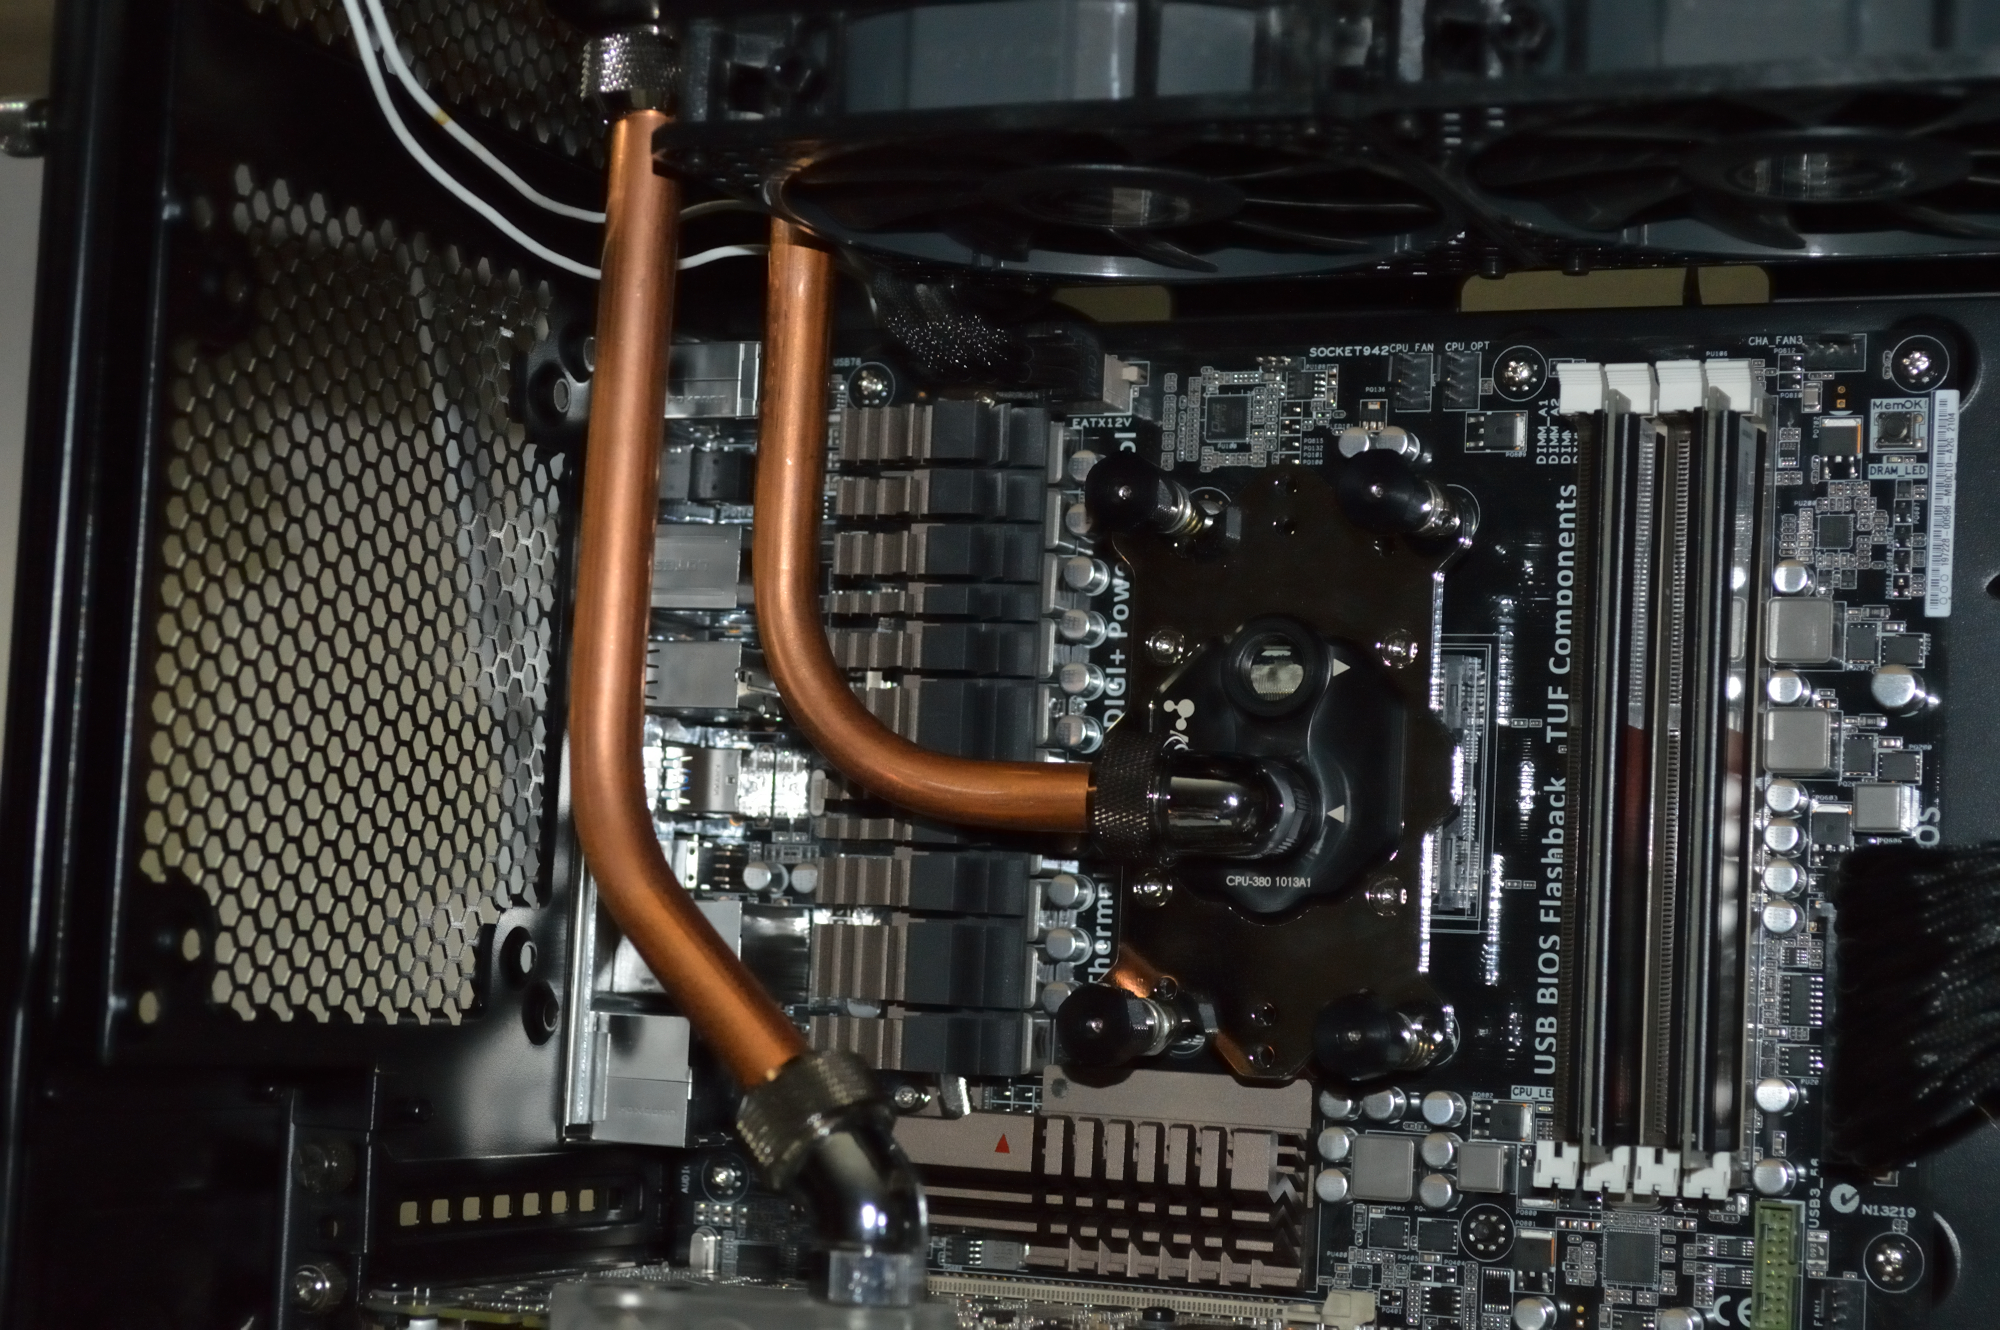
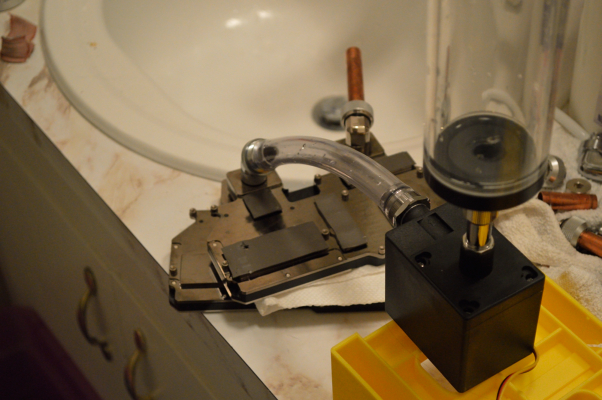
I’ve also had in mind creating a rack mount water box for water cooling a rack mount server, and those could be very handy for such a project. A 2U height could handle an 80mm wide radiator, and AlphaCool makes single and dual 80mm radiators. You’d need a 3U height for 120mm radiators, 4U for 140mm, and 5U for 180mm or 200mm radiators. Note this is all for mounting the radiator on its side.
If you attach the radiator to the bottom of the chassis — this would require having at least 1U space below the water box for an air channel — then you could use whatever side radiator you could fit depending on how you mount the radiator. If you mount it so the radiator goes side to side along the 17″ width of the chassis, you could have up to a triple 140mm radiator. Go with a 12-inch or greater depth enclosure and you could fit two side by side. Go along the depth of the chassis and you could fit up to a 180mm radiator for an 8″ depth, a dual 120mm radiator for a 12″, though a dual 140mm might fit, and a 16″ depth would provide for a triple 120mm radiator, and you could probably run several of those side-by-side as well.
You’d still need to account for a reservoir and pump, though. So perhaps a 2U box that houses just the radiator and pump, and a 1U that is just radiators with fans blowing across the chassis to evacuate the warm air, with 1U between them for airflow into the radiators.
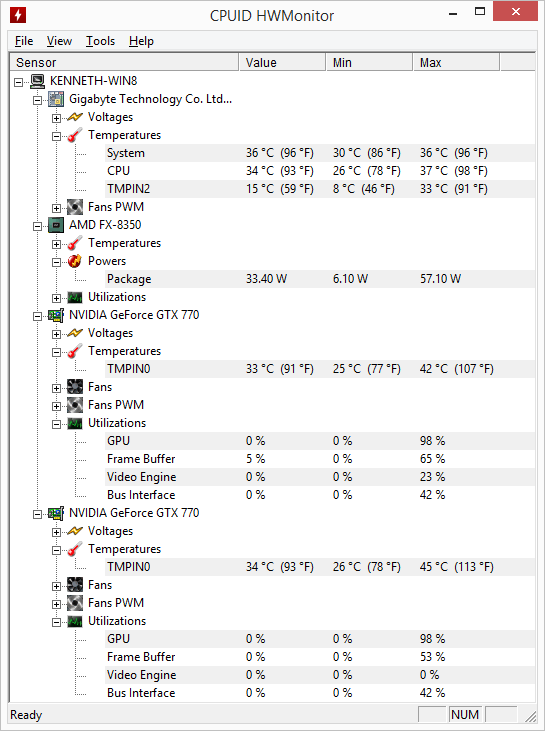
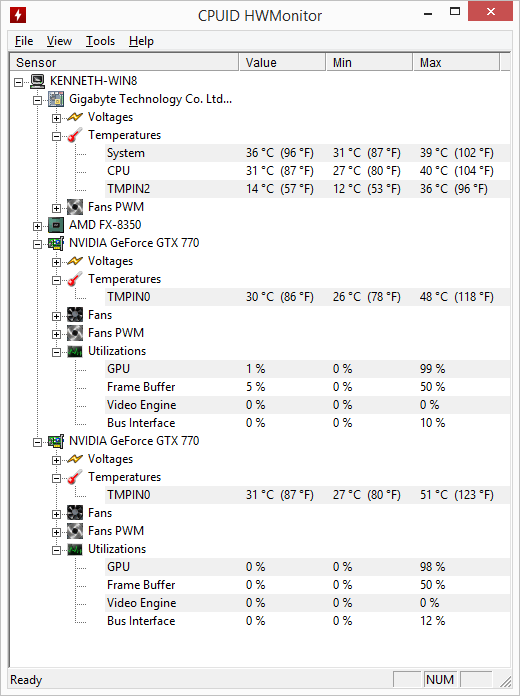
Imagine a gaming rig built into a 3U or 4U chassis that is water cooled using a rack mount water box below it. I sense a future project! I wonder how well my wife would go for having Absinthe rebuilt in such a fashion… Probably not very well, so I’ll probably start with her server in figuring this out. The server is running an AMD Athlon X2 4200+ processor, which has a 65W TDP. Getting it on water would probably allow me to really overclock the thing, along with being an interesting project/experiment.
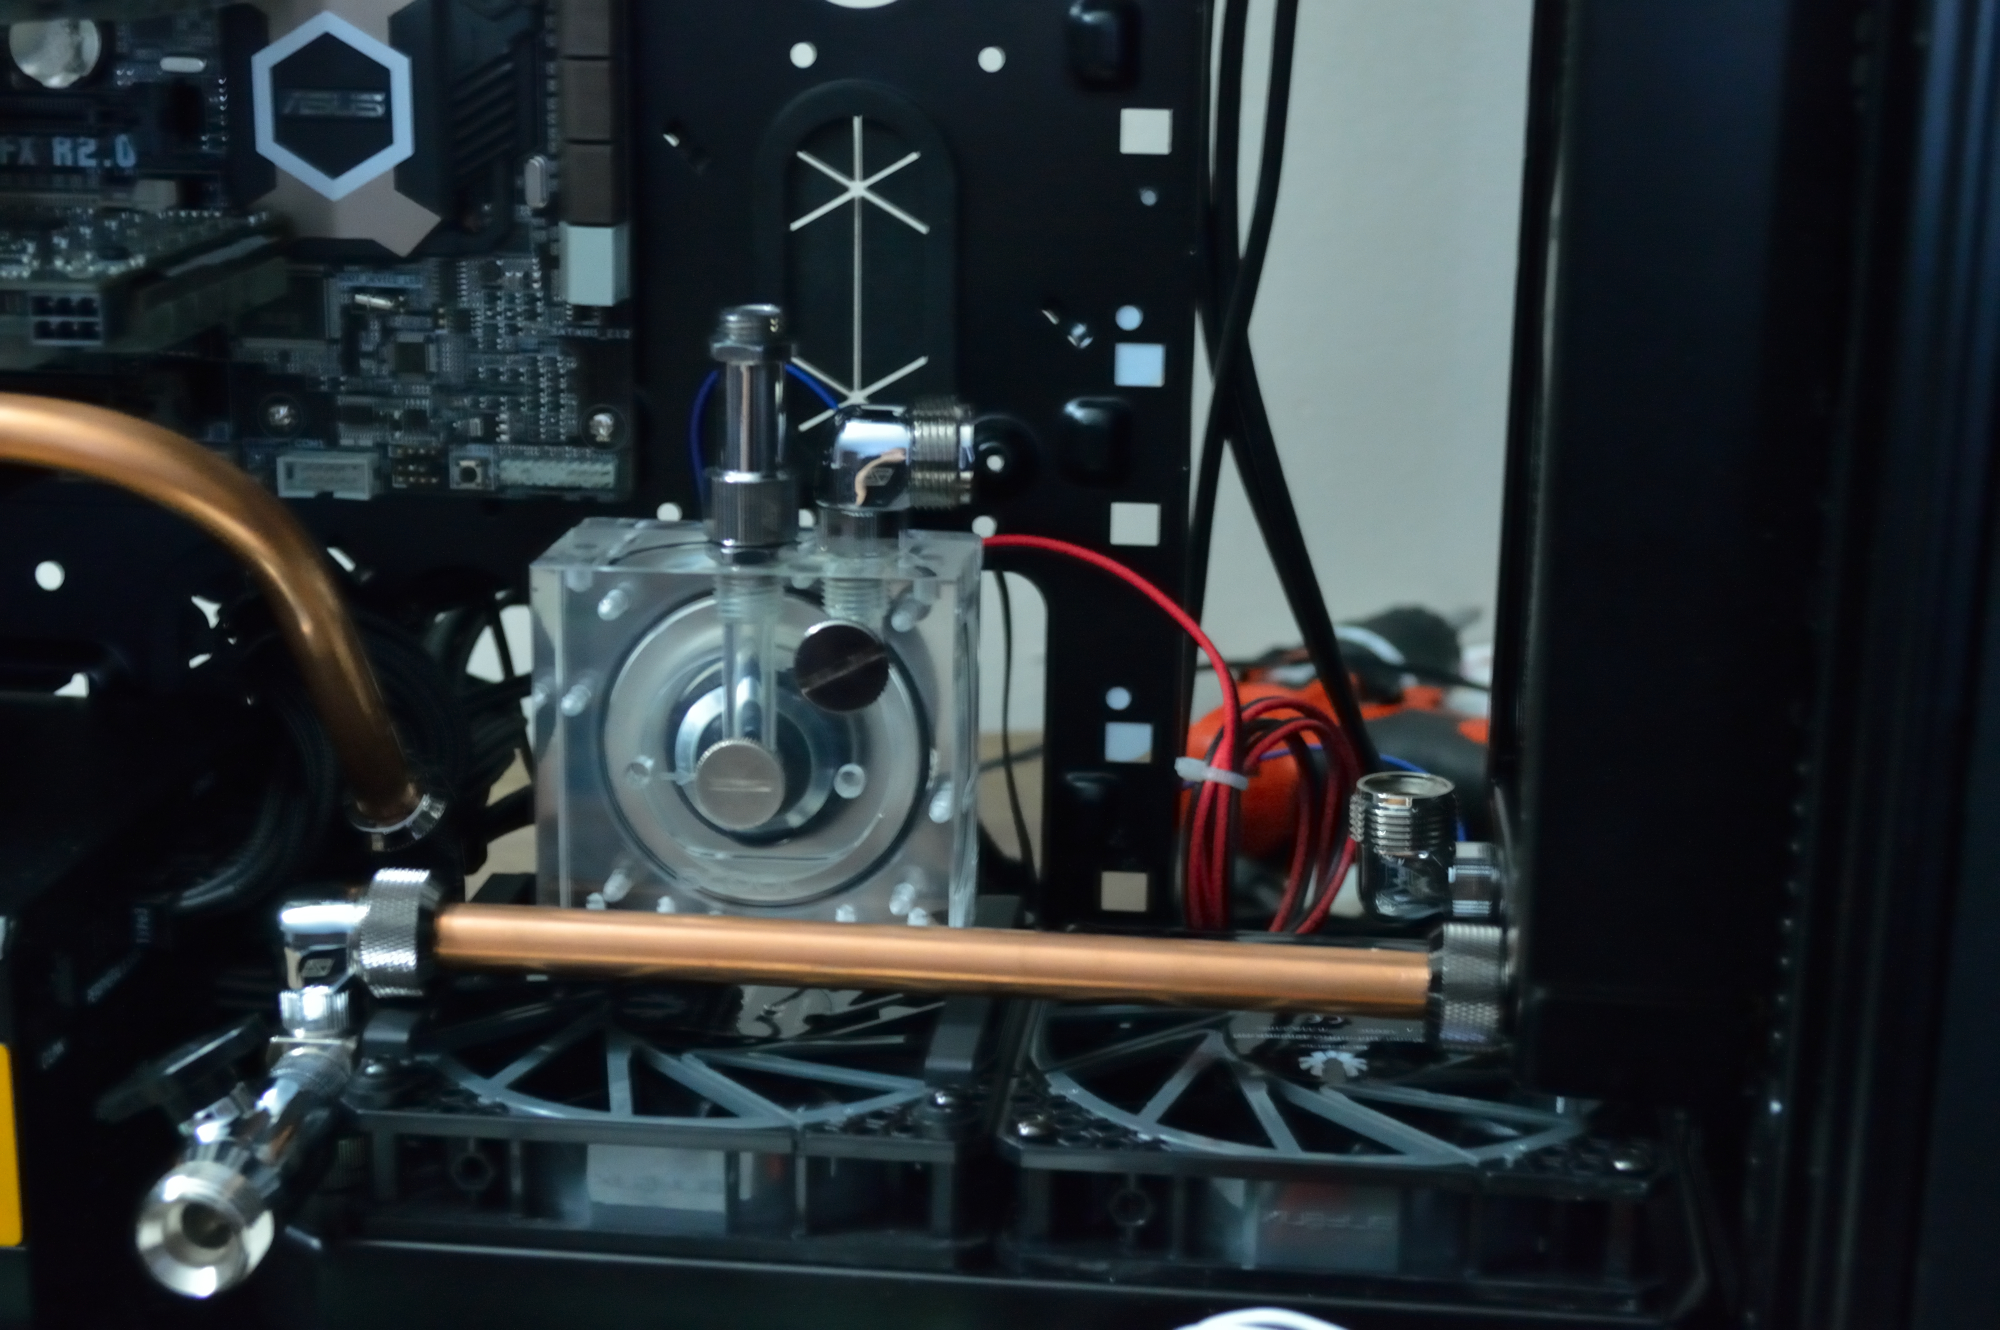
And to power all of that, Circuit Specialists has small power supplies that can provide 12V current — 12V being needed to power fans and pumps. Just create a connector to feed it into a power distribution board like the Bitspower X-Station and you can power everything from that. A double-bay reservoir/pump combination should do the trick as well.
So yeah, plenty of options available, lots of possibilities…. and too many ideas coming to mind as well. I am too much like my father and grandfather in that regard.


You must be logged in to post a comment.