- Nasira – A FreeNAS build
- Nasira – Part II
- Nasira – Part III
- Nasira with a little SAS
- Moving Nasira to a different chassis
- When a drive dies
- Adding an SLOG… or not
- Coming full circle
- Throwing a short pass
- More upgrades but… no more NVMe
- Check your mainboard battery
This is a long-overdue update. But before getting into the discussion, here’s the current configuration of the NAS:
- Chassis: Rosewill RSV-L4500 with three 4-HDD hot-swap bays
- Power: Corsair CX750M
- CPU: AMD FX-8350 with Noctua NH-D9L
- Mainboard: ASUS Sabertooth 990FX R2.0
- RAM: 32GB ECC DDR3-1866
Storage is 12 HDDs divided into 6 pairs with an effective total of 42TB: 2 pairs of 4TB, 2 pairs of 6TB, 1 pair of 10TB, and 1 pair of 12TB HDDs. The last pair was the most recent addition after I found Toshiba N300 12TB HDDs on sale on Amazon for a little north of 300 USD (plus my county’s wonderful sales tax).
At the last update, the system was at 8 HDDs – 2 pairs of 4TB and 2 pairs of 6TB or 20TB effective – connected through an M1015 card flashed to IT (HBA) mode. And I knew I’d eventually start running thin on that as our movie collection continued to expand, along with storage needs for my photography. Later I upgraded to 4K TVs for my desktop (and we plan to buy a 4K television for our living room) and started collecting 4K Blu-Rays to replace the 1080p movies, which eats up storage even faster. (As an example, the entire Lord of the Rings 4K Extended movie collection is nearly a half-terabyte on its own!)
So to have room to expand, I decided to move it to a chassis that could allow for 12 HDDs.
Which that really seems to be the furthest I need to go on this, I feel. I need to cull out files anyway, likely starting with the day-of backups of the RAW files from my cameras, something I need to do anyway to help curtail the cost of my offsite backup. And if that wasn’t enough, I’d start replacing the smaller drives rather than figure out how to connect still more drives to this.
Replacing the drives is easy with everything set up in pairs, as I discussed in the seminal article on this project.
Nearly 5 years on, I’m glad I chose mirrored pairs from the outset. Sure I’m sacrificing storage capacity by doing this compared to RAID-Z1 or Z2. But it allowed me to expand storage gradually as needed. This gradual expansion also allowed me to take advantage of ever-improving pricing on storage, giving me a greater average GB/dollar overall without the significant up-front cost of buying a lot of drives at once. (I paid the same for just one 12TB drive as I did for two 4TB drives 5 years ago.)
Adding more drive bays meant going bigger on the chassis. So it was a matter of finding a 4U chassis with the requisite drive support. And on that, there really was just one option.
Rosewill Server Chassis
Rosewill has several options available. All of them 25″, longer than the 3U chassis at 22″. One of their options is the RSV-L4412 (Amazon, eBay). 4U with 12 hot-swap bays using three of the hot swap units I already have. Well that’s where the RSV-L4500 (Amazon, eBay) comes in.
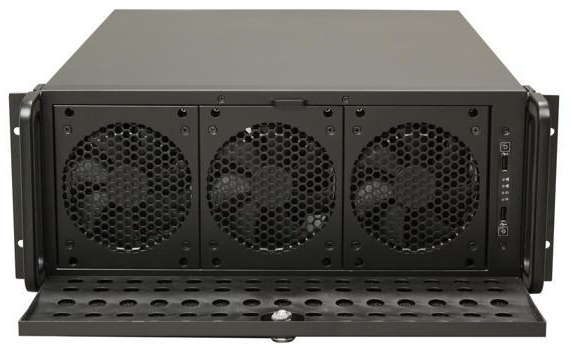
The L4412 and L4500 are more or less the same chassis. In the front are nine (9) 5¼” drive bays arranged vertically. The L4412 has three Rosewill RSV-SATA-Cage-34 (Amazon, eBay) hot-swap bays in those drive bays while the L4500 has three RSV-Cage drive cages, which hold four HDDs horizontally and are not hot-swap.
Since I already had two RSV-SATA-Cage-34 hot swap units, the L4500 was the better choice. If you want to fit more HDDs into the front of this, some options can fit 5 HDDs to 3 drive bays, allowing for 15 HDDs total, which is a potential upgrade path for Nasira in the future.
On a side note, 45drives really should start selling their chassis – e.g. the AV15 15-drive chassis – without the need to buy a complete system. I probably would’ve just bought that at the outset and been done with it had that been an option.
But I didn’t want to just swap everything directly into the new chassis. There was a bit of a cable management issue in the 3U chassis. The more egregious aspect being the two hot swap bays. Which have two LP4 (“4-pin Molex”) plugs each to power the four HDDs per bay.
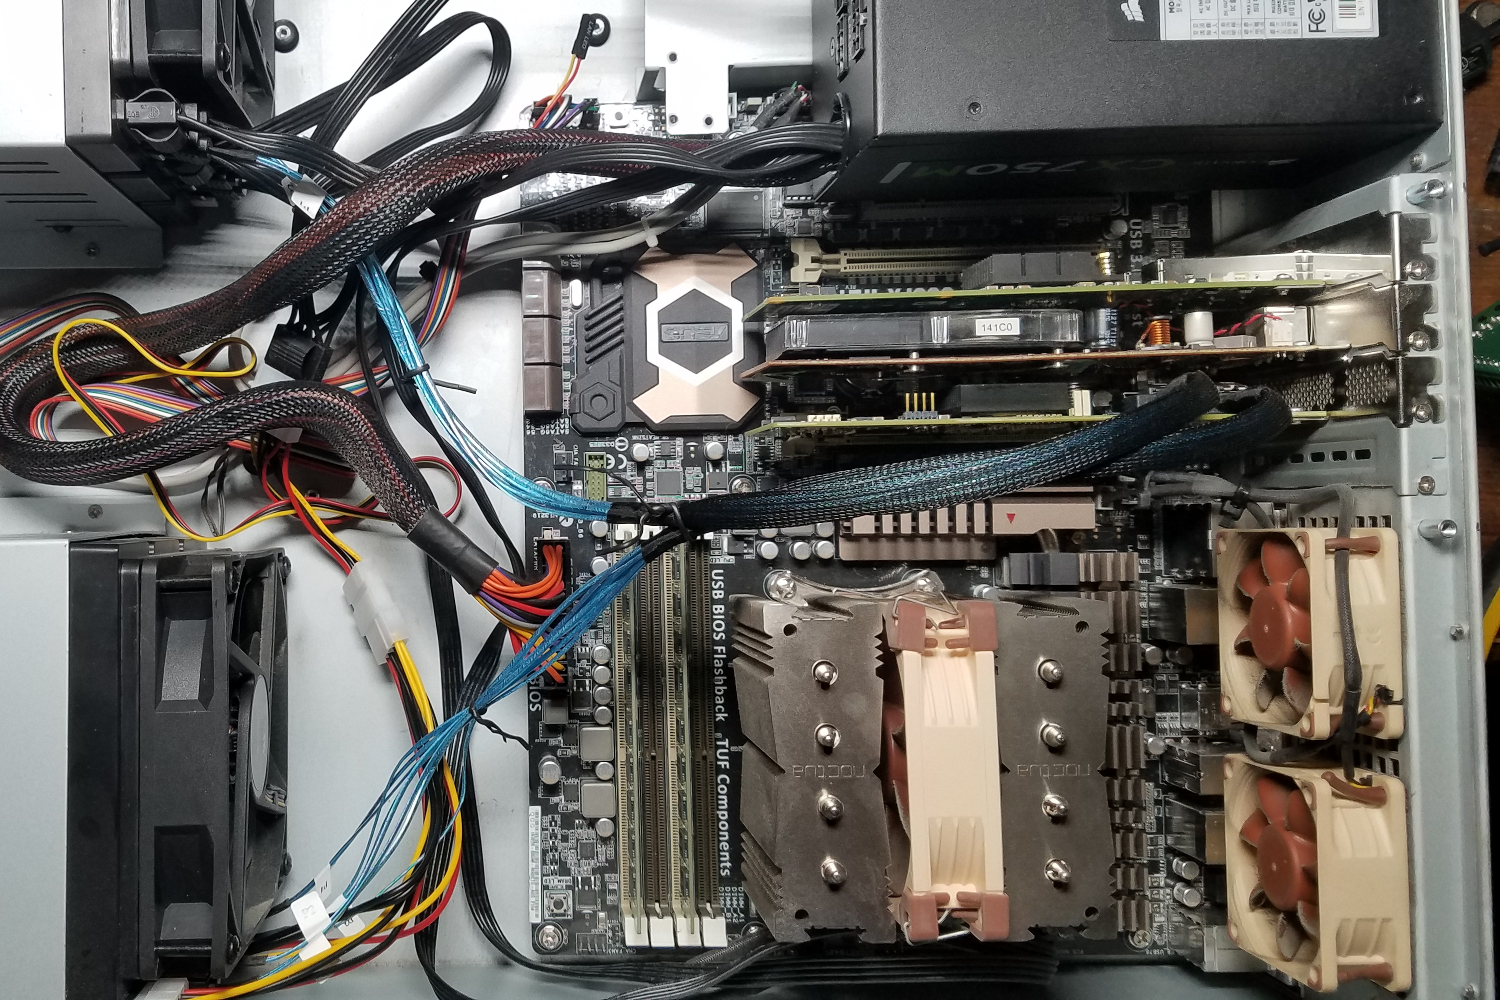
A nice little nest of cables in the middle. Swapping to using a SAS card and SFF-8087 to 4xSATA cables helped, but only so much. The power delivery was still the central problem. Especially since all of the internal accessories and HDDs were powered off one (1) – yes, just ONE – LP4 power harness from the power supply.
So what’s the solution? Clean wiring often requires custom wiring. That is the way of it.
Cleaner power delivery
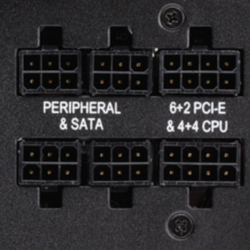
6-pin PCI-E power pigtails are one of the better items to come out of cryptocurrency mining. The Corsair CX750M uses the 6-pin PCI-E plug for the SATA and LP4 harnesses, while using the 8-pin PCI-E plug for CPU (if you need more than one) and GPU power. They also tend to be 16ga, though 14ga options do exist.
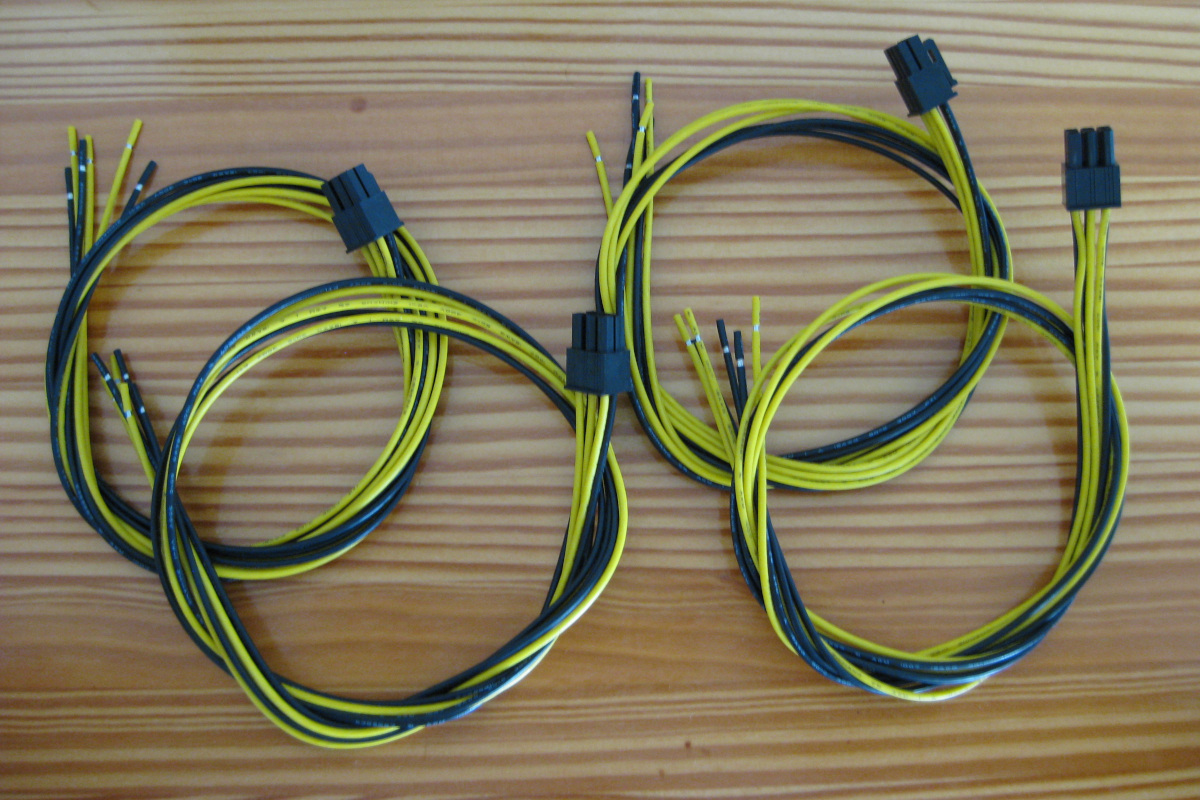
But since they are made for powering graphics cards, they will have only two wire colors: yellow and black. And they will be wired for a GPU as well. But this is almost perfect for Corsair power supplies with the Type3 connectors. Remove the top-middle ground and the pin corresponding to the 3.3V line. The 5V line will be the middle yellow, and the 12V line will be the corner yellow.
I employed three of these for the HDD power delivery, one to each HDD bay. 20″ was long enough to reach even the furthest drive bay and still have some slack. I sacrificed spare extension cables and adapters I had laying around to make these into LP4 Y-splitters, with butt connectors to make the final power connections.
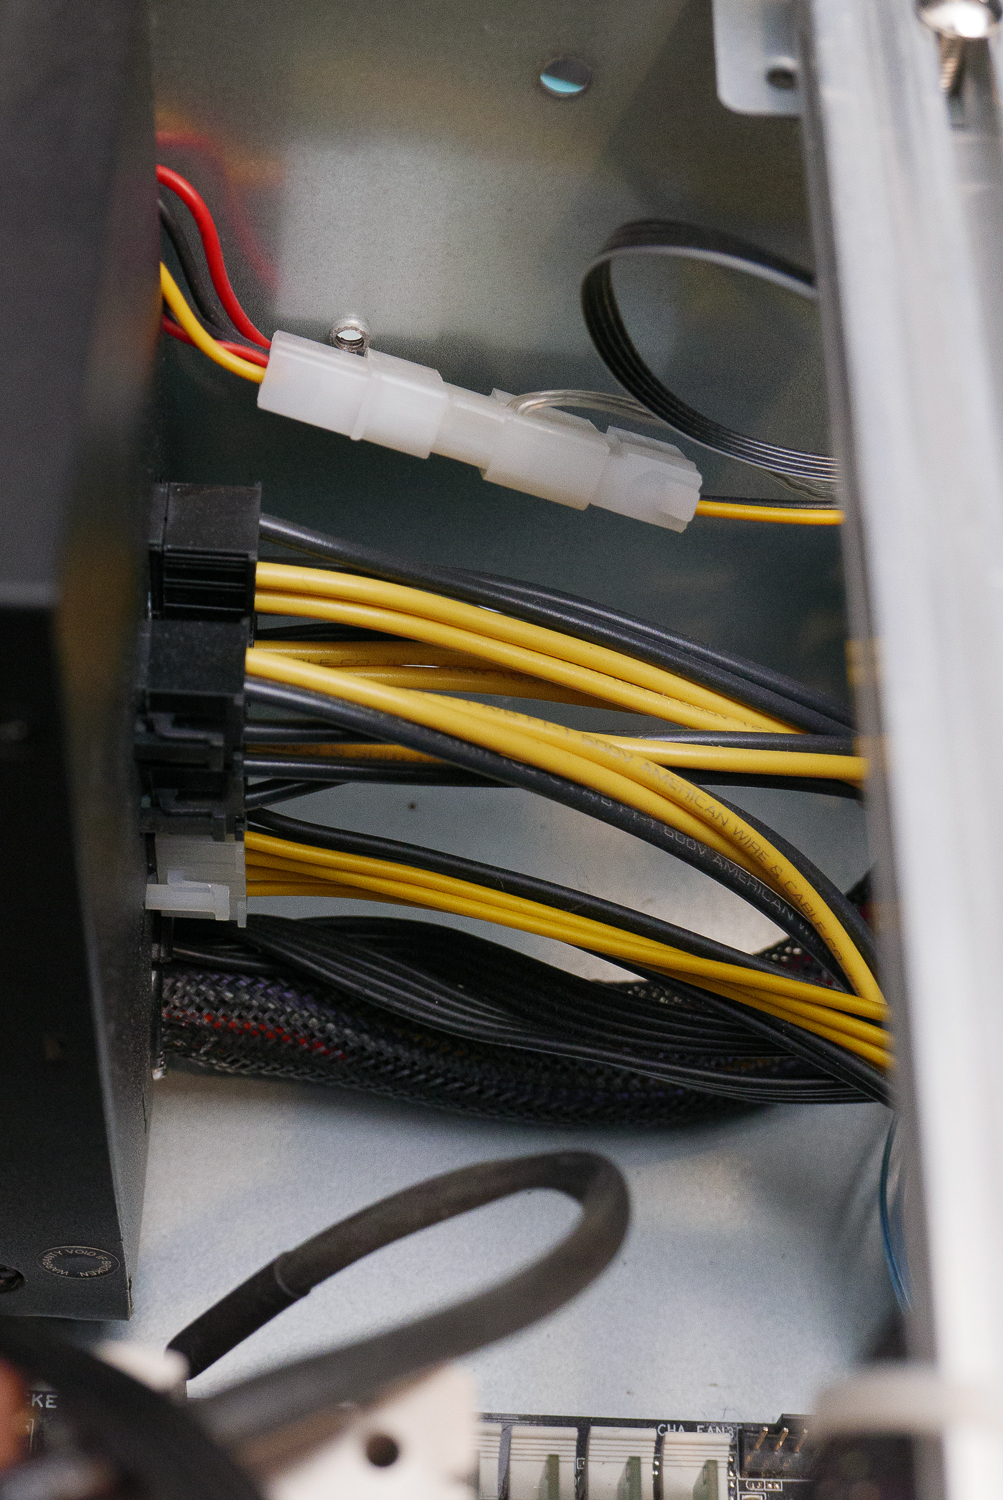
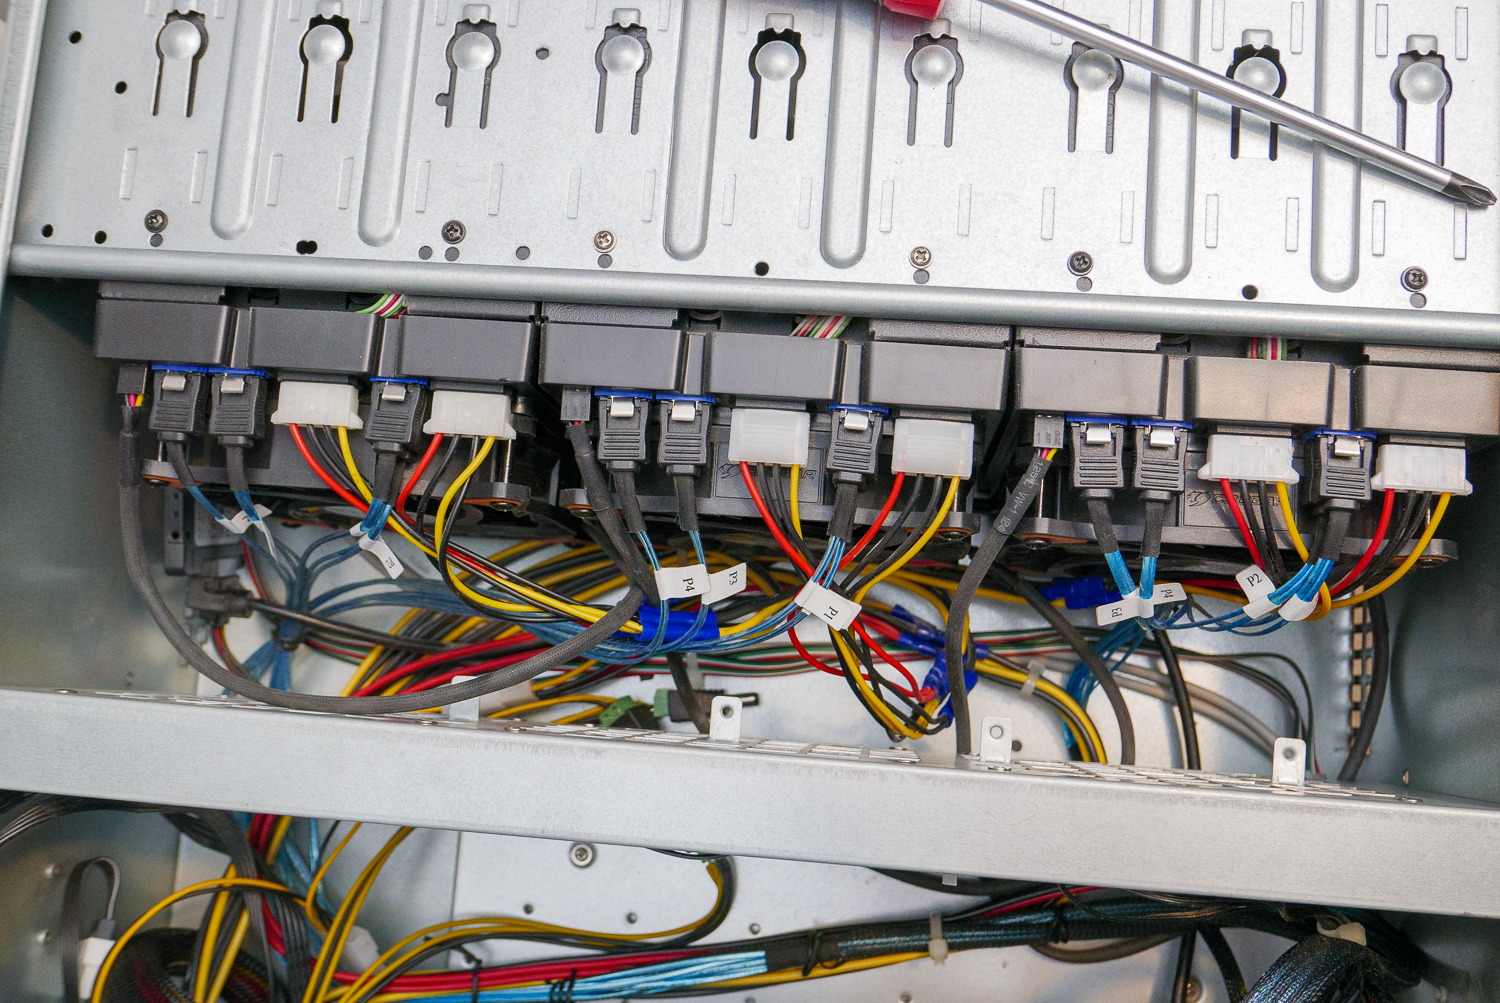
Custom wiring is the only clean way to get power to this. PCI-E extension cables are an alternative, extending the stock harnesses out to the HDD bays. But the harnesses creates more cable bulk, which can be an issue with the Rosewill chassis as the power connectors are at the top of the chassis. And they’re only 18ga.
New SAS card. Kind of.
Since the chassis can fit three of the quad-HDD units, 12HDDs total, I need to connect that to something. But Nasira’s SAS card has only two SFF-8087 plugs, enough for 8 HDDs. So should I add a second SAS card, or upgrade to a SAS card with four plugs to it? How about option 3: a SAS expander.
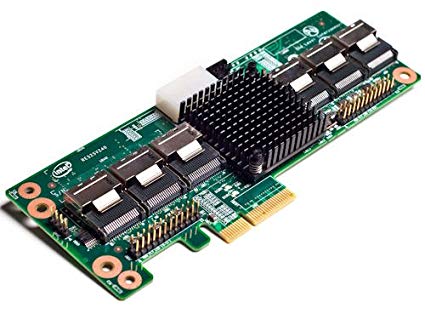
That is the Intel RES2SV240. Think of it like a SAS switch. Using an SFF-8087 to SFF-8087 cable, you can use this to connect up to 20 HDDs, or even additional expanders, to one SAS connection on a card. And that card is initially what I used. Merely because I didn’t want two SAS cards, nor did I want to buy a 4-port SAS card.
While it is a PCI-E x4 card, it uses the slot only to draw power. It has an LP4 connector which can also be used to draw power instead of the PCI-Express slot. This could allow you to build an external enclosure, if you wished, using a pair of SFF-8087 to SFF-8088 converter boards with an SFF-8088 cable between them.
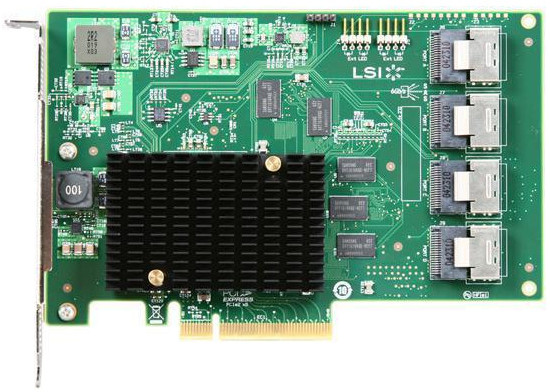
This was more expensive than buying a second 2-port SAS card, but less so than swapping out the existing one. It also added to the cable bulk in the chassis, but I chose to… just live with it. Until recently. With the last set of HDDs going into the drive bays, I decided to swap out the 2-port card and expander for a single 4-port card: LSI 9201-16i.
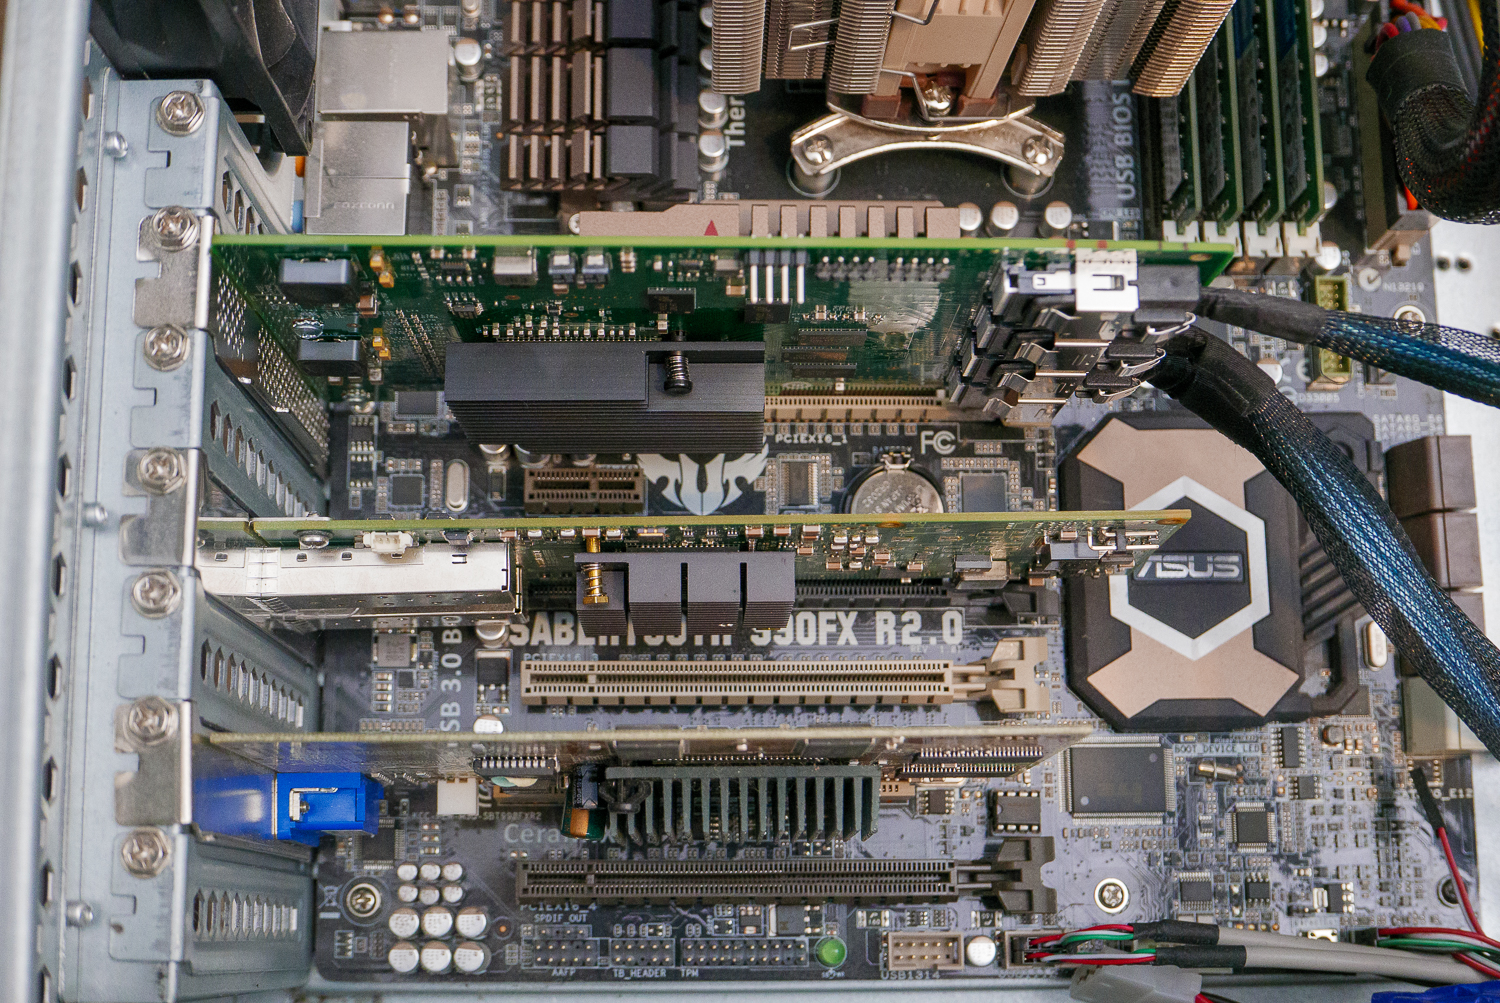
More room…
In the picture above you can see three expansion cards: 4-port SAS card, dual-port 10GbE card, and a graphics card occupying the lone PCI slot on the board. That PCI slot was hidden under the power supply in the 3U chassis.
So going with the 4U chassis, exposing the PCI slot, allowed me to replace the x1 graphics card with a GeForce2 MX400 PCI card I had lying around. Every card is passively cooled, and each card also has plenty of clearance for airflow from the 120mm fan panel. Not that the graphics card really needs all that much in the way of cooling.
…to expand?
It’s safe to say there won’t be any future expansion beyond this.
If I need more storage, I’ll just replace the smaller HDDs. Sure that isn’t nearly as cost-effective as just adding more drives (replacing the 4TB drives with 14TB adds 10TB at the cost of 14TB), but it avoids the complication of trying to figure out how to connect an external enclosure to this.
If anything happens to this system over the next couple years, it’ll likely be to replace the motherboard and processor with something more recent. But that’ll only happen if I absolutely need it. Since this is a light duty NAS, there likely won’t be much need to do that.
You must be logged in to post a comment.