Last year, I felt it was time to join the 4K bandwagon. Not for 4K gaming. But photo editing. And the desktop real estate.
Why photo editing? Two reasons: 4K (3840×2160) is much closer to the original resolution of my digital camera (6000×4000) than 1080p (1920×1080). 8K is larger than my camera’s resolution.
4x the resolution also means twice the pixel density at similar screen sizes. The pixel density of the 32″ 1080p is shy of 69ppi, giving a deceiving lack of sharpness when trying to edit photos. The 4K televisions are 43″ diagonal, so larger, but the 4x resolution means a still much larger pixel density at over 102ppi, which is slightly higher than what’s typically considered the minimum pixel density for printing a photo.
Plus the 4K panels I chose, the Samsung RU7100, have much better sRGB coverage (about 97%) when calibrated compared to the 1080p televisions (about 83%) I used previously.
And I didn’t buy just one monitor. But two. This led me to discover an interesting caveat I didn’t fully realize until, unfortunately, rather recently.
4K television and DisplayPort
When trying to use a 4K television on a PC, you need to pay attention to your connections. It’s easy to make a lot of assumptions.
For example if you bought an HDMI 2.1 compliant television, but you don’t have an HDMI 2.1 compliant graphics card, you’re holding your TV back from its full potential. Provided your graphics card is powerful enough to take advantage of its full potential. If your graphics card has DisplayPort 1.4, though, you have options. More on that later.
In my instance, I bought two HDMI 2.0b televisions. But my graphics card, like every other graphics card out there, has only one HDMI port. (It is HDMI 2.0b compliant.) So to get the second television working at 4K, I needed a DisplayPort to HDMI adapter.
This is where things can get tricky and you can end up buying the wrong adapter. First, you need an active DP->HDMI adapter. Passive adapters and adapter cables won’t work here. But it isn’t enough for the adapter to say “supports 4K” or “supports 4K@60Hz”. Passive adapters and adapter cables will work fine for 1080p, maybe even for 1440p at 60Hz, but definitely will not work for any 4K resolution.
The adapter must say two things:
- HDMI 2.0 (can be 2.0a or 2.0b as well), and
- DisplayPort HBR2 – alternatively, “5.4Gbps per lane” if it doesn’t call out HBR2 specifically
Why is this important? Bandwidth.
RGB Full, 4K at 60Hz requires almost 12Gbps just for the video data. DisplayPort HBR is limited to 8.6Gbps for video data, which can give you 1440p at 60Hz if the TV supports it. HBR2 has twice the throughput of HBR for video data: a little north of 17Gbps. If it doesn’t say anything indicating it supports HBR2, it’s likely limited to HBR. Adapters that say they are fully compliant with DisplayPort 1.2 may work.
Once I had the right type of adapter, I was able to set RGB Full as the output color format in the NVIDIA Control Panel, though with only 8bpc. If I wanted more bits per channel (my camera can record photos in 14bpc RAW), I’d have to drop the refresh rate to 30Hz or reduce the resolution. (1440p at 60Hz 12bpc = 8Gbps) Perhaps I’ll try that later.

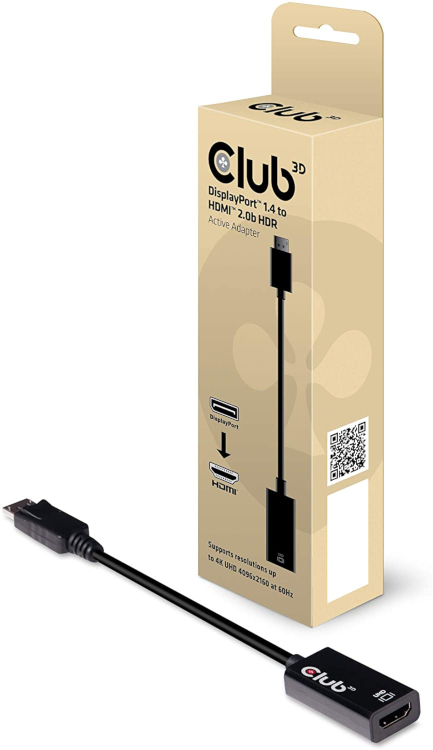
If you have an HDMI 2.1 compliant TV, you will need an adapter that supports at least HBR3 (shy of 26Gbps for video data) and HDMI 2.1 (48Gbps). So far the Club3D CAC-1085 is the only one I’m aware of. That’s more than enough bandwidth to allow for 4K at 60Hz, RGB Full at 16bpc (shy of 24Gbps, twice the data of 8bpc). So perhaps I need to look at a 4K display that can actually do that as my next upgrade.
Settings
Both TVs have the source set to PC. Here are the rest of the settings:
General->External Device Manager:
- Input Signal Plus: On (Required for 60Hz)
- Game Mode: On
- HDMI Black Level: Normal
General->Eco Solution:
- Ambient Light Detection: Off (You can turn this on if you want, but leave it OFF when you’re calibrating your display using something like an i1Display Pro.)
Picture->Expert Settings:
- Backlight: 30
- Brightness: 0
- Contrast: 50
- Sharpness: 10
- Color Tone: Warm 2
- Gamma: 2.2
All other settings except White Balance are disabled. And White Balance should be adjusted only as part of color calibration. Leave it at default if you won’t be calibrating the displays.
You must be logged in to post a comment.