- 10 gigabit (10Gb) home network – Part I
- 10 gigabit (10Gb) home network – Part II
- Again, Amazon?
- 10 gigabit (10Gb) home network – Zone 1 switch
- 10 gigabit (10Gb) home network – Zone 2 switch – Part 1
- 10 gigabit (10Gb) home network – Zone 2 switch – Part 2
- 10Gb home network – Retrospective
- Quanta LB6M
- 10 gigabit home network – Summary
- Revisiting the Quanta LB6M
- MikroTik CRS317 10GbE switch
- MikroTik CSS610
- Quieting the MikroTik CRS317
- Goodbye, MikroTik
- Troubleshooting 2.5Gb power over Ethernet
Last I left I mentioned that I was waiting for some hardware to arrive. The SFP+ transceivers and optical fiber cables along with a power supply from EVGA’s RMA department. I mentioned that I also considered not waiting for the power supply to ship so I could finish the switch sooner. And I went for that option.
Power supply
Courtesy of some nice incentives on NewEgg’s website, I opted to the Seasonic SSR-550RM. It’s initial list price was 60 USD, but there was an active special allowing for a 5 USD coupon code plus 15 USD mail-in rebate. It’s a 550W gold-rated power supply, which should be more than enough for this project while hopefully allowing it to always run nearly silent. And it has a 9.6 rating from Jonny Guru.
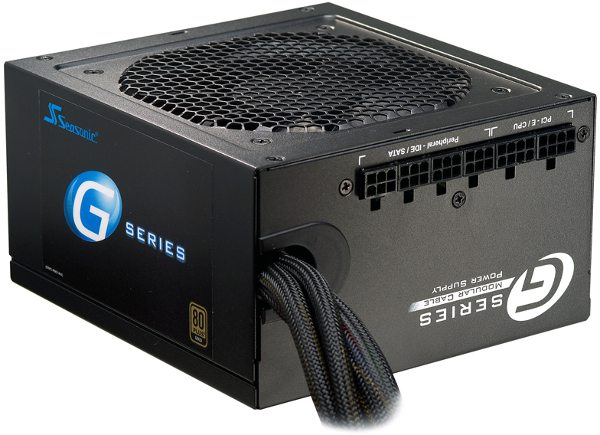
It’s not fully-modular, unlike the EVGA 650 G2 I’m waiting on RMA return, but is semi-modular. The 24-pin ATX and 8-pin CPU cables are attached. I may be able to get away with not needing anything else, but that may be unlikely.
No more wireless. For now.
I purchased the TP-Link AC1900 wireless card with the aim of creating a Wi-Fi hotspot with it. I was able to get the card working with NDISWrapper, after some finagling including blacklisting the built-in Broadcom driver. But I wasn’t able to turn it into a hotspot. Likely the driver is the concern here.
But there was something else I didn’t realize till after I tried to set it up as a hotspot: I wouldn’t be able to run it in 2.4GHz and 5GHz concurrently that I could find, basically negating the reasons to set it up as a hotspot.
So I’m going to figure out something else to do with the TP-Link card and just buy an access point to replace the WiFi built into the router.
A redo
In doing this whole project, I realized that there was a significantly better way of handling all of this, and it’s something I should’ve considered before starting the Zone 2 switch. You live, you learn, I guess.
Basically if you’ve followed this series, you’ve probably predicted this move. The Zone 1 switch has only three 10GbE ports. The Zone 2 switch has four 10GbE ports. But I have only four systems that could be upgraded to 10GbE. So the thought was simply: why not consolidate?
So I took what was the Zone 2 switch and basically made it the only 10GbE switch on the network, removing the quad-port Gigabit card. I could have just moved one of the dual-port cards into Zone 1, but I wanted to keep the PCI graphics card in the switch. And the ASRock 990FX Extreme6 board that was in Zone 1 does not have a PCI slot.
This creates for a much less complicated setup overall. The original Gigabit switch will be retained and used for the entertainment center. And two 30m optical fiber cables will run from Mira and Absinthe to the switch, while the long Cat5E cable will run to the router.
This move won’t improve throughput. It shouldn’t degrade it either given the 8-core processor. Again, it’s about consolidation. So with that, on to specifications.
Final specifications on the switch:
- CPU: AMD FX-8350 (stock speed) with Noctua NH-D9L
- Mainboard: Gigabyte 990FXA-UD3 Rev 4.1
- RAM: 2x4GB Corsair Vengeance Pro DDR3-1866
- GPU: GeForce 2 MX400 PCI
- Storage: Samsung Fit 32GB USB 3.0
Networking hardware:
- Gigabit: TP-Link TG-3468
- 10GbE: 2xMellanox ConnectX-2 (MNPH29-XTR)
- Transceivers: Fiber Store Generic 10GBase-SR
- Cable: OM4 LC to LC
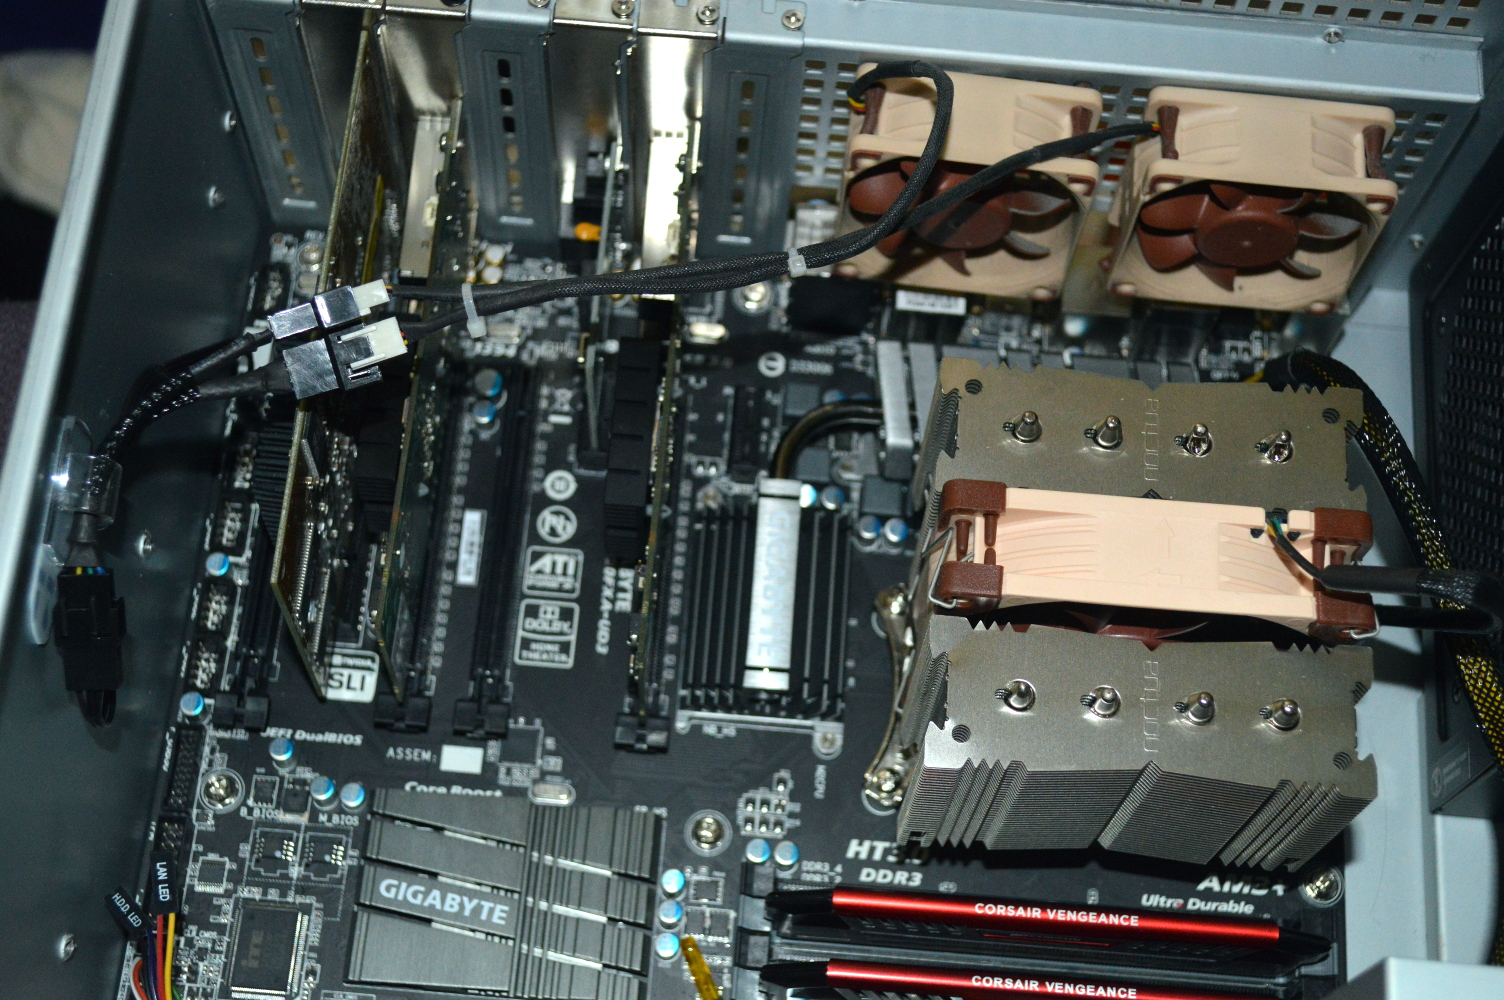
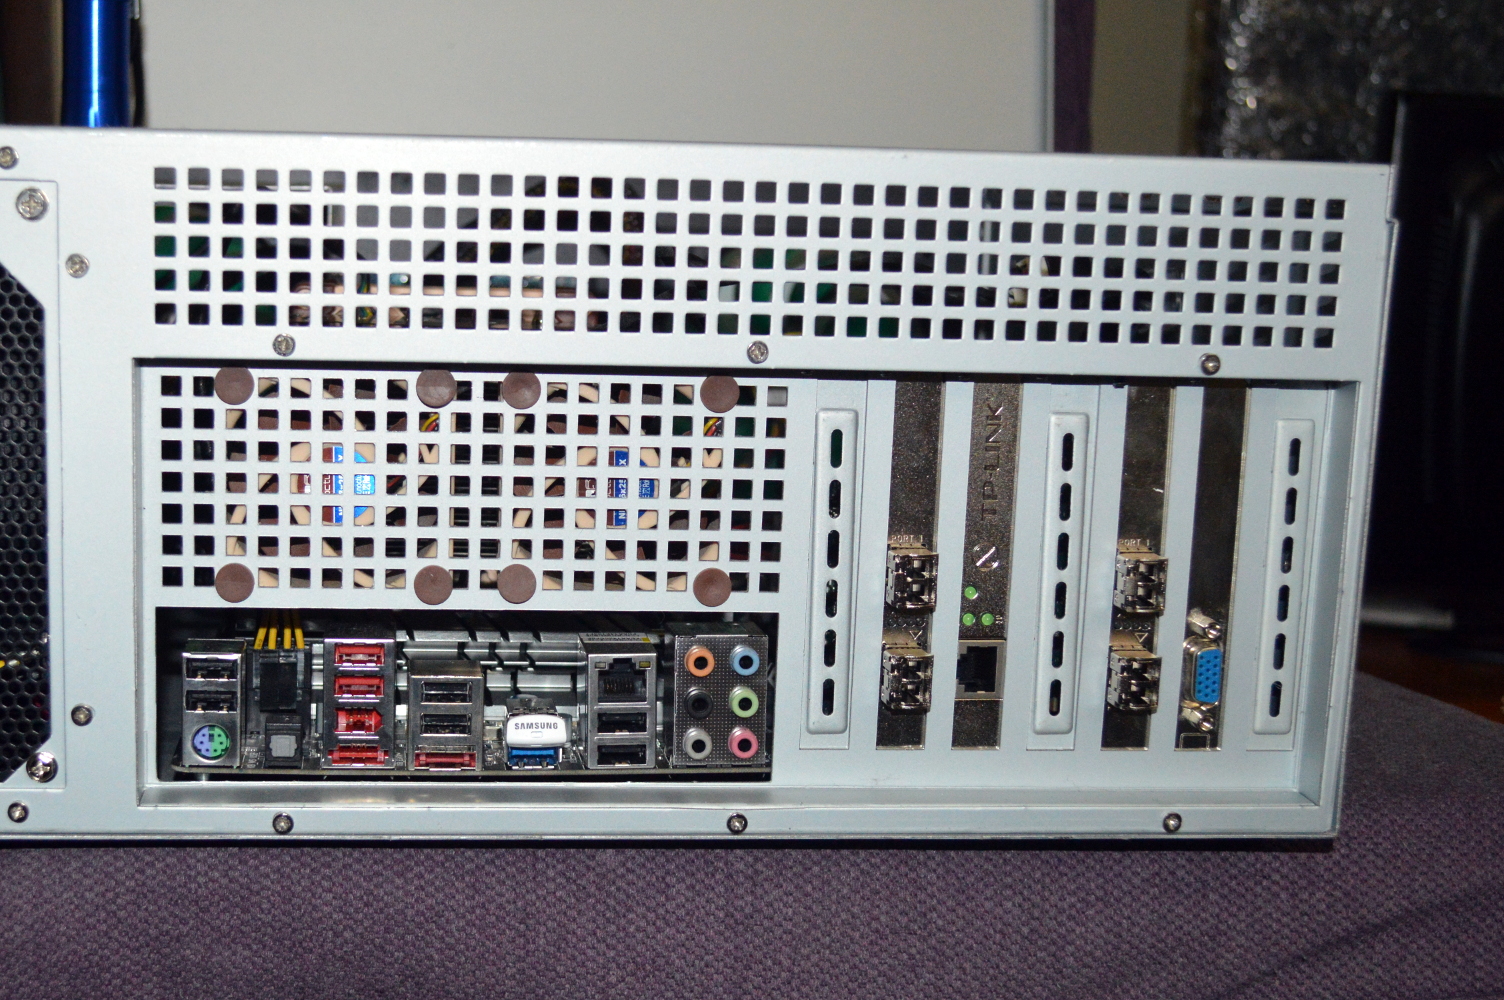
The two blank slots at the back, to the right of the Gigabit card and to the right of the VGA card, are x4 slots, which would allow for two additional single-port cards if I so desired. All of the cards are directly cooled by a 120mm Nanoxia Deep Silence fan.
Installing Mellanox EN driver for Fedora 24 Server
Note: to make a bridge with the Mellanox chipset 10GbE cards, you MUST use the Mellanox driver. The mlnx4_core driver distributed with most Linux distros won’t work for this, at least not out of the box.
After downloading and extracting the files from their repository, run these commands:
dnf install lm_sensors 'perl(Term::ANSIColor)' redhat-rpm-config python-libxml2 rpm-build kernel-devel createrepo
./install --add-kernel-support
/etc/init.d/mlnx-en.d restart
The first makes sure you have the right packages installed — lm_sensors is a good one to have for hardware monitoring, and it will install perl and a few other required packages as part of its dependencies. Another utility to consider is nmon.
The second command builds and installs the drivers for your kernel. If you get an error about the package command not being found, just re-run the command. I’ve sometimes had to run it multiple times for some reason.
While not required, you should also reboot after installing the driver.
Fedora 25 and later: You might be able to force support of the driver for Fedora 25 by changing the scripts to look for “fc25” instead of “fc24”. I have not tried this, so I cannot speak to whether it will work.
Throughput and jumbo frames
In many discussions about 10GbE, jumbo frames comes up. Many have wondered if they need to use jumbo frames to maximize throughput or performance. And the answer largely is “that depends”.
If you are using optical fiber with 10GBase-SR transceivers, jumbo frames is completely unnecessary since optical fiber has a super low latency and is virtually immune to interference.
It largely depends on what you use to measure throughput. iPerf, I’ve found, is far from accurate. It’s great for measuring throughput between two points in a network, but not for hopping junctions.
For example, iPerf reports throughput between my NAS (Nasira) and the switch of about 9.4Gbit, probably as good as I’m going to get. And it reports about 9.3Gbit to 9.4Gbit between Mira and the switch. But between Mira and Nasira, hopping across the switch and jumping between NICs, it reported 4.4Gbit. So what gives?
Have a look at these two file transfers:
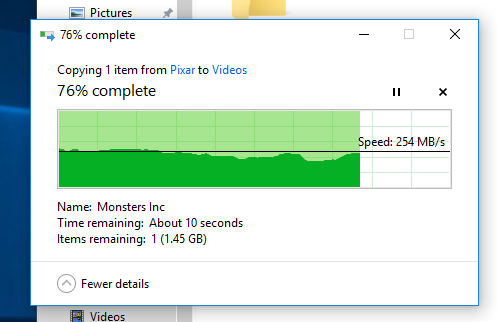
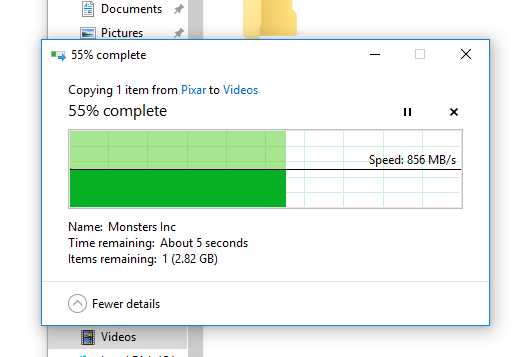
This is transferring a file from the Nasira to Mira. Jumbo frames off. The same connection for which iPerf reported 4.4Gbit throughput. The difference is the first transfer was a non-cached transfer: FreeNAS was reading the file from the ZFS array directly and serving it back to me. Pretty impressive transfer speed unto itself.
But the faster transfer speed, the one sticking to about 850MB per second, is a cached transfer, meaning FreeNAS had the file cached in RAM. Still not a full 10Gbit transfer, but I doubt jumbo frames would max it out since FreeNAS is likely the limitation here since my SSD is a Samsung 950 Pro.
So you should not need to enable jumbo frames to see maximum performance.
Next article for this project will be a retrospective in which I summarize what I’ve discovered during this and provide some tips to determine if this project is right for you.
You must be logged in to post a comment.