- Desert Sapphire
- Desert Sapphire – Part II
- Desert Sapphire – Part III
- Desert Sapphire – Part IV
- Desert Sapphire – Delivered
- Desert Sapphire – one year later
- A few problems to overcome
Two years passed since I last looked at Desert Sapphire.
I was supposed to do maintenance on it last year, but some badly timed food poisoning (when is it ever not badly timed?) on the day I arrived in Boulder City, Nevada, kept me from doing it. And the system’s owner never did anything with it for lack of knowledge. Meaning the system looked no less than disgusting when I got my hands on it to disassemble it.
Most coolants NEED to be cleaned out of a system every year, whether you’re using soft or hard tubing. And the previous coolant was Mayhem’s X1 Clear, mixed from the concentrate.
The owner also never properly kept the system free of dust and debris. He lives in a house with animals, but he kept the system near the floor. I wondered how the system was able to avoid massive thermal issues given the amount of dust and fur trapped between the fans and radiators. It was very, very bad. Never took pictures of it, though it would’ve been good having them as examples of now to NOT maintain a system.
Had I had the time, I would have individually flushed the blocks and radiators with a gallon of distilled water each before reassembling the loop. I did take the time to disassemble the CPU block, though, scrubbing it with dish soap – metal polish would’ve been better.
Before the overnight cleaning with Primochill System Reboot, I attempted to flush the system with distilled water. It was during the push flush that I discovered a couple fittings had developed leaks as well. Both of them were fittings on the pump and drain setup. That needed to be replaced, so I opted for a much simpler setup.

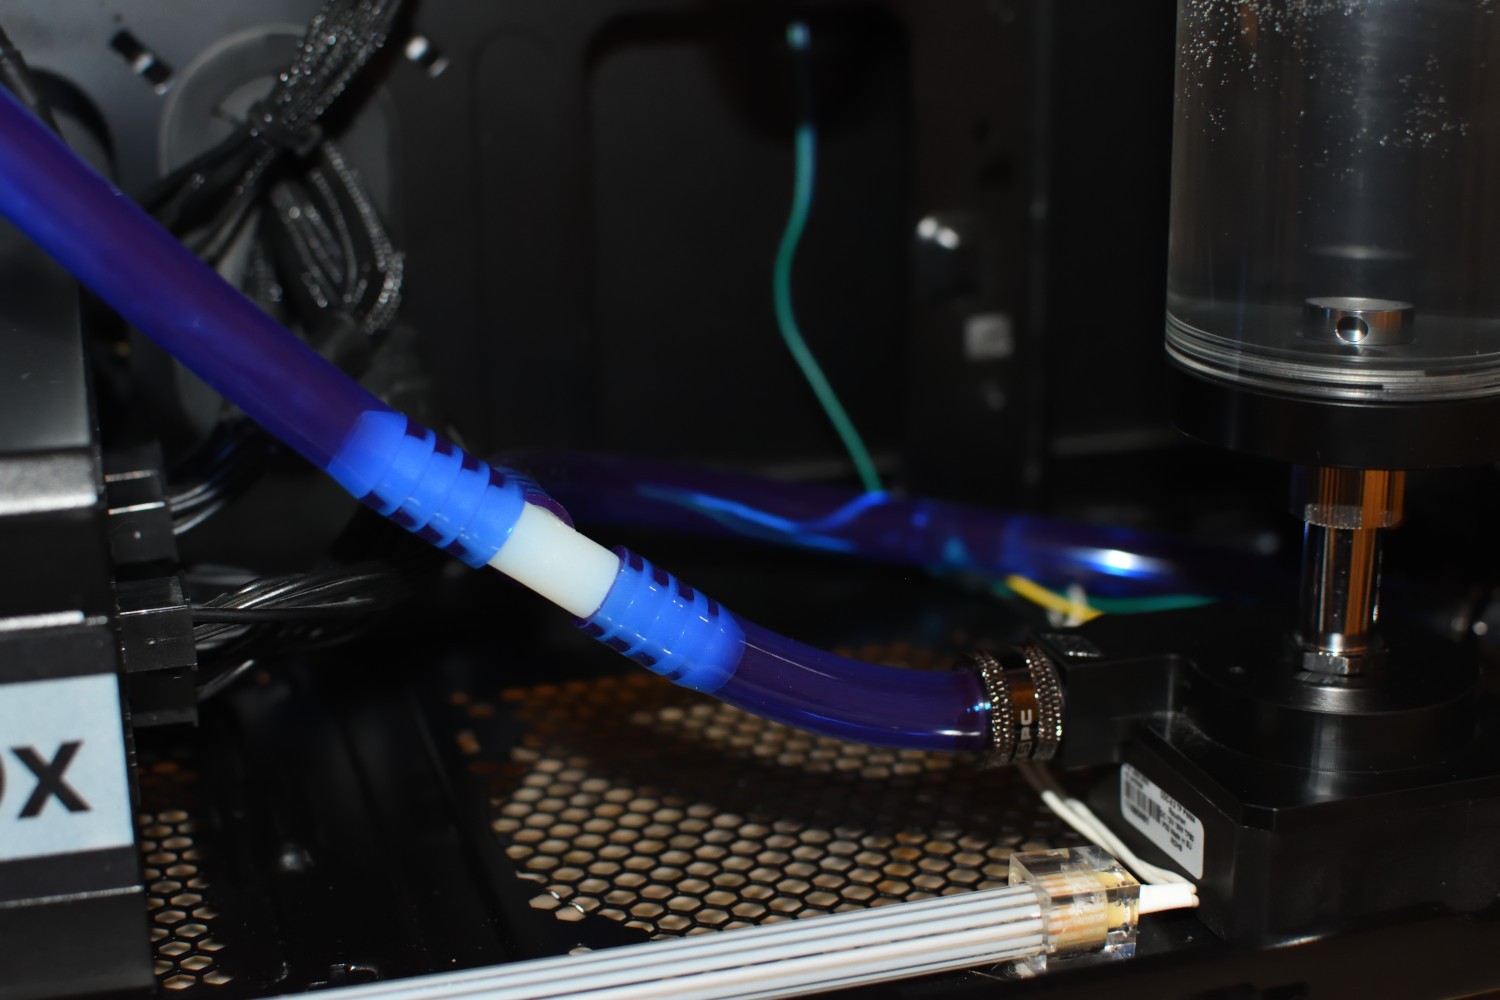
I bought that T-split from Home Depot for under $3 (plus tax). That with a length of tubing and a spare compression fitting I had formed the new drain with the Bitspower valve. I would’ve preferred finding a brass fitting, but the white plastic fitting was all I could find. Sure it doesn’t look the greatest, but it works, and is much, much less expensive compared to a two (2)male-to-male rotary fittings and a 3- or 4-way fitting to make the split for the drain. Brass would’ve looked better, but, again, they didn’t have it in stock.
For the overnight cleaning, I connected the pump directly to the GPU block, then bought the needed components the next evening to finish the assembly. To drain the loop, I had it spill out through the grate below it. I did not have the power supply installed at the time, so there was no danger – all pictures were taken of the final system before it was delivered back to the owner. I followed up by having the return from the radiator go into an empty jug for a distilled water rinse, doing my best to drain as much of the water out as possible – using the syringe to push air through the loop to displace the water.
Wow I really missed focus with that picture…
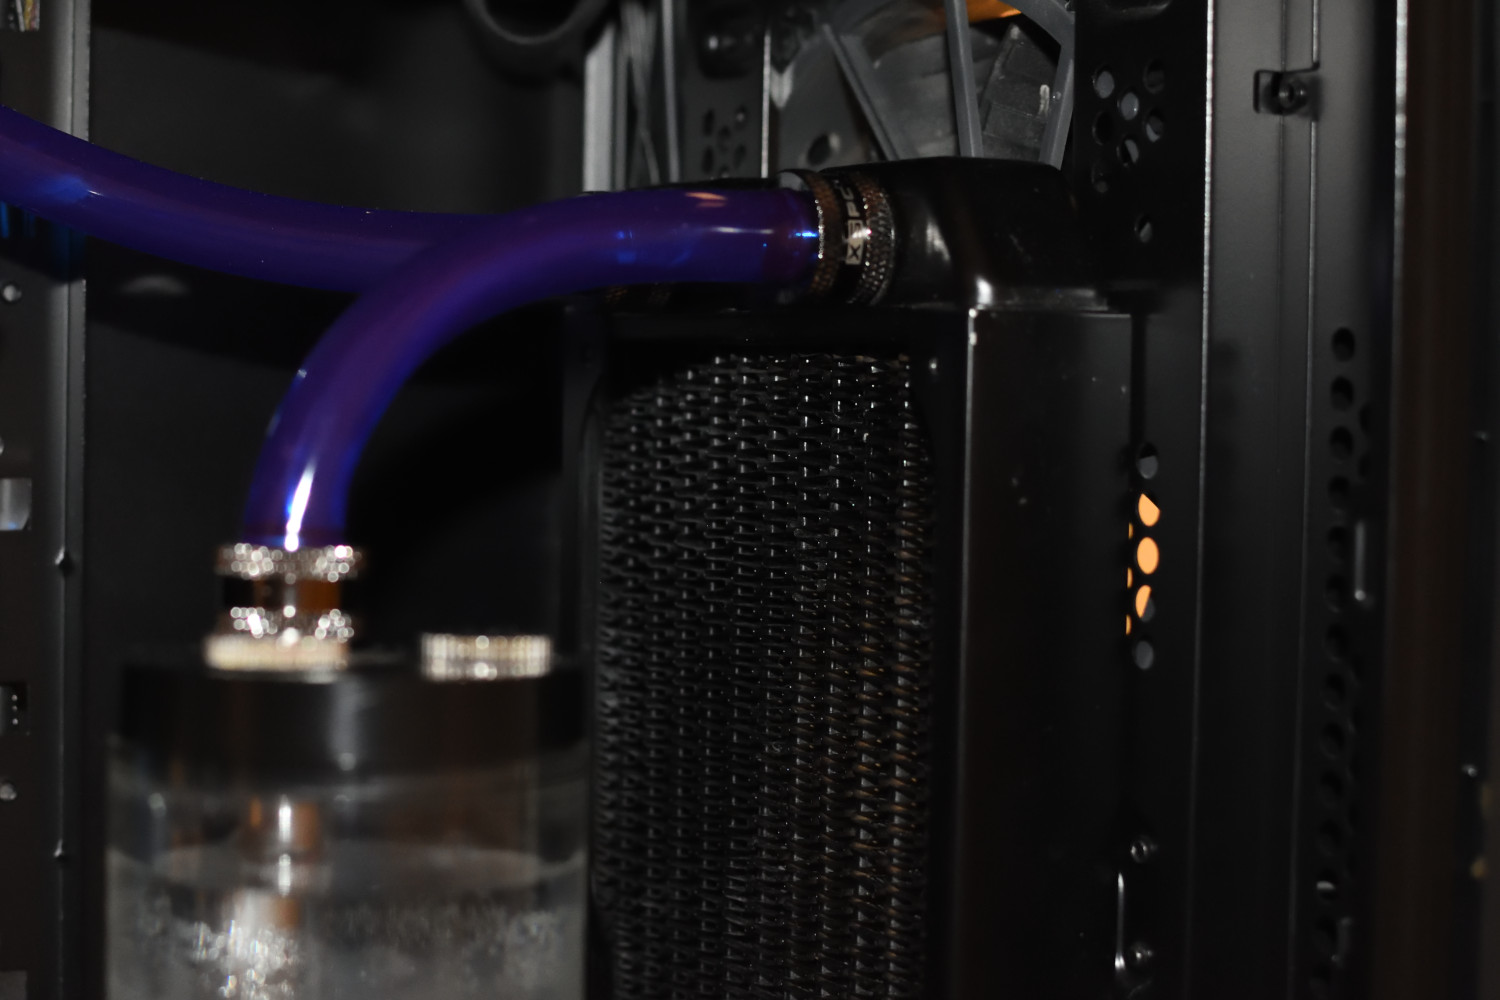
The rest of the loop looks about the same as before, following the same path. The only exception being the return from the front radiator to the reservoir. Note in one of the pictures above that I have a Swiftech SLI fitting between the pump and reservoir. This lowered the reservoir down such that I could have this type of direct return.
The system is otherwise back in operation and working as expected. Again given what I saw when I started working on it this last time around, I’m really surprised he wasn’t having any kind of thermal issues. But I also directed the owner on how to avoid that becoming an issue in the future. And he also said he wouldn’t have the chassis so close to the floor.
So this is likely to be the last iteration on this project depending on what the next year or two brings, and how well the owner keeps up on maintenance. This last visit was an opportunity to talk him through how to maintain the loop, and what he will need in the future – the plastic T-fitting will need to be replaced with the tubing.
I’ve enjoyed working this project as I’ve learned a lot over the last couple iterations maintaining it. And hopefully the owner will be able to maintain it on his own.
You must be logged in to post a comment.