- Desert Sapphire
- Desert Sapphire – Part II
- Desert Sapphire – Part III
- Desert Sapphire – Part IV
- Desert Sapphire – Delivered
- Desert Sapphire – one year later
- A few problems to overcome
The project is now in the client’s hands. Let’s go over the last steps and the final details.
First, the PMP-420 was a no-go. I replaced it with a DDC pump that is still noisy, but not nearly as much as the PMP-420. I still want to figure out how to quiet the pump, so I will be in touch with the client about what to do for the noise. But given the client didn’t mention the pump while standing inches from the cabinet, I’m going to presume it’s not going to be an issue for him. If it is, then we can discuss it.
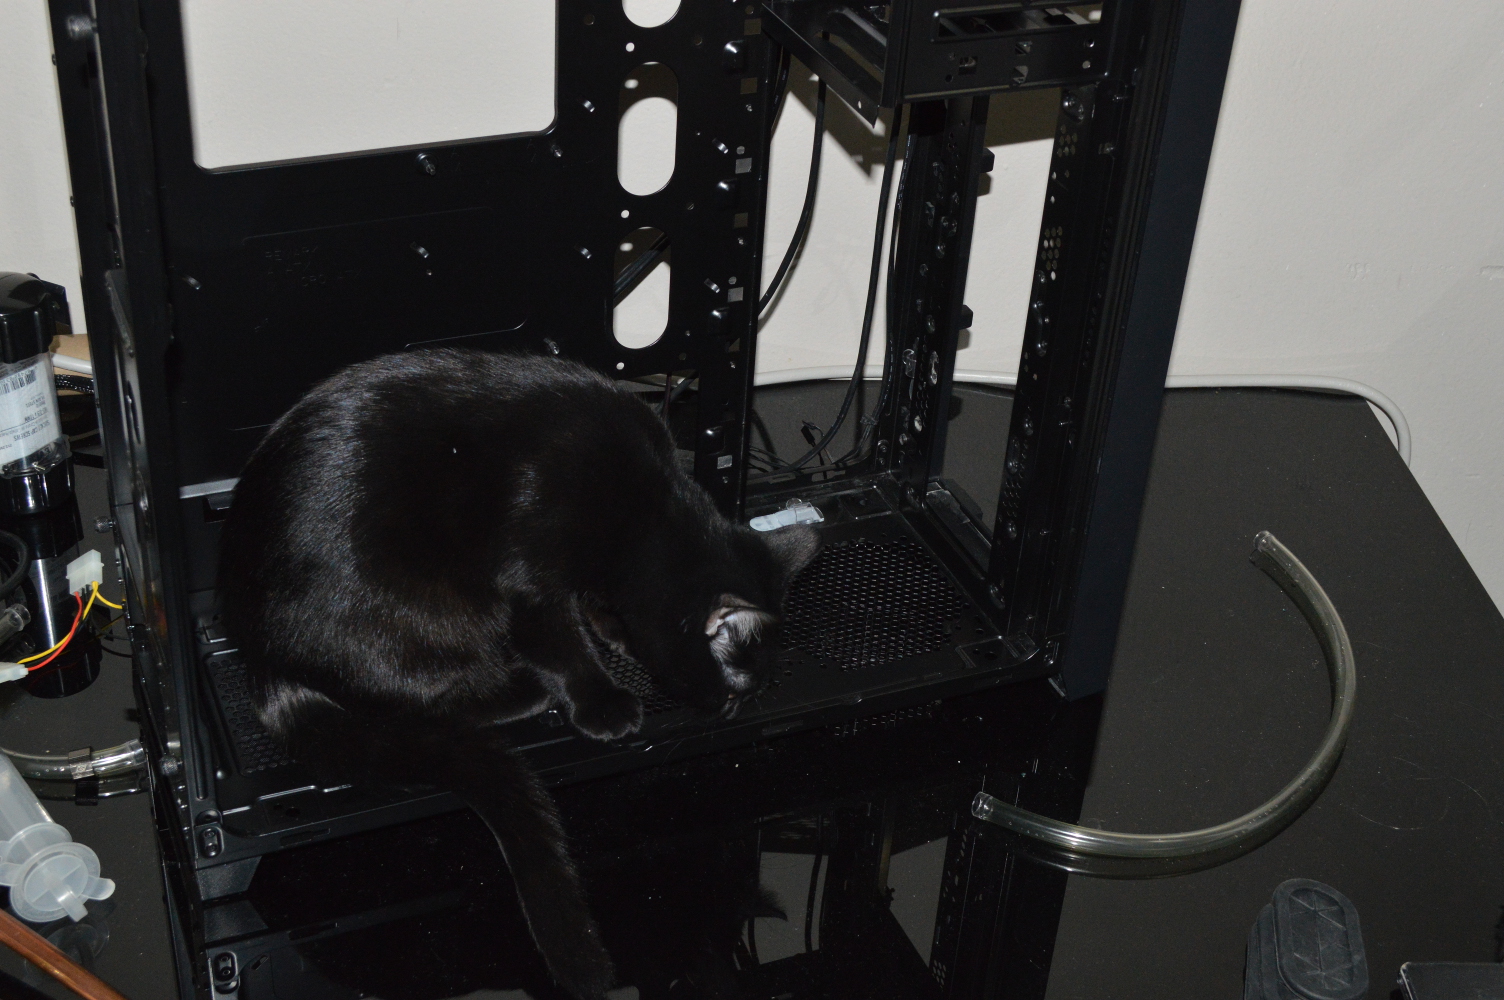
But again, let’s talk last steps. Last I left I said that I got far enough with the system that “it was time”. What I meant on that was tearing down Beta Orionis and stripping everything out of it. And I do mean everything. Alice decided to help. I actually didn’t know that a 7 month-old kitten could fit into the triple 5-1/4″ drive bays…

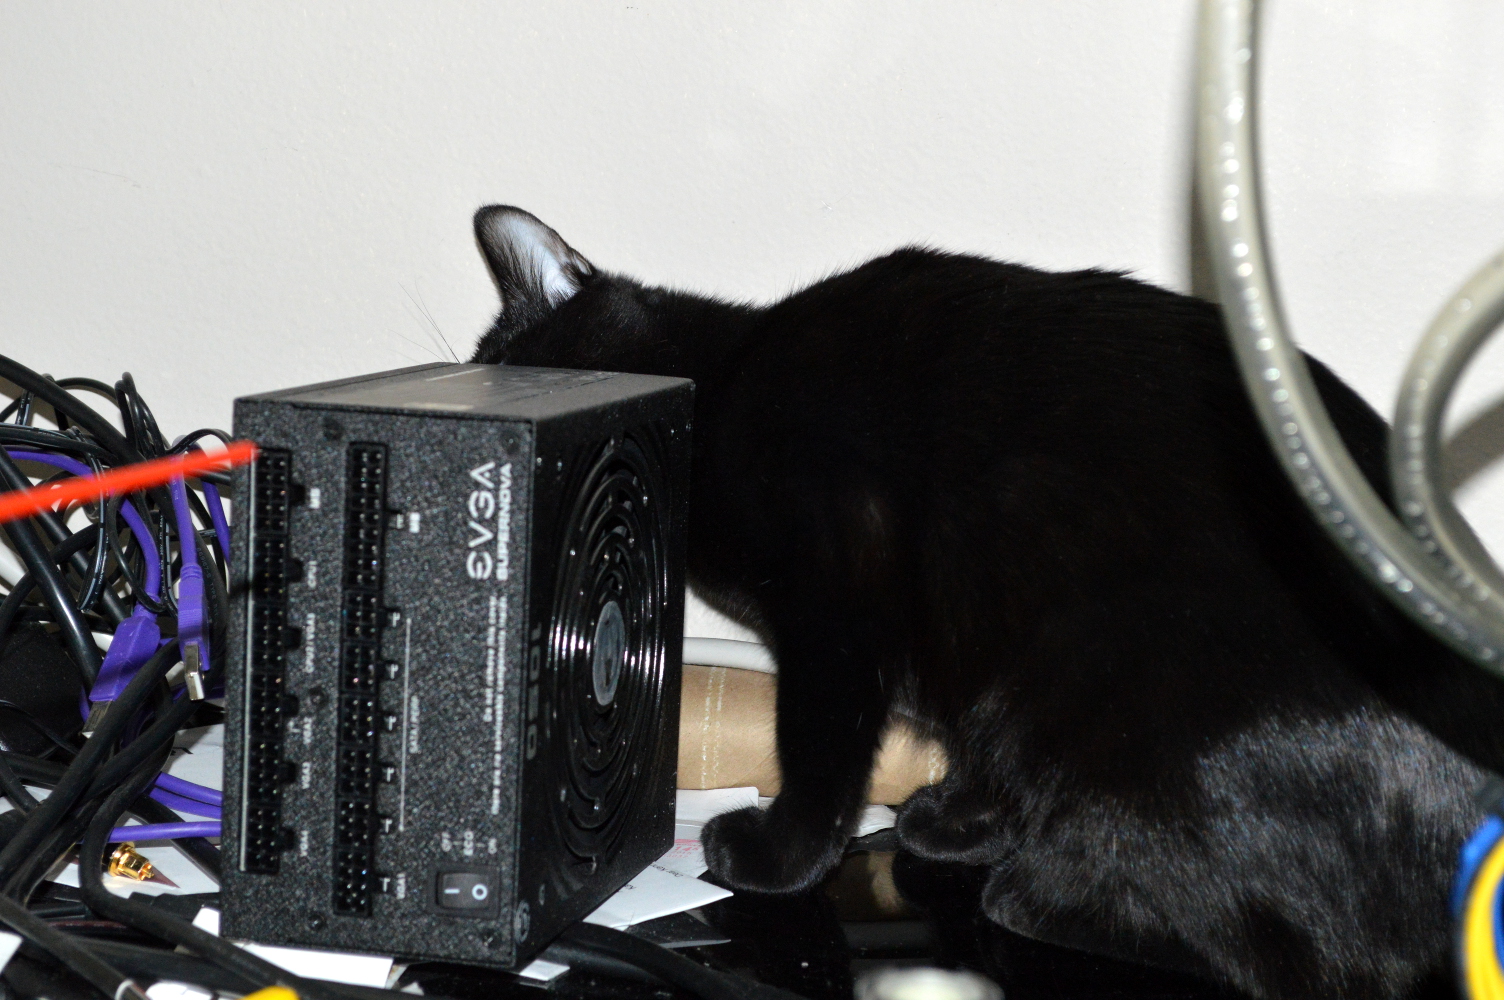
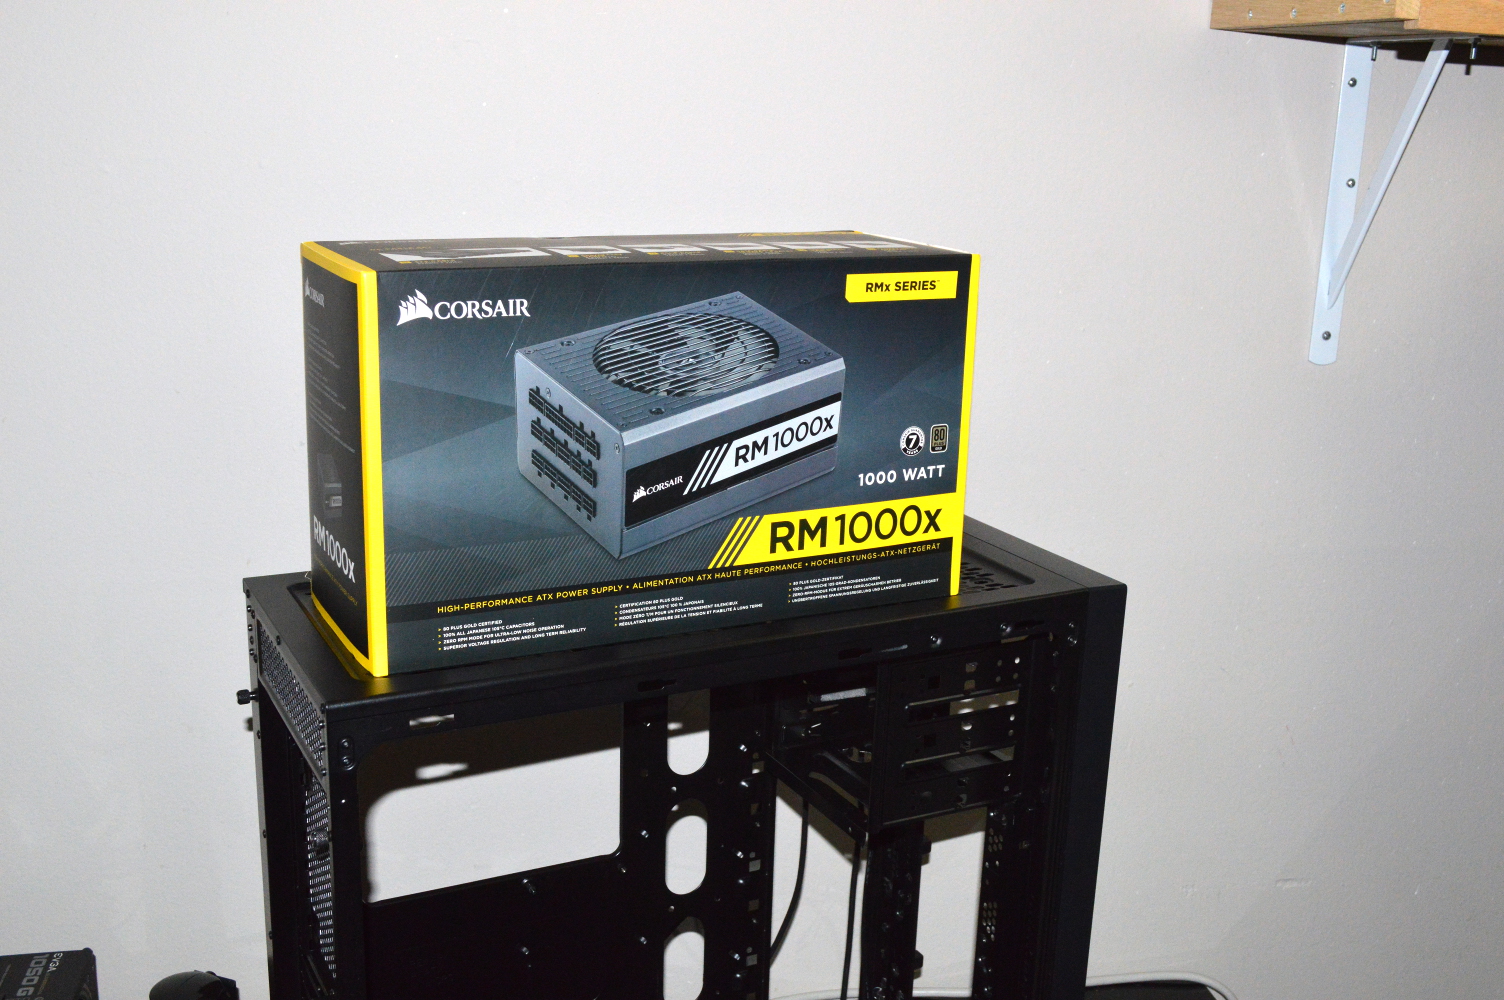
Once everything was out of the case, and Alice gave her approval, I fetched the new power supply. Corsair RM-1000x. I selected this to give the client a very, very good power supply that was going to also be quiet. The pump itself was loud enough. The PSU didn’t need to contribute to it at all. I ran the cabling I knew would be necessary and then fetched the rest of the system from the blue case.

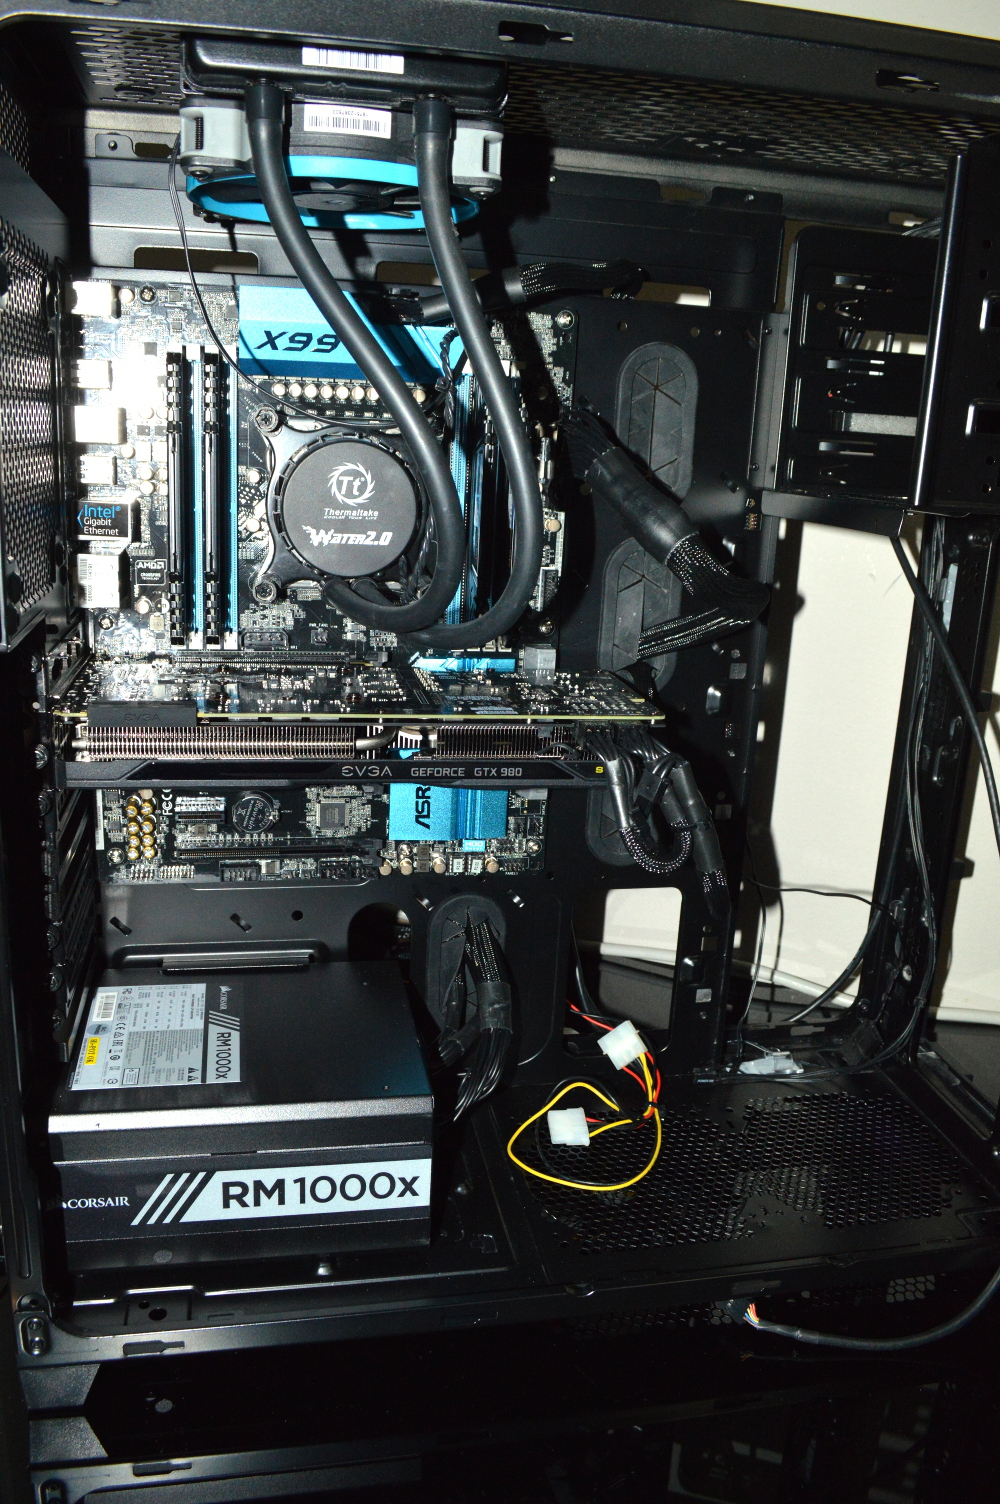
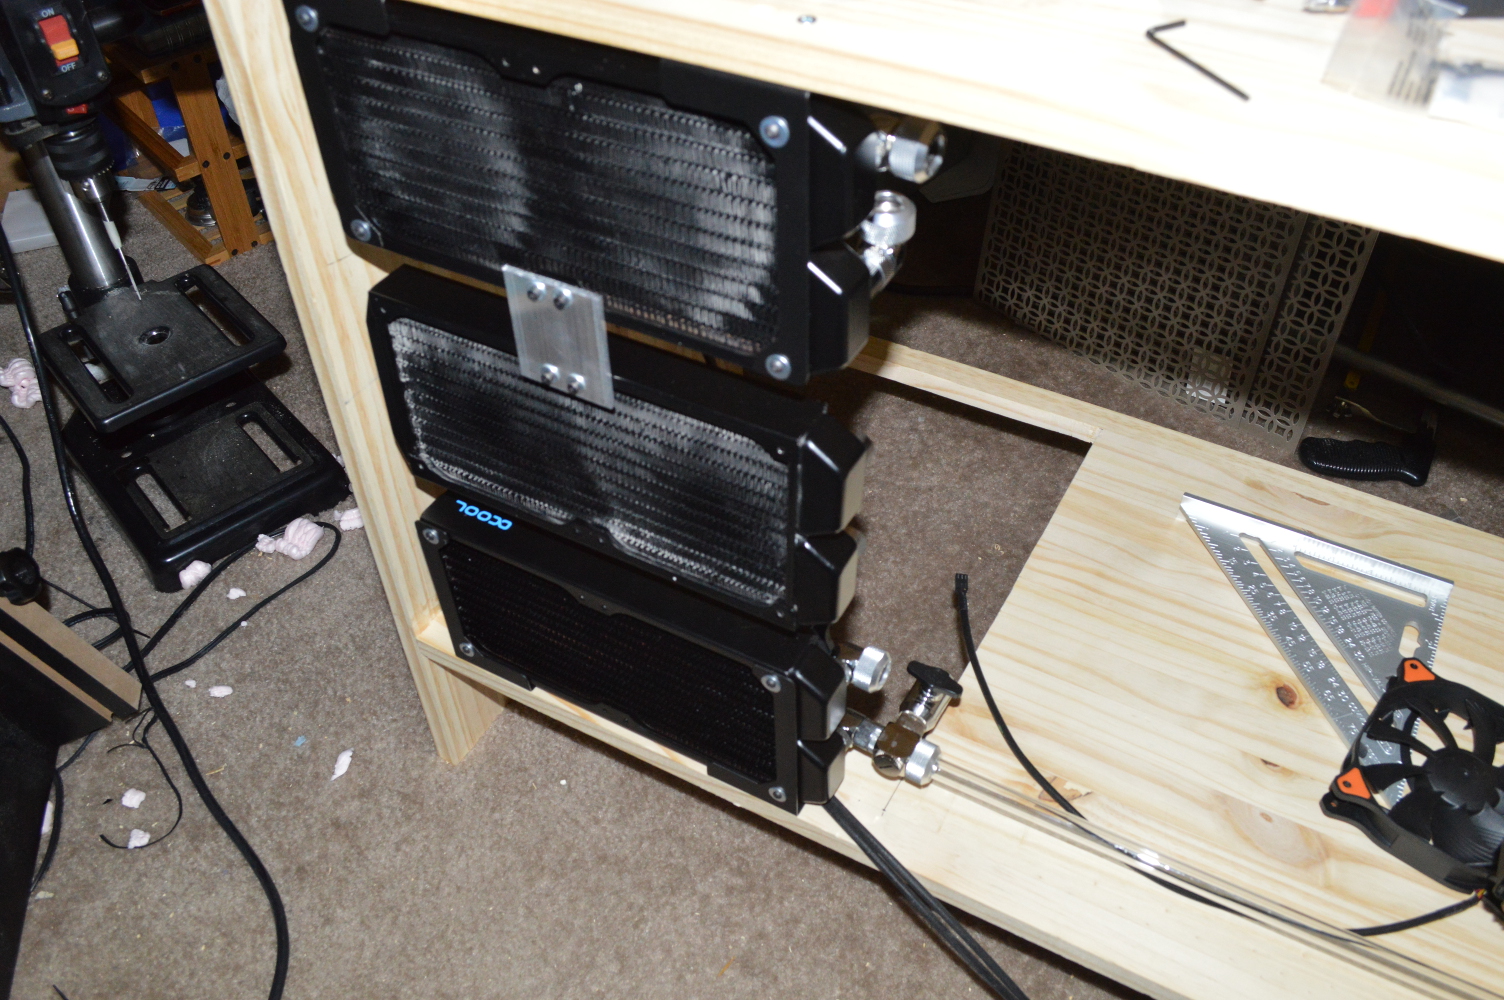
As you can see, I initially mounted the AIO in place along with the graphics card with its air cooler. Since I knew it wouldn’t take long, I wanted to wait before putting on the blocks till either there was nothing left to do, or my back was going to require it. Instead I turned my attention to flushing and mounting the radiators.
And the aluminum piece I mentioned earlier worked like a charm. Remember, though, how I said I had a longer strip of aluminum on order from Grainger? Yeah it didn’t arrive in time… So instead I had no choice but to stick with the piece of aluminum because of the looming delivery date. But it worked exactly as expected and, again, validated all my measurements and math.
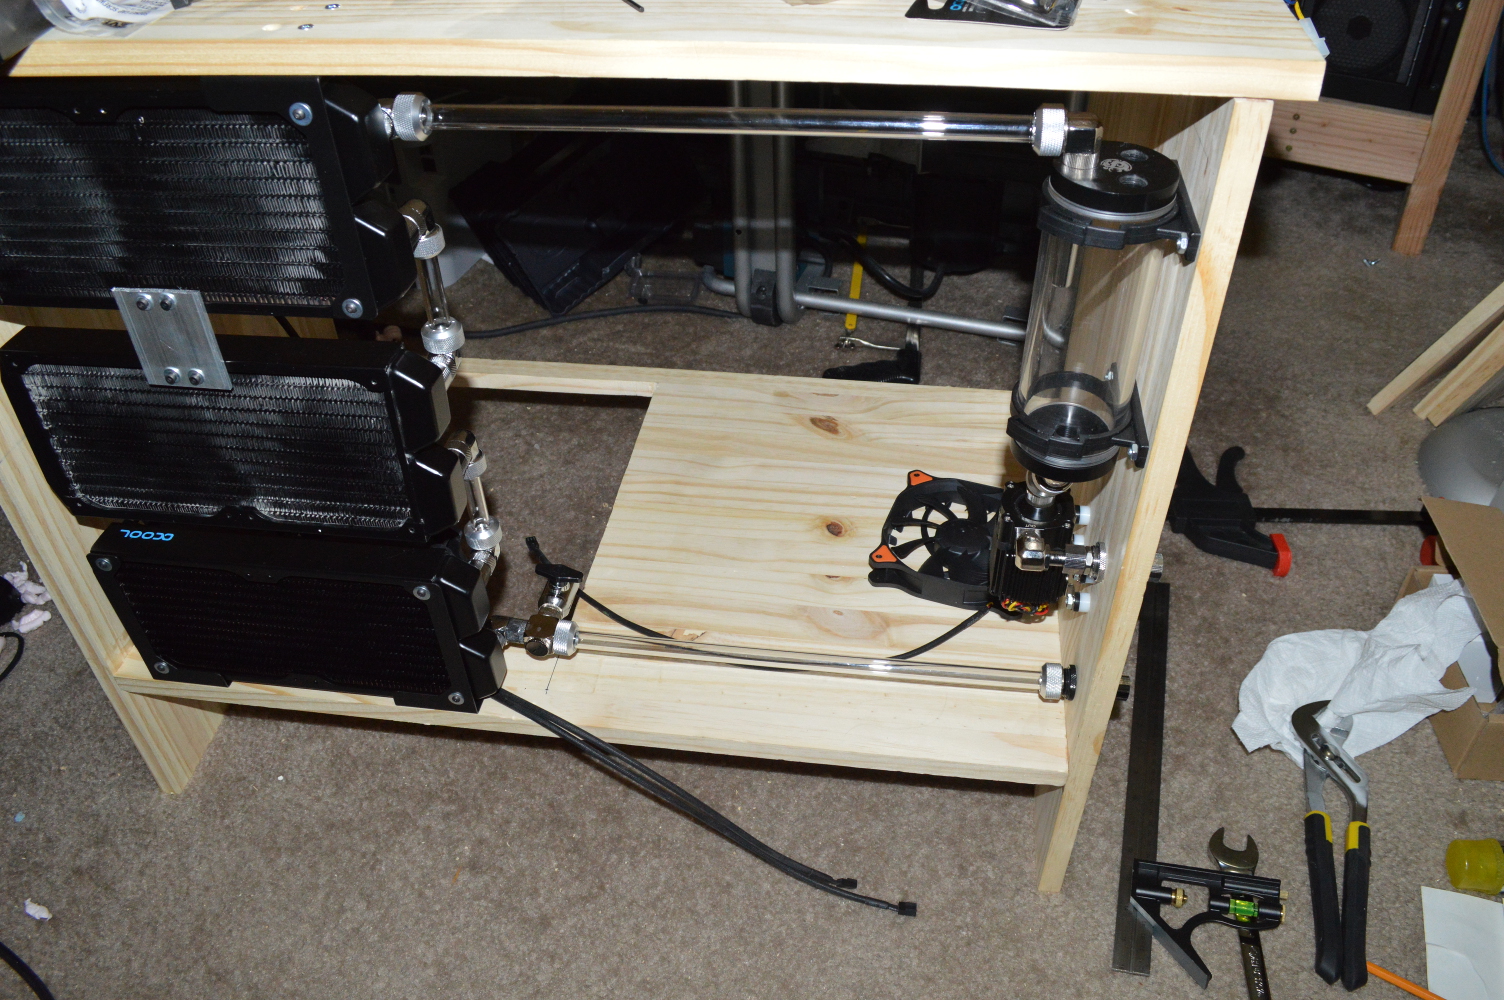
This gave me the chance to cut the rest of the tubing, validating the rest of my math and giving me a small loop I could leak test. While it was leak testing, I turned my attention to the second aluminum bracket and got it into place. With that, I turned my attention to the CPU and graphics card and tubing up the chassis.
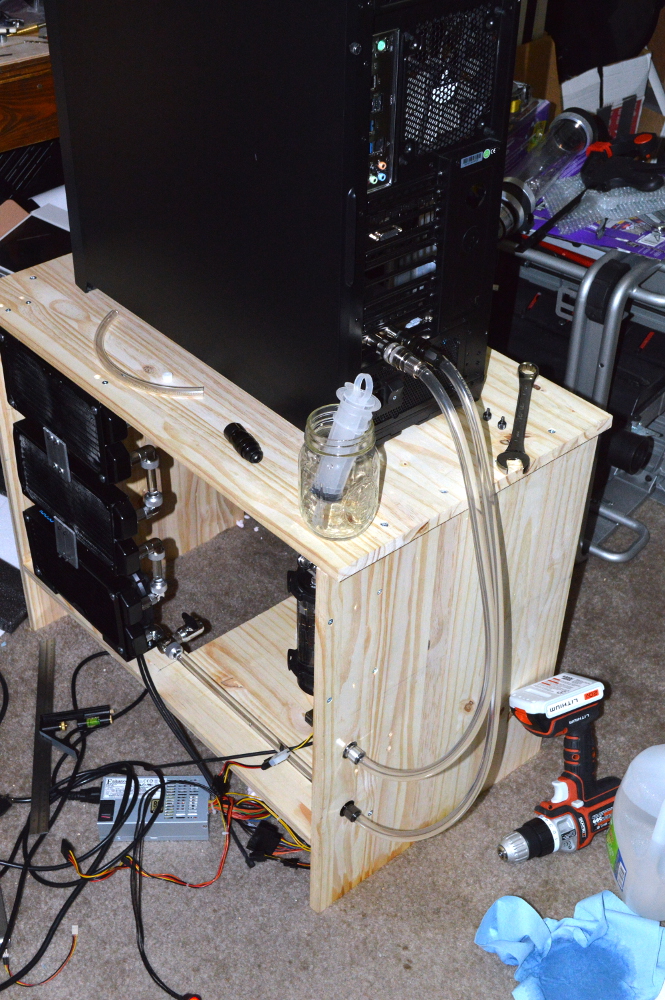
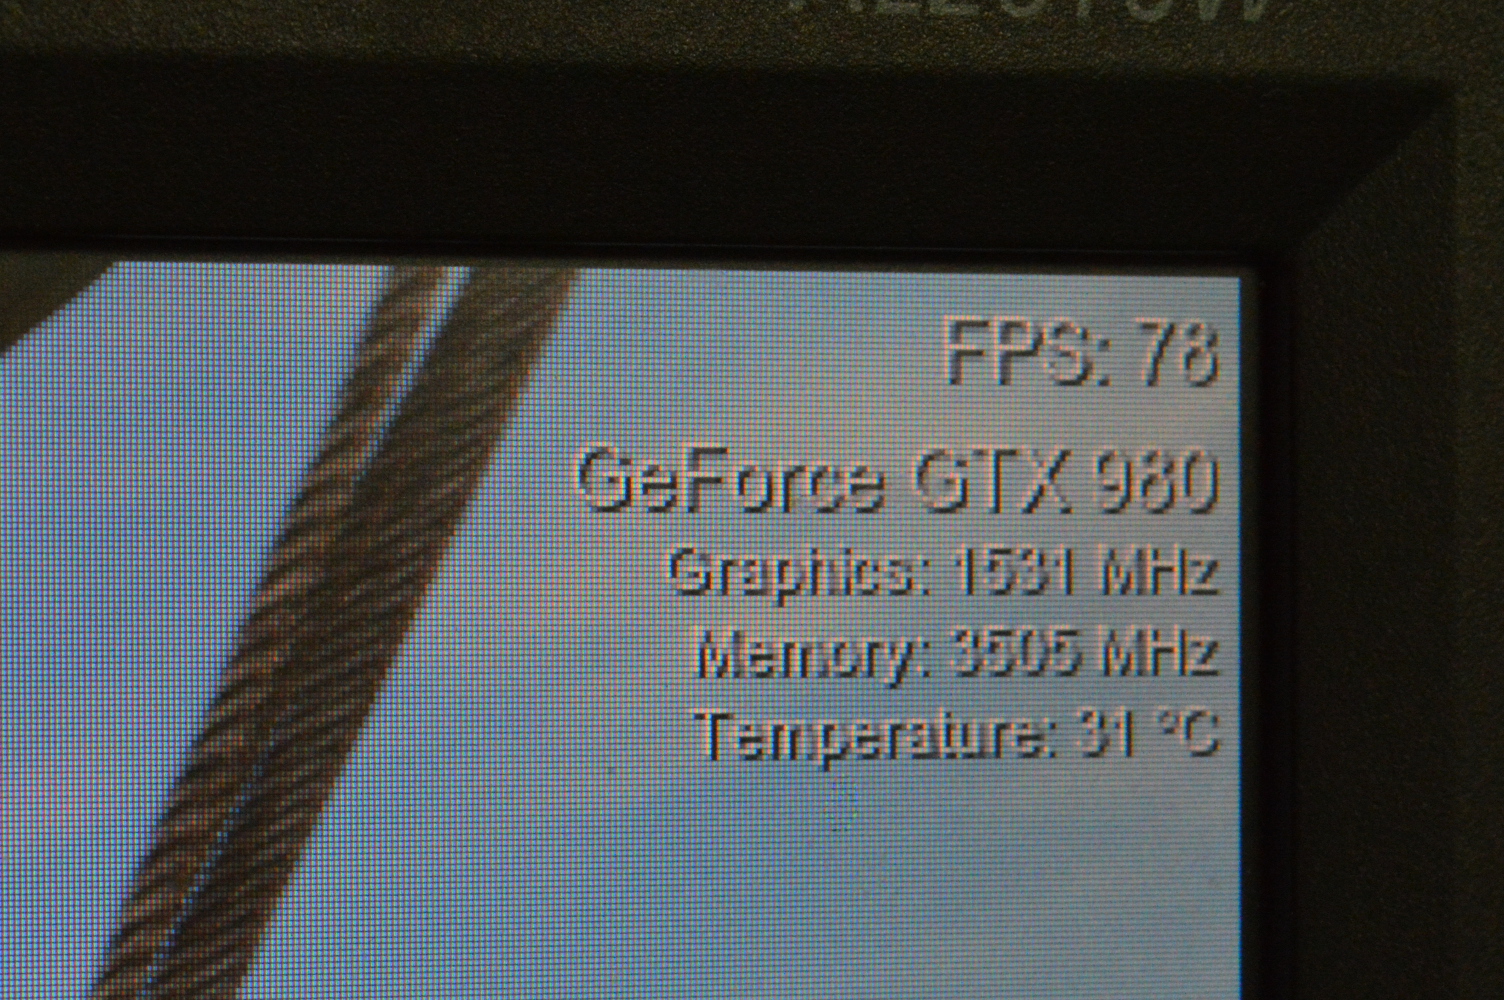
Then it was a matter of cutting the tubing for the quick disconnects and connecting the computer system to its cooling system for a full leak test and some initial temperature testing with straight distilled water. The temperatures were quite phenomenal. Recall that there is an i7-5820k and a GTX 980 connected to 6x120mm of radiator capacity. This is the GPU temperature after Heaven had been running for at least 20 minutes. And no, I’m not making this up.
Unsurprisingly the CPU ran hotter when I had Folding@Home’s StressCPU utility running on all 12 threads, but still struggled to get even into the 40s. The temperatures were a little higher doing the final stress testing in my hotel room in the client’s home town, but not by much.
Retrospective
There are so many things about this project that could’ve gone better to allow more time for the build. For starters, once I discovered that there weren’t really any pre-built cabinet options, I should’ve started on the cabinet sooner. Had I done that, the rest of the system may not have been rushed and all of the planned items would likely have been accomplished. As in I was also looking at kitchen cabinet options at Home Depot seeing if there was something I could adapt instead of looking at the lumber section to see what materials I could meld into a cabinet…
What helped save time on the system, though, once I had dimensions in mind was going with the laminated panels from Home Depot. It saved money as well. So much so that I’m going to be using those panels to make a couple rack cabinets, including one that will replace the rack I built for the Colony West project. You build, you learn. Again, though, I should’ve started building the cabinet sooner than I did, though the delay with the USPS cost me a day as well.
But easily this shows that cooling a system in this fashion is doable, provided you’re willing to expend a little effort. If you can modify a pre-fab cabinet to mount the radiators, then that will probably be the better option. Or you can build something like I did here.
In hindsight, a more impressive demonstration would’ve been using the Zalman Z12 that’s been featured on this blog before. It has virtually no radiator capacity, so seeing that chassis connected up to the cabinet would show quite well that you don’t need a large fucking case to get good radiator capacity.
Instead all you need is just a little ingenuity and imagination.