- Water cooling build in my wife’s computer – Part IX
- Project Absinthe
- Project Absinthe – Part II
- Project Absinthe – Part III
- Project Absinthe – Part IV
- Project Absinthe – Part V
- Project Absinthe – Part VI
- Project Absinthe – Part VII
- Project Absinthe – Part VIII
- Project Absinthe – Part IX
- Project Absinthe – Part X
- Project Absinthe – Part XI
- Project Absinthe – Part XII
- Project Absinthe – Part XIII
- Project Absinthe – Part XIV
- Project Absinthe – Part XV: It’s alive!
- Project Absinthe – Intermission and future plans
- Project Absinthe – Part XVI
- Absinthe – Part XVII
- Absinthe – Part XVIII
- Absinthe – Part XIX: Valentine’s Day
- Absinthe – Part XX
- Distilling another batch of Absinthe
- Distilling Absinthe – Part II
- Distilling Absinthe — Part III
- Another glass of absinthe
- Another glass of absinthe — II
- Adjusting the recipe
- Absinthe to Amethyst
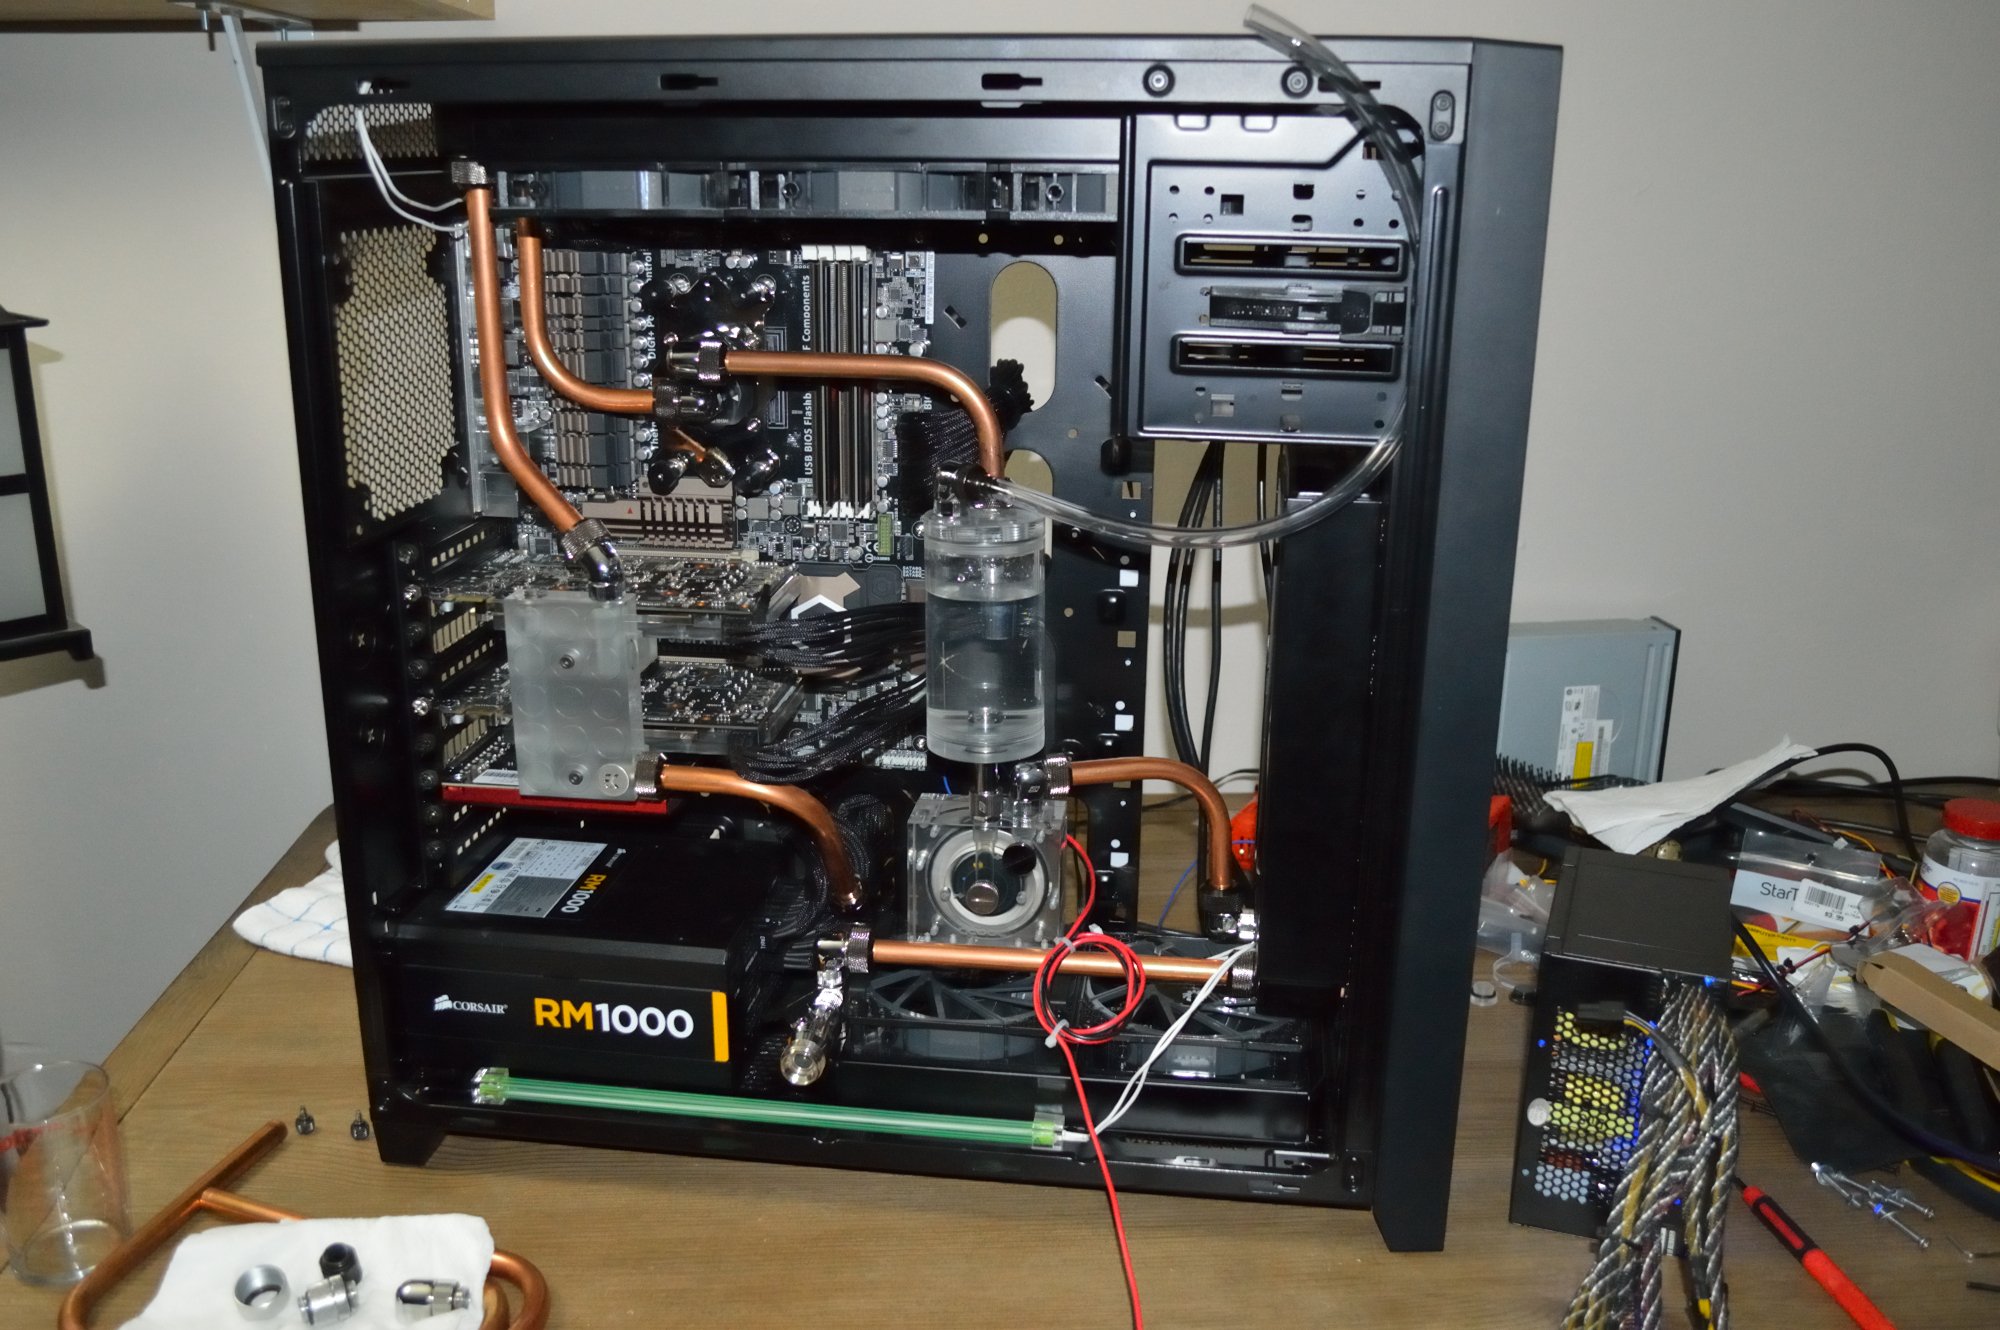
As planned the loop in Absinthe was upgraded to three radiators. To be honest, ahead of this I wasn’t expecting it to work. A 2x120mm radiator plus an RM1000 sitting in the bottom of the Corsair 750D. It works…
The work started this past Friday evening when I flushed the radiator and assembled the fittings onto it.
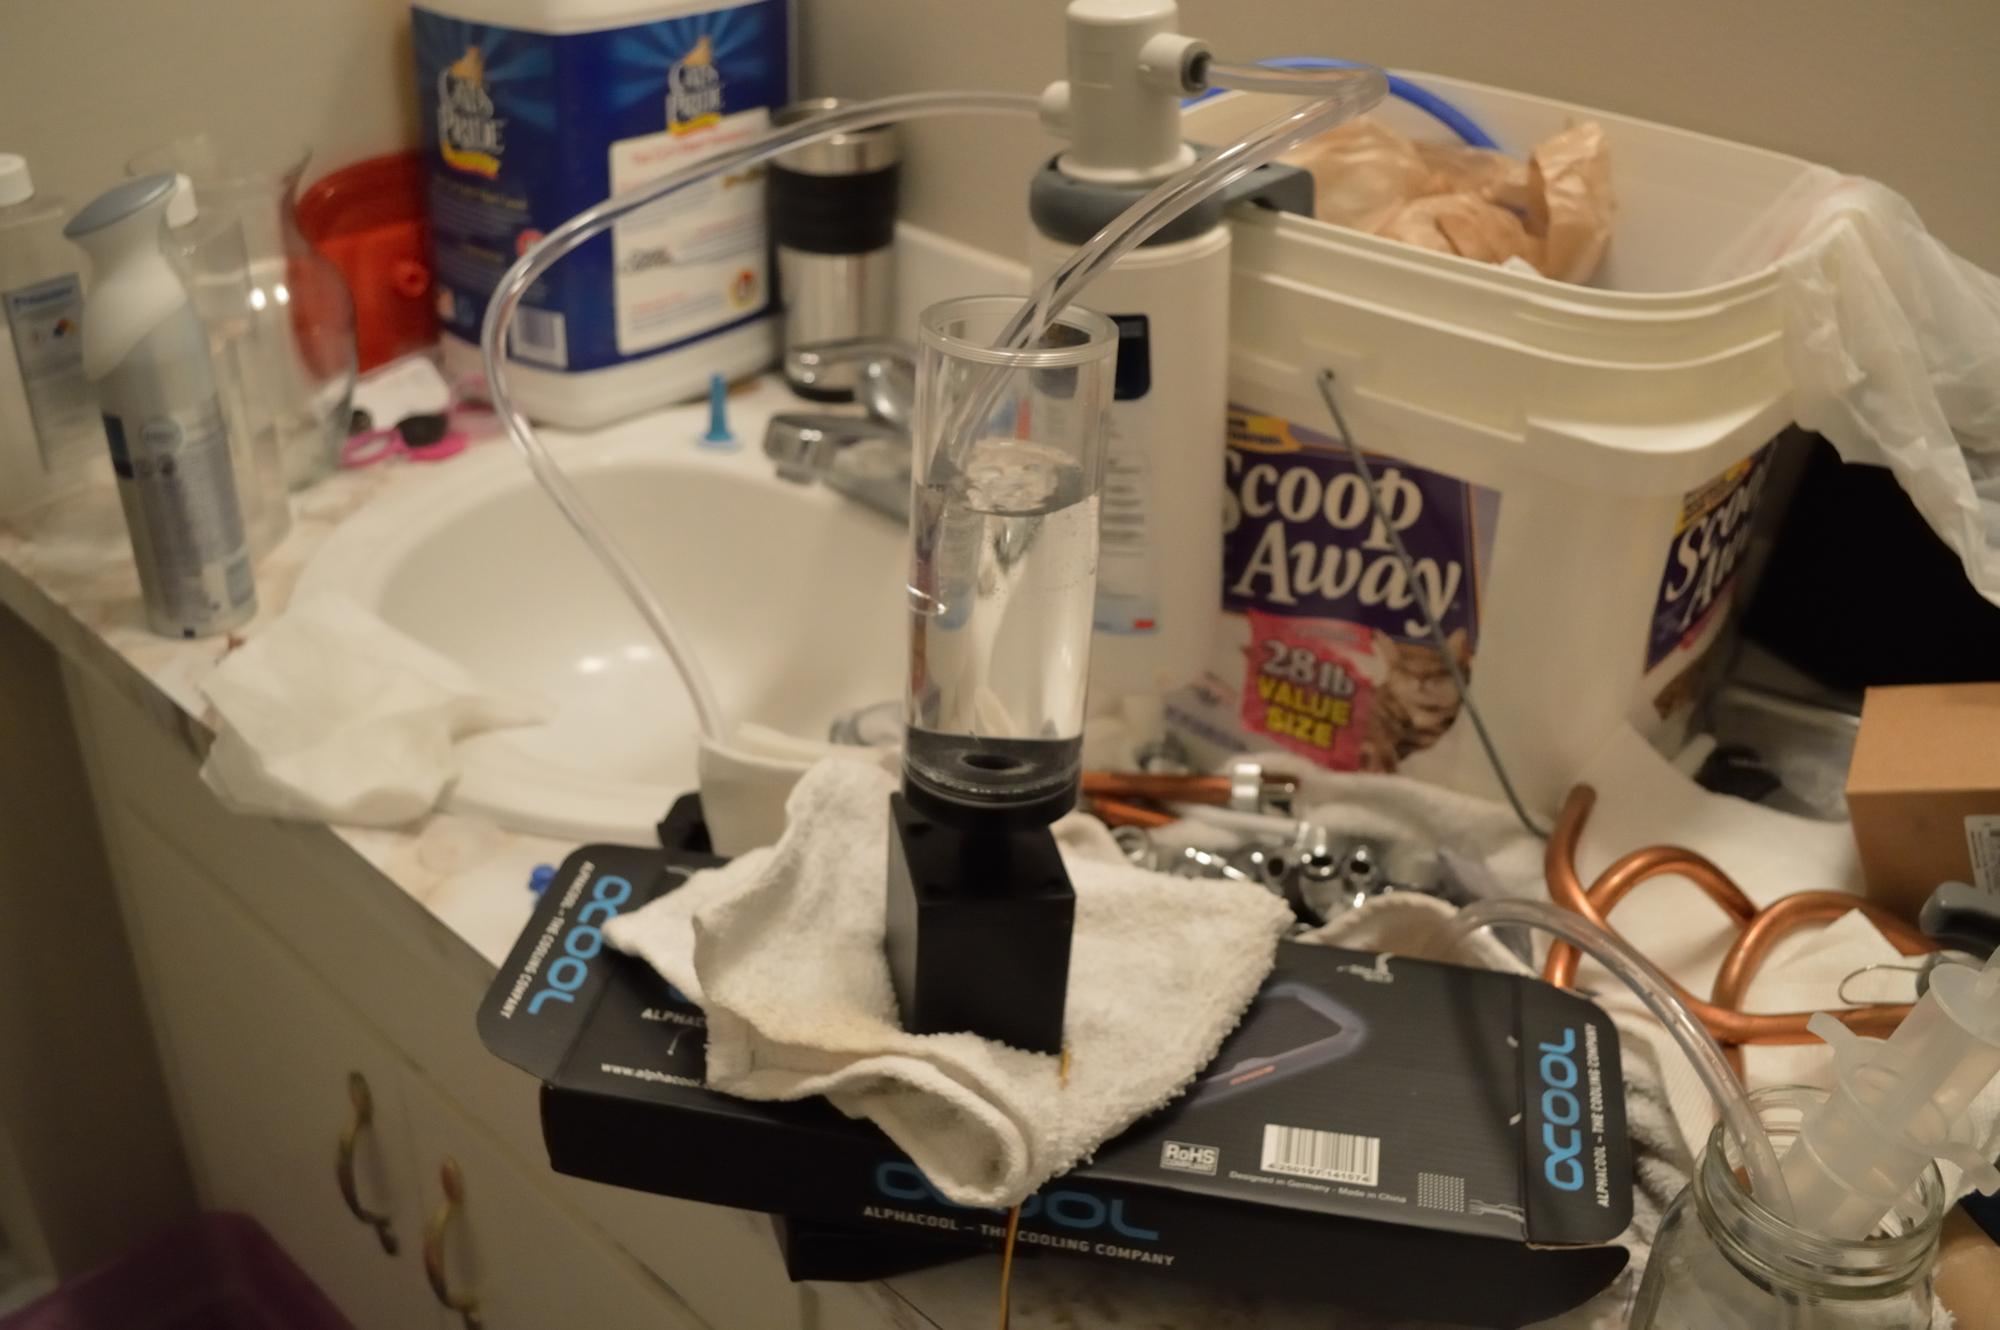
I used a gallon of water for a straight flush before setting it up into a loop through my water filter for a filtered run to get any leftover. Then my wife and I planned for the next day.
Saturday
I woke up before my wife on Saturday and took advantage of the time to tear down her computer as far as possible to move onto another table. I just wanted to eliminate as much bulk from the system as I could. I was starting with a full loop and a tower with quite a bit of hardware in it.

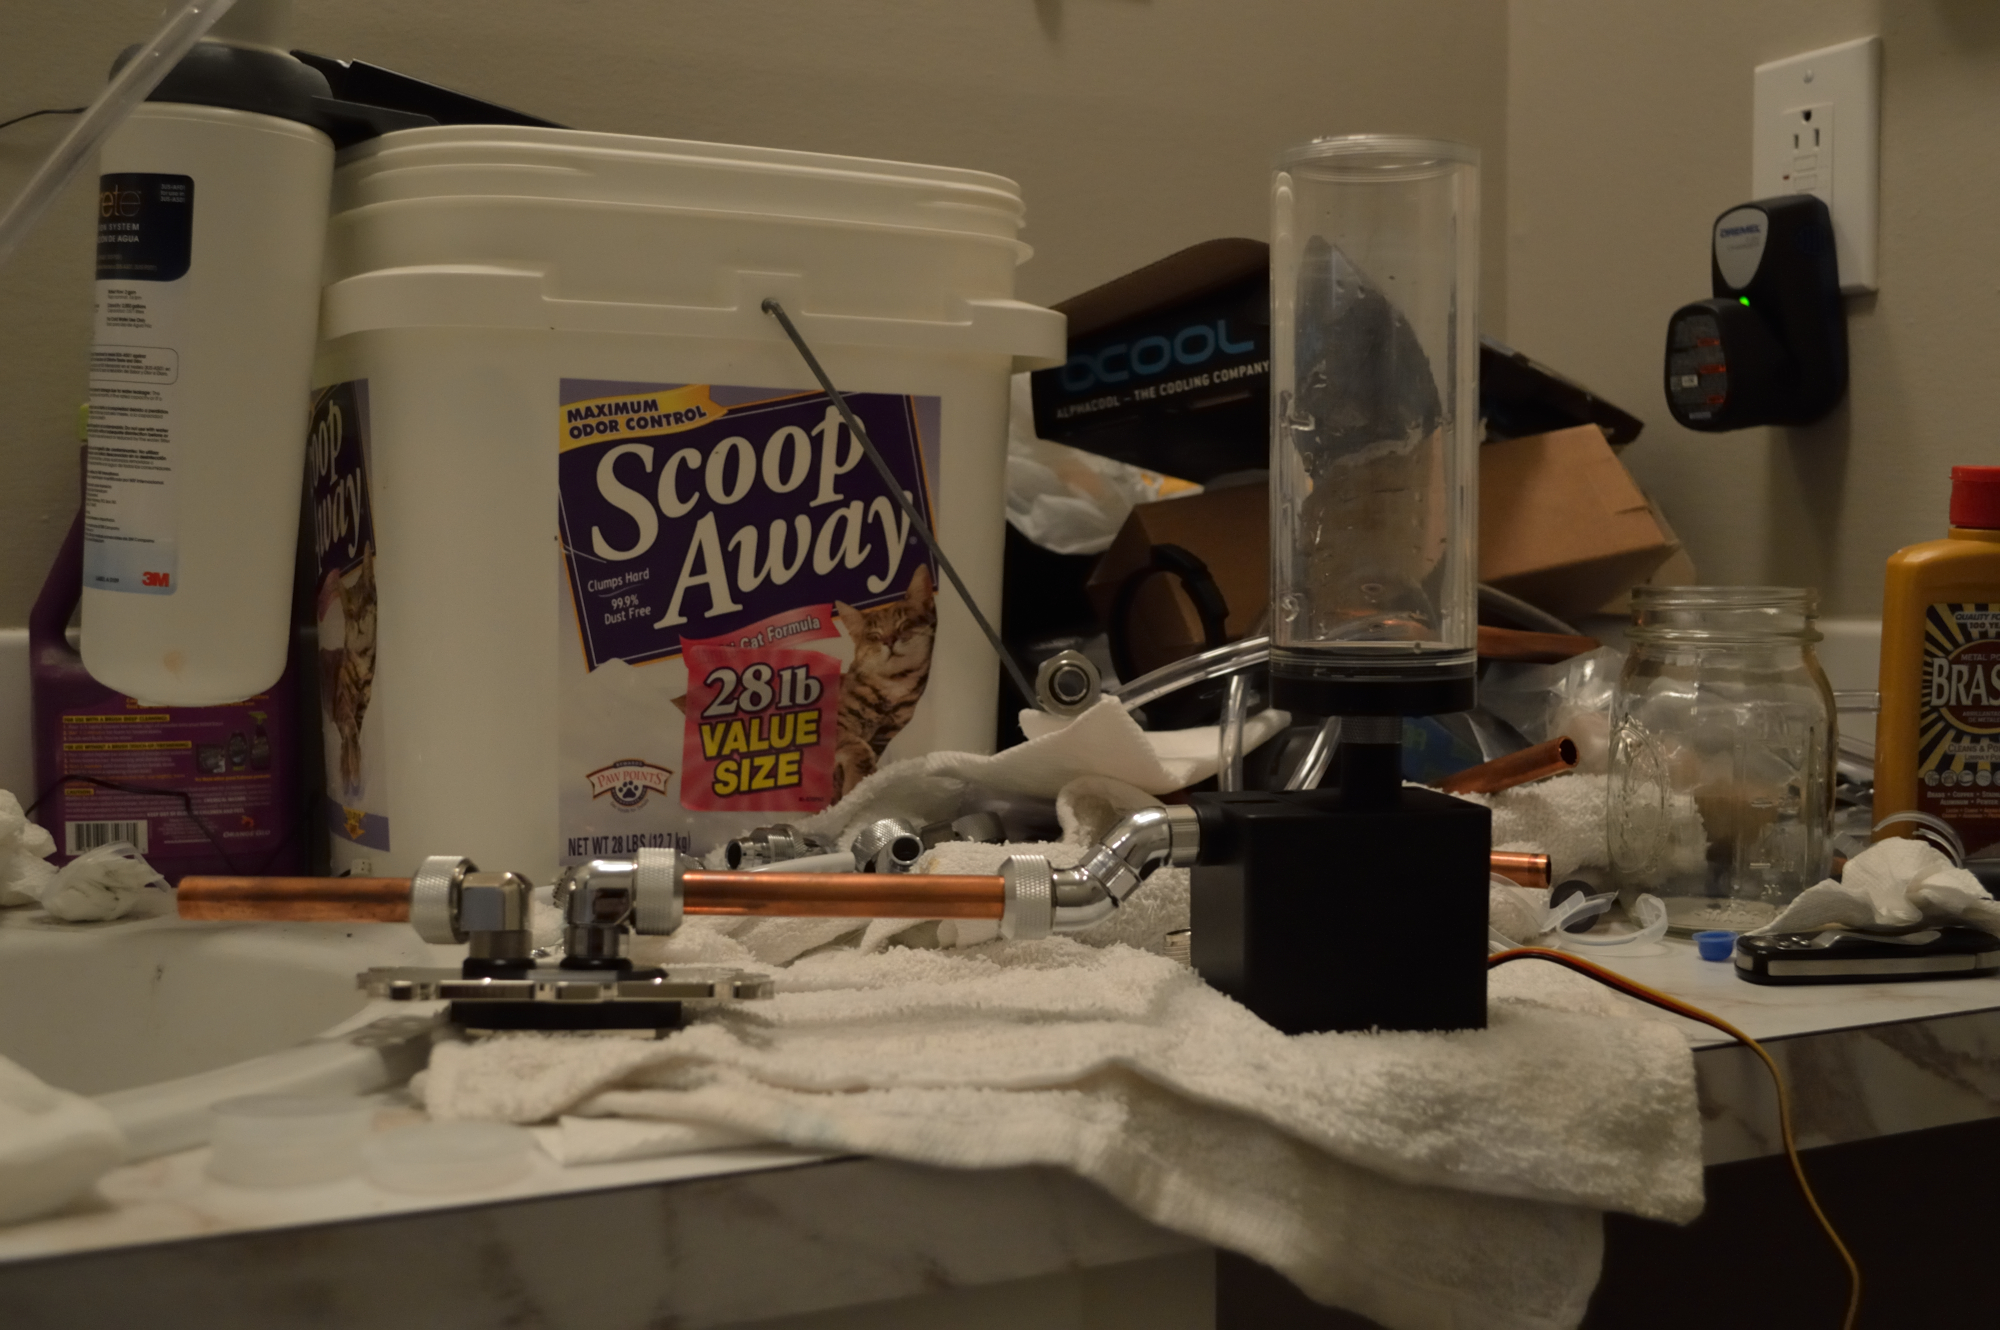
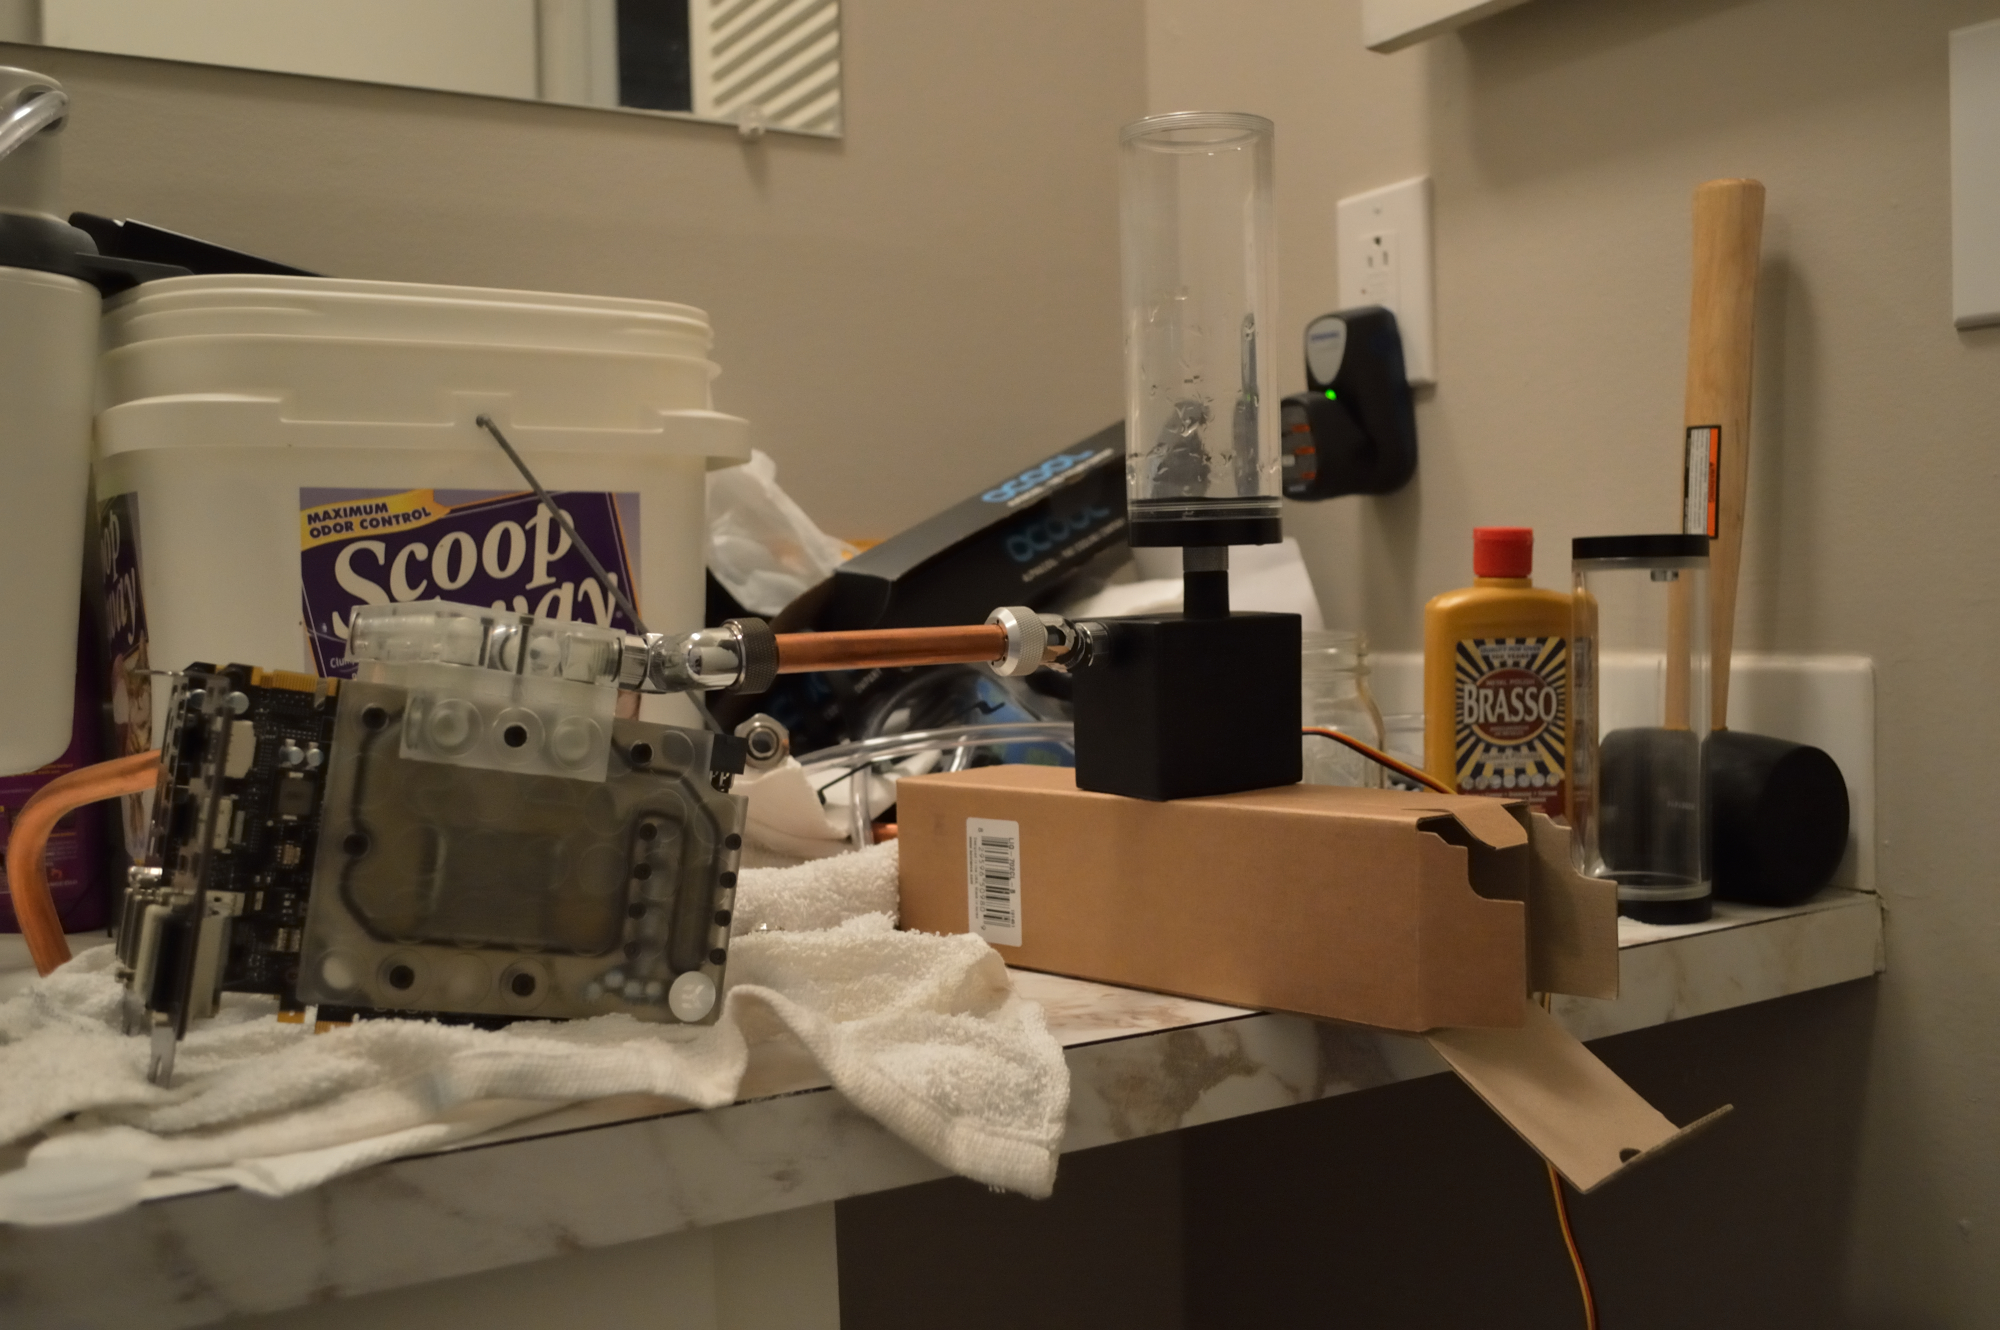
And really the problem was simply that it was heavy. I drained the loop as far down as I could first, then started tearing everything apart one piece of copper at a time. Once everything was out, I hooked them up to the spare pump and reservoir for a flush. The radiators were pretty straightforward. The CPU block and GPU setup required a little improvisation.
Then came actually installing the radiators back into the system. Recall from the Absinthe “intermission” article that I said your loop needs to be planned around your radiators. And recall from the start of this article that I wasn’t even entirely sure this would work. I knew from building Beta Orionis that the three radiators would fit into the case. It was the power supply that was the concern. The fact I would need to use extension fittings to get the hardline fittings above the edge of the fans helped convince me this could happen.
But the whether I could get the power cables around everything would determine the success of this idea.
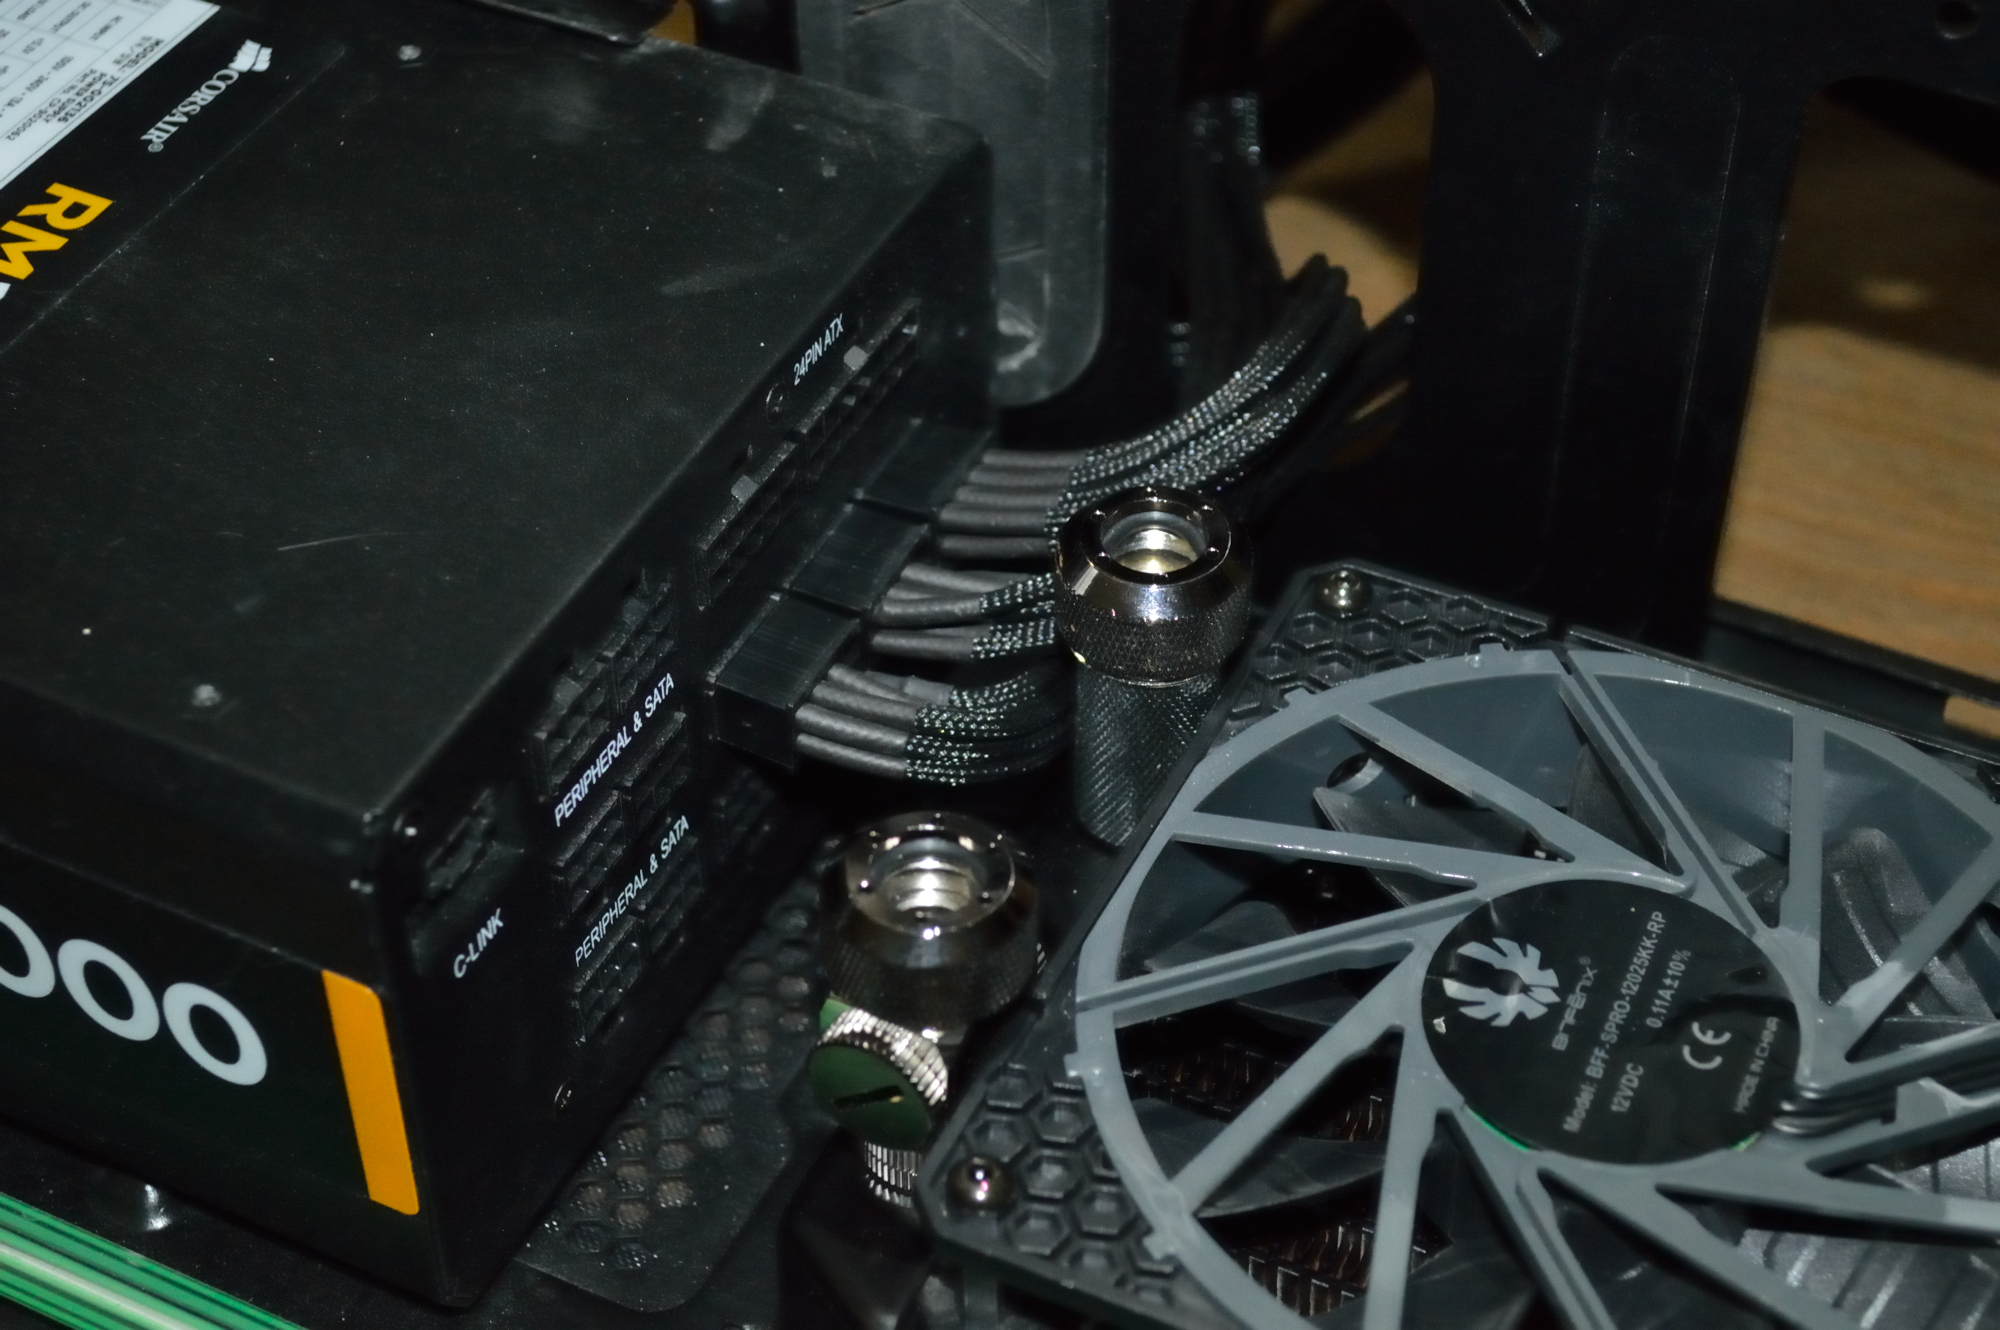
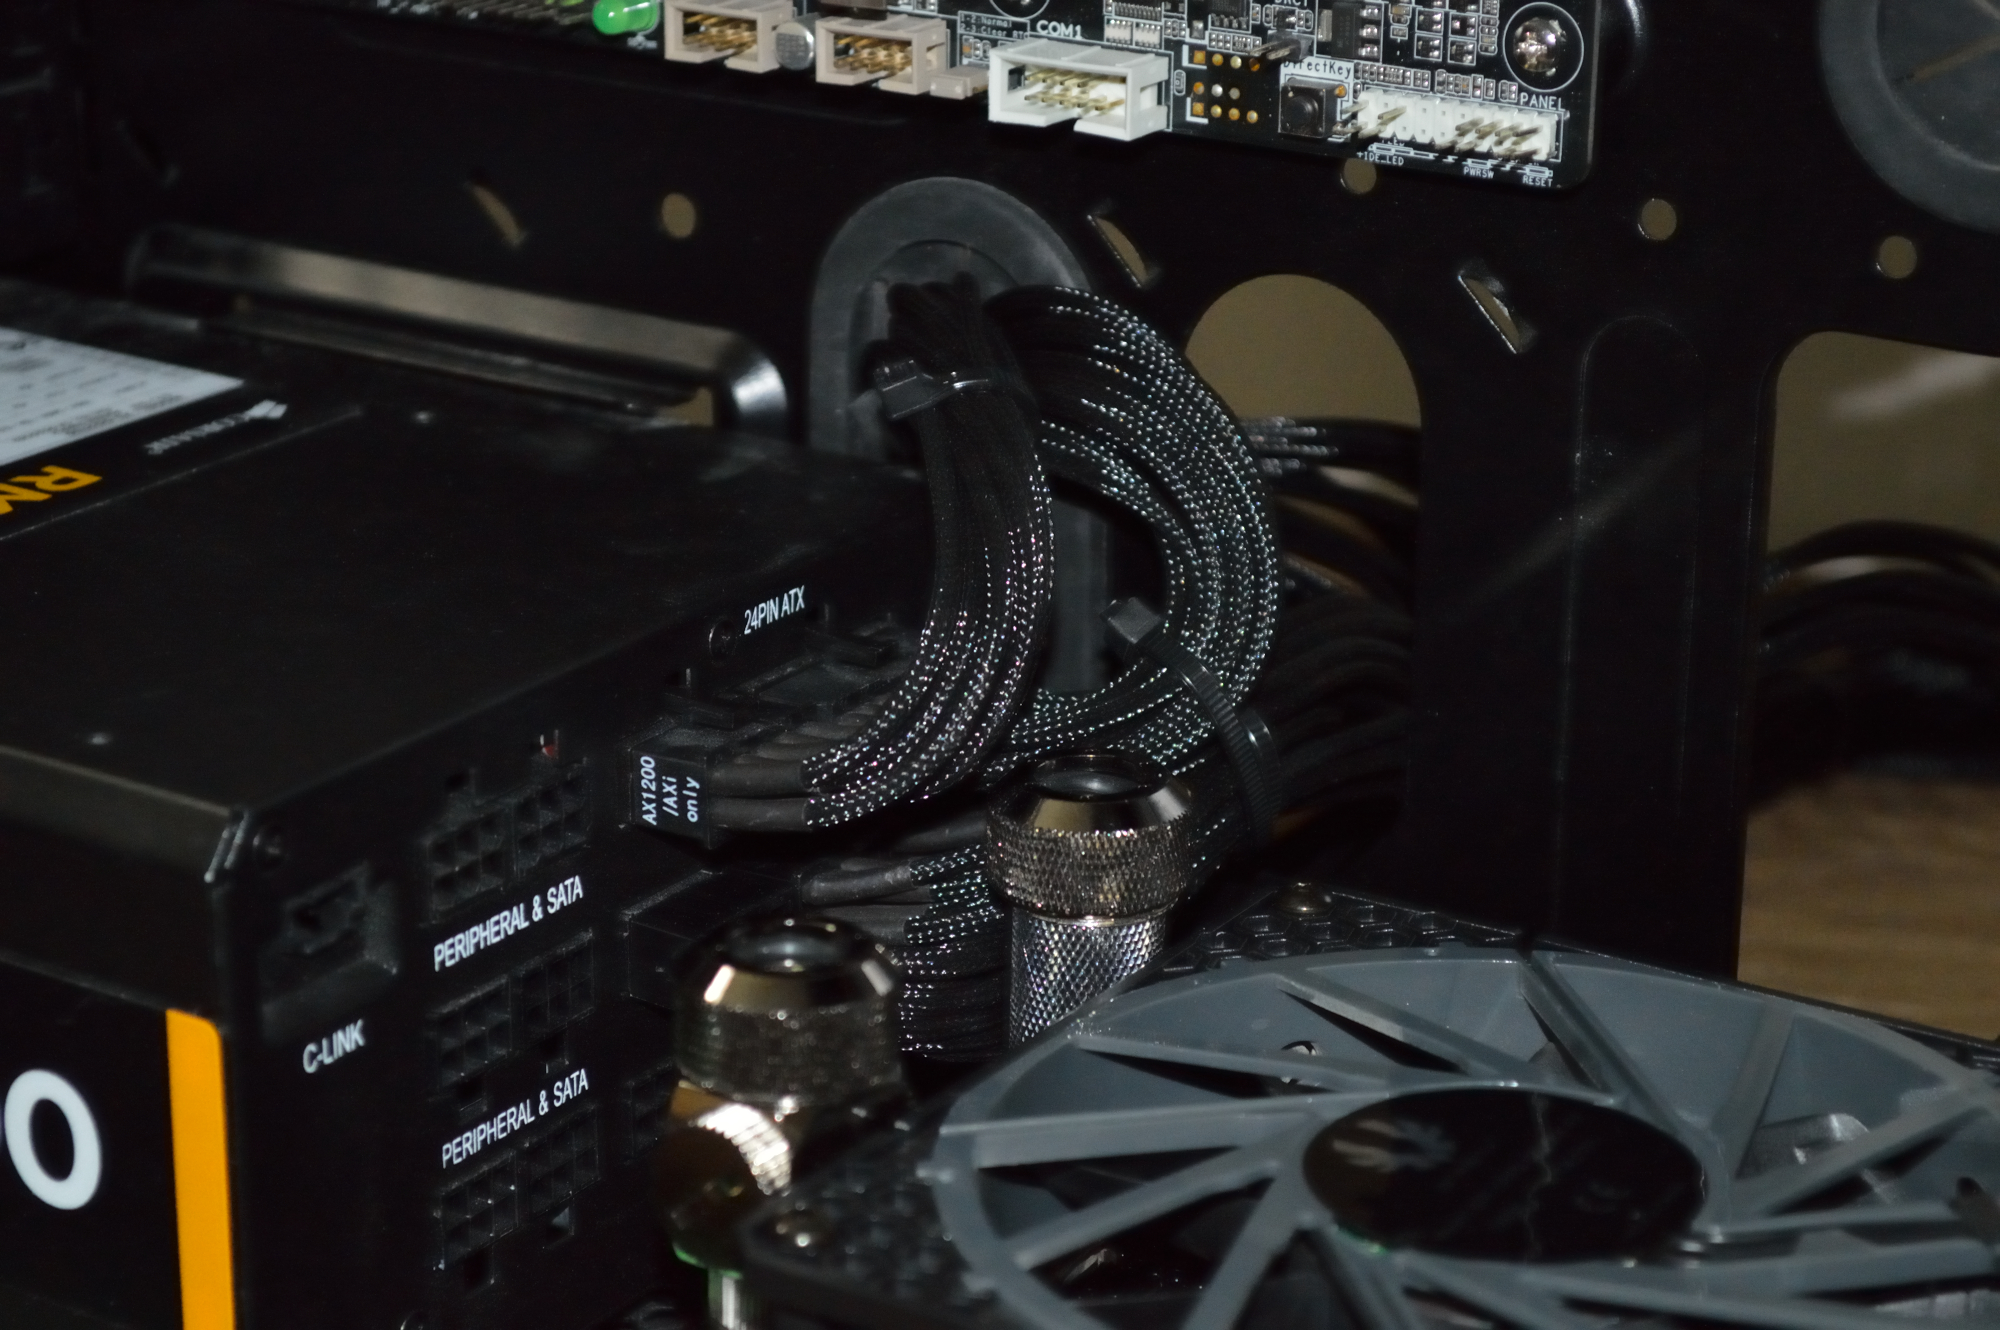
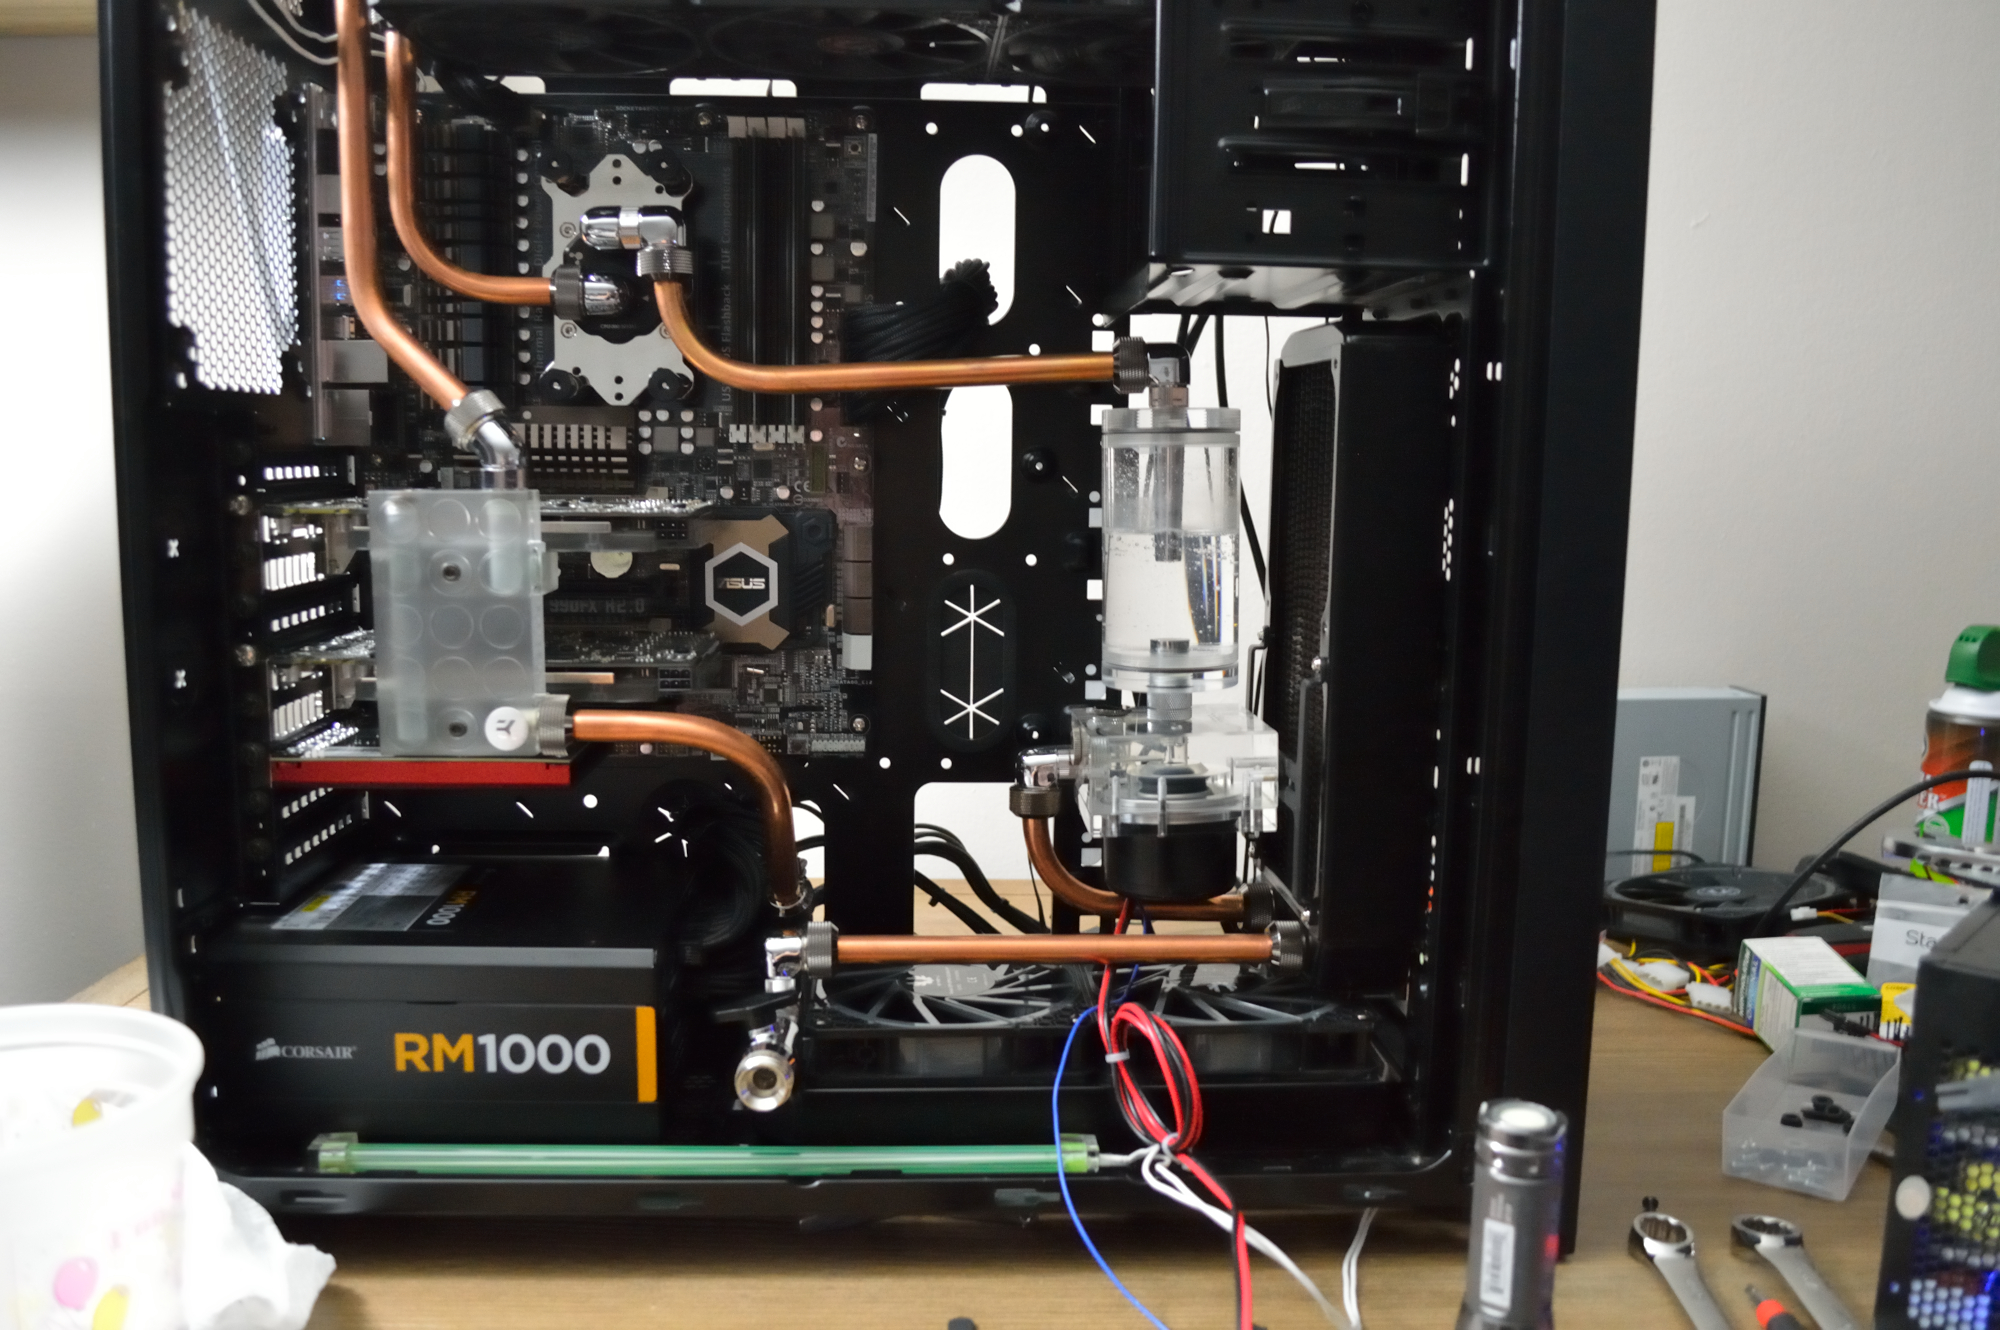
A tight fit, and I knew it would be a tight fit. But it still fits. Talk about a huge sigh of relief. And with that came installing the other radiators and tubing it up. I used this as a chance to completely redo her tubing as well.
Initially I had the pump mounted to the front radiator using the UN Z2 bracket. The route of the fluid would be from pump -> front radiator -> bottom radiator -> graphics cards -> top radiator -> CPU -> reservoir. And what I built would have worked, I just didn’t like how it looked.
Like I said it works. But I didn’t like the fact the pump was just hanging off the radiator, for one. But the front tubing I wanted to keep, but I wasn’t sure if I could mount the pump to the bottom radiator and still preserve that. I left the loop running overnight with distilled water running through it while pondering the next move: fill with coolant or, drain it and change what I didn’t like.
Sunday
I ultimately decided to change the loop. It didn’t require completely rebuilding it, thankfully, only pulling down the connection from the CPU to the reservoir and from the pump to the front radiator. I also had to change how the pump and reservoir were connected to ensure there would be clearance for what I had planned.
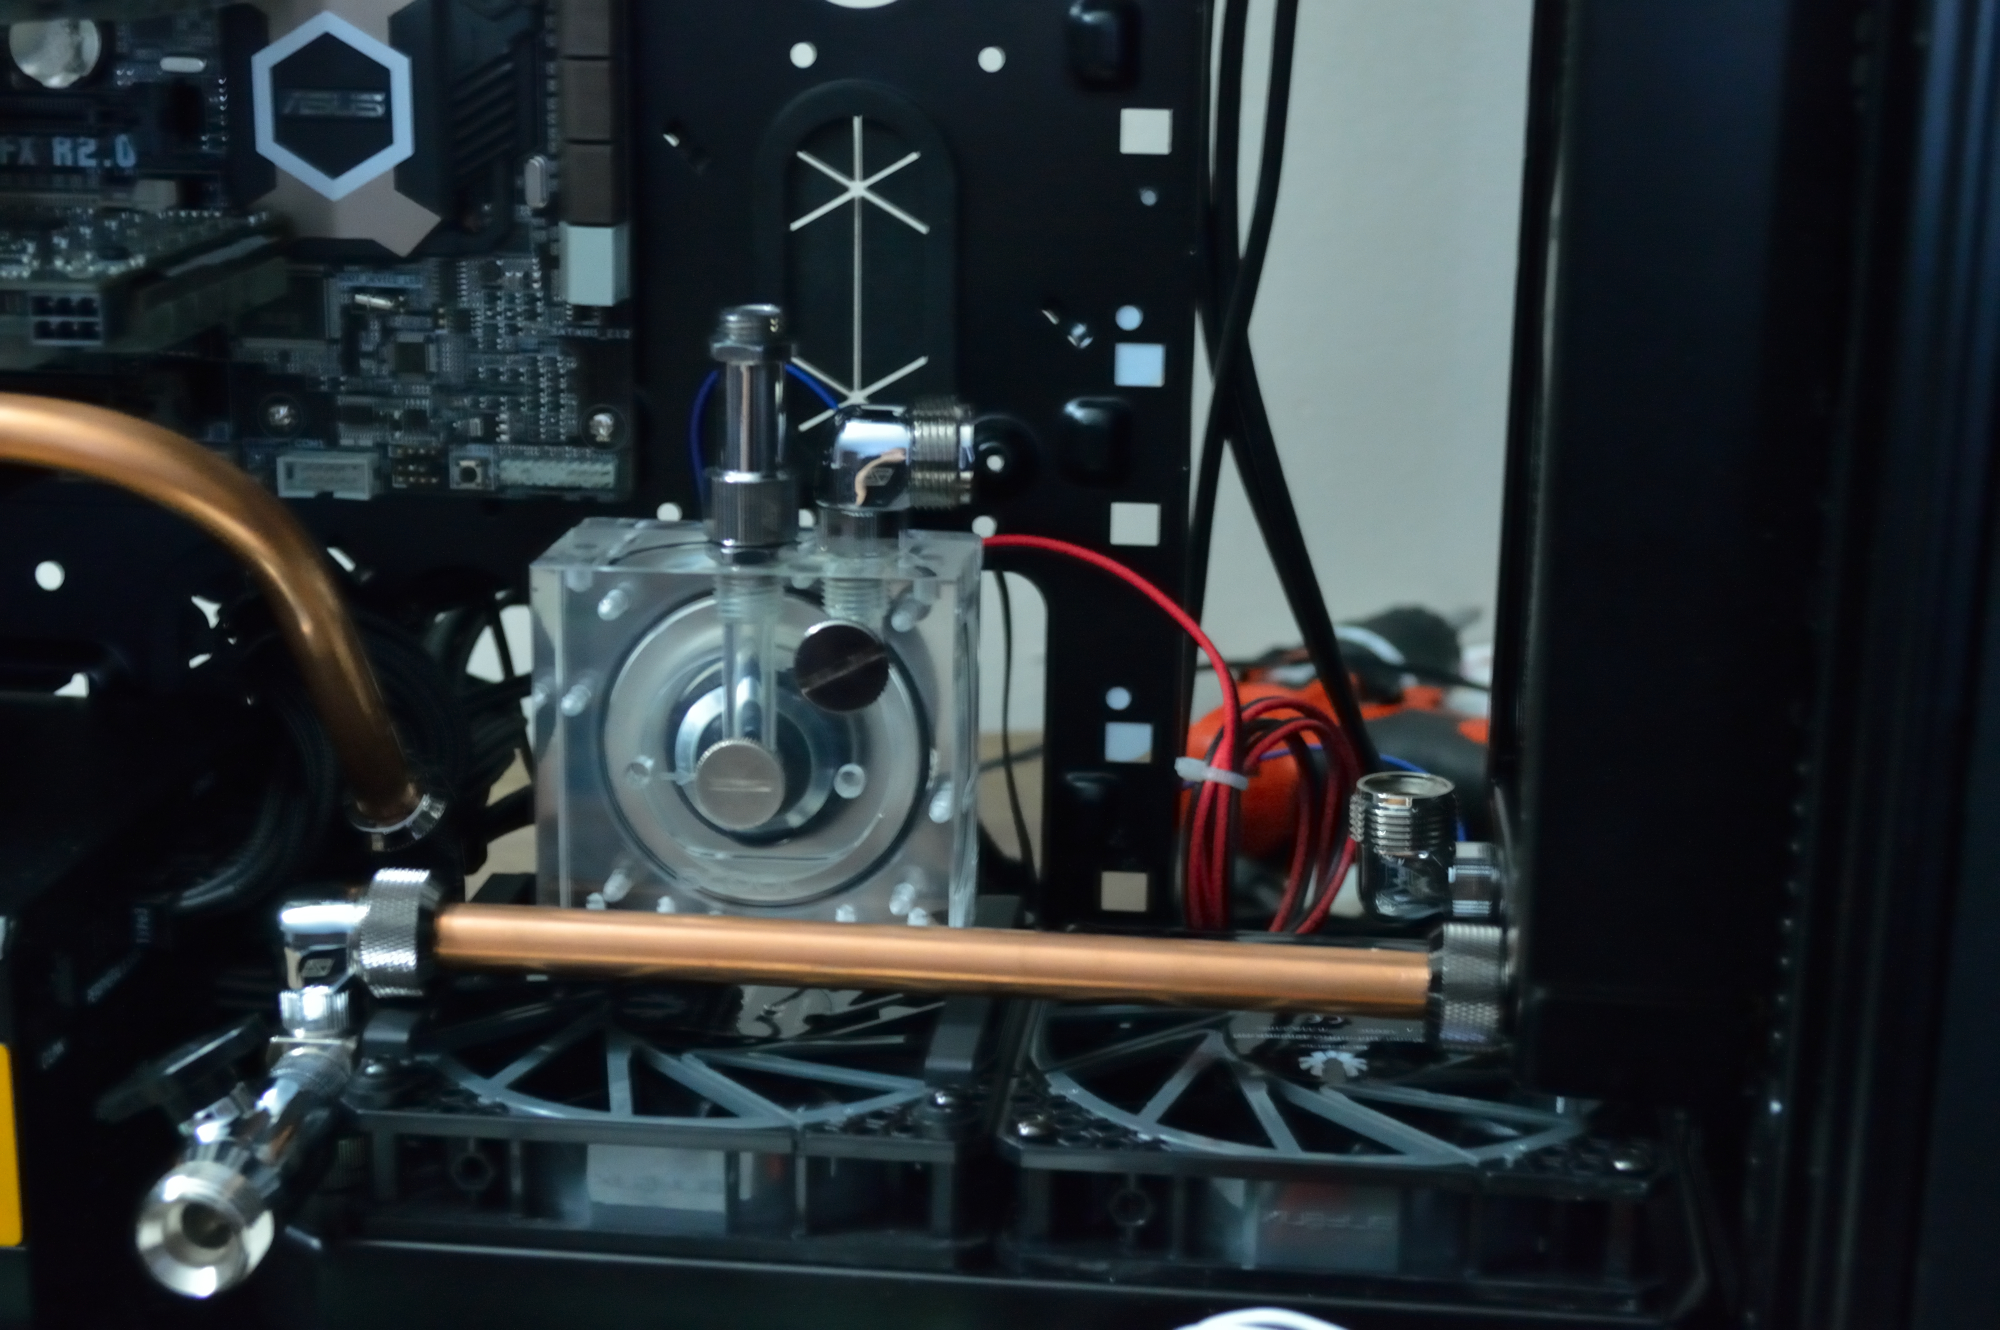
But the pump fit the way I hoped it would. And I used a Swiftech SLI fitting to go from the reservoir to pump, which easily puts it higher than the 90-degree rotary fitting that would go from the pump to the front radiator, much the same how I have it in Beta Orionis.
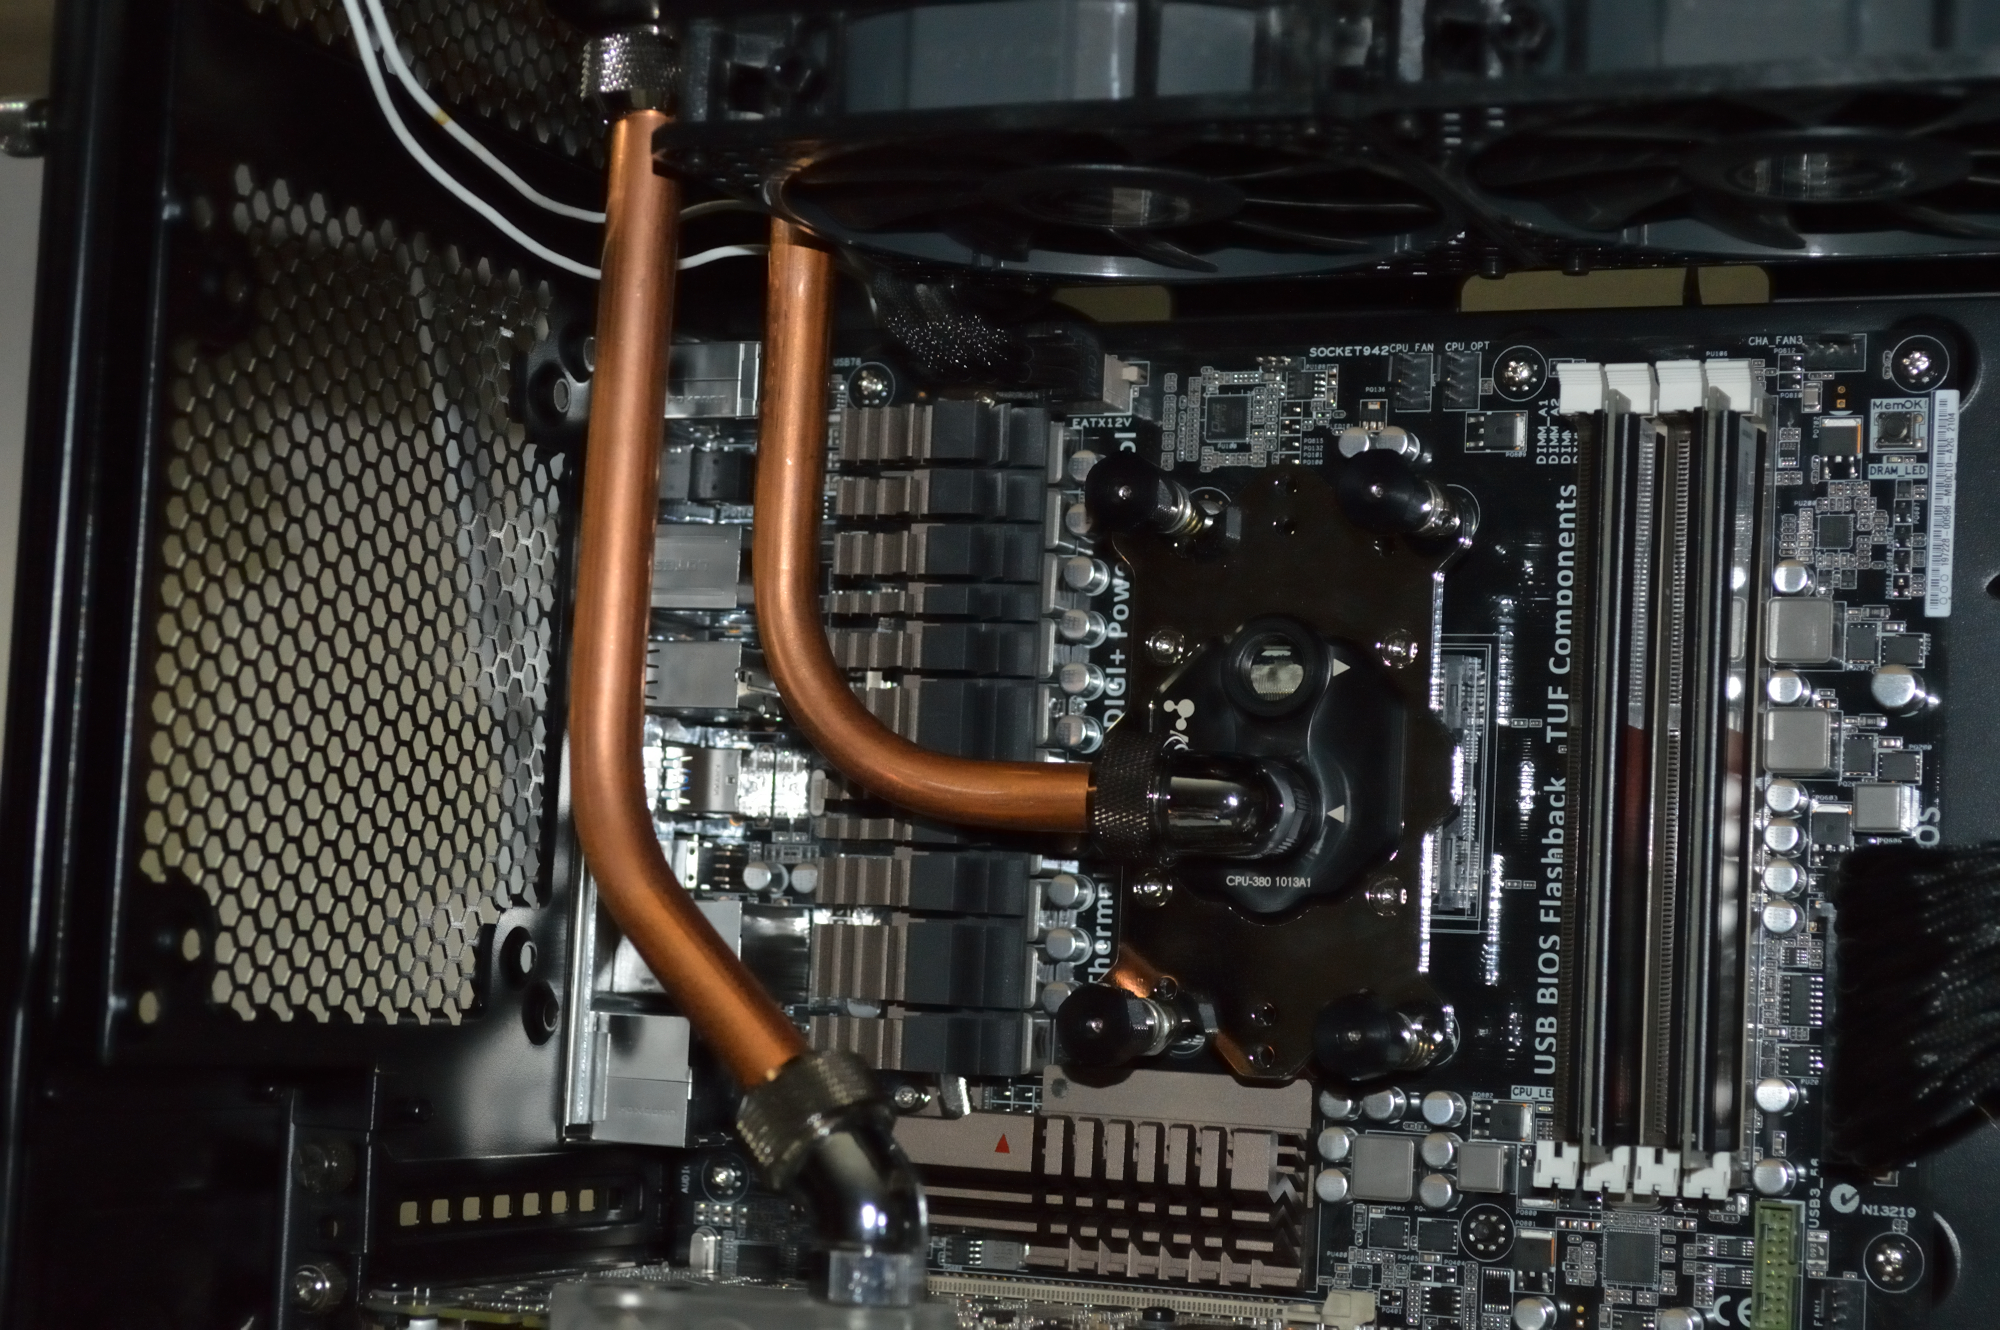
Two 15mm extension fittings plus the 90-degree rotary fitting made the connection from the CPU to the reservoir.
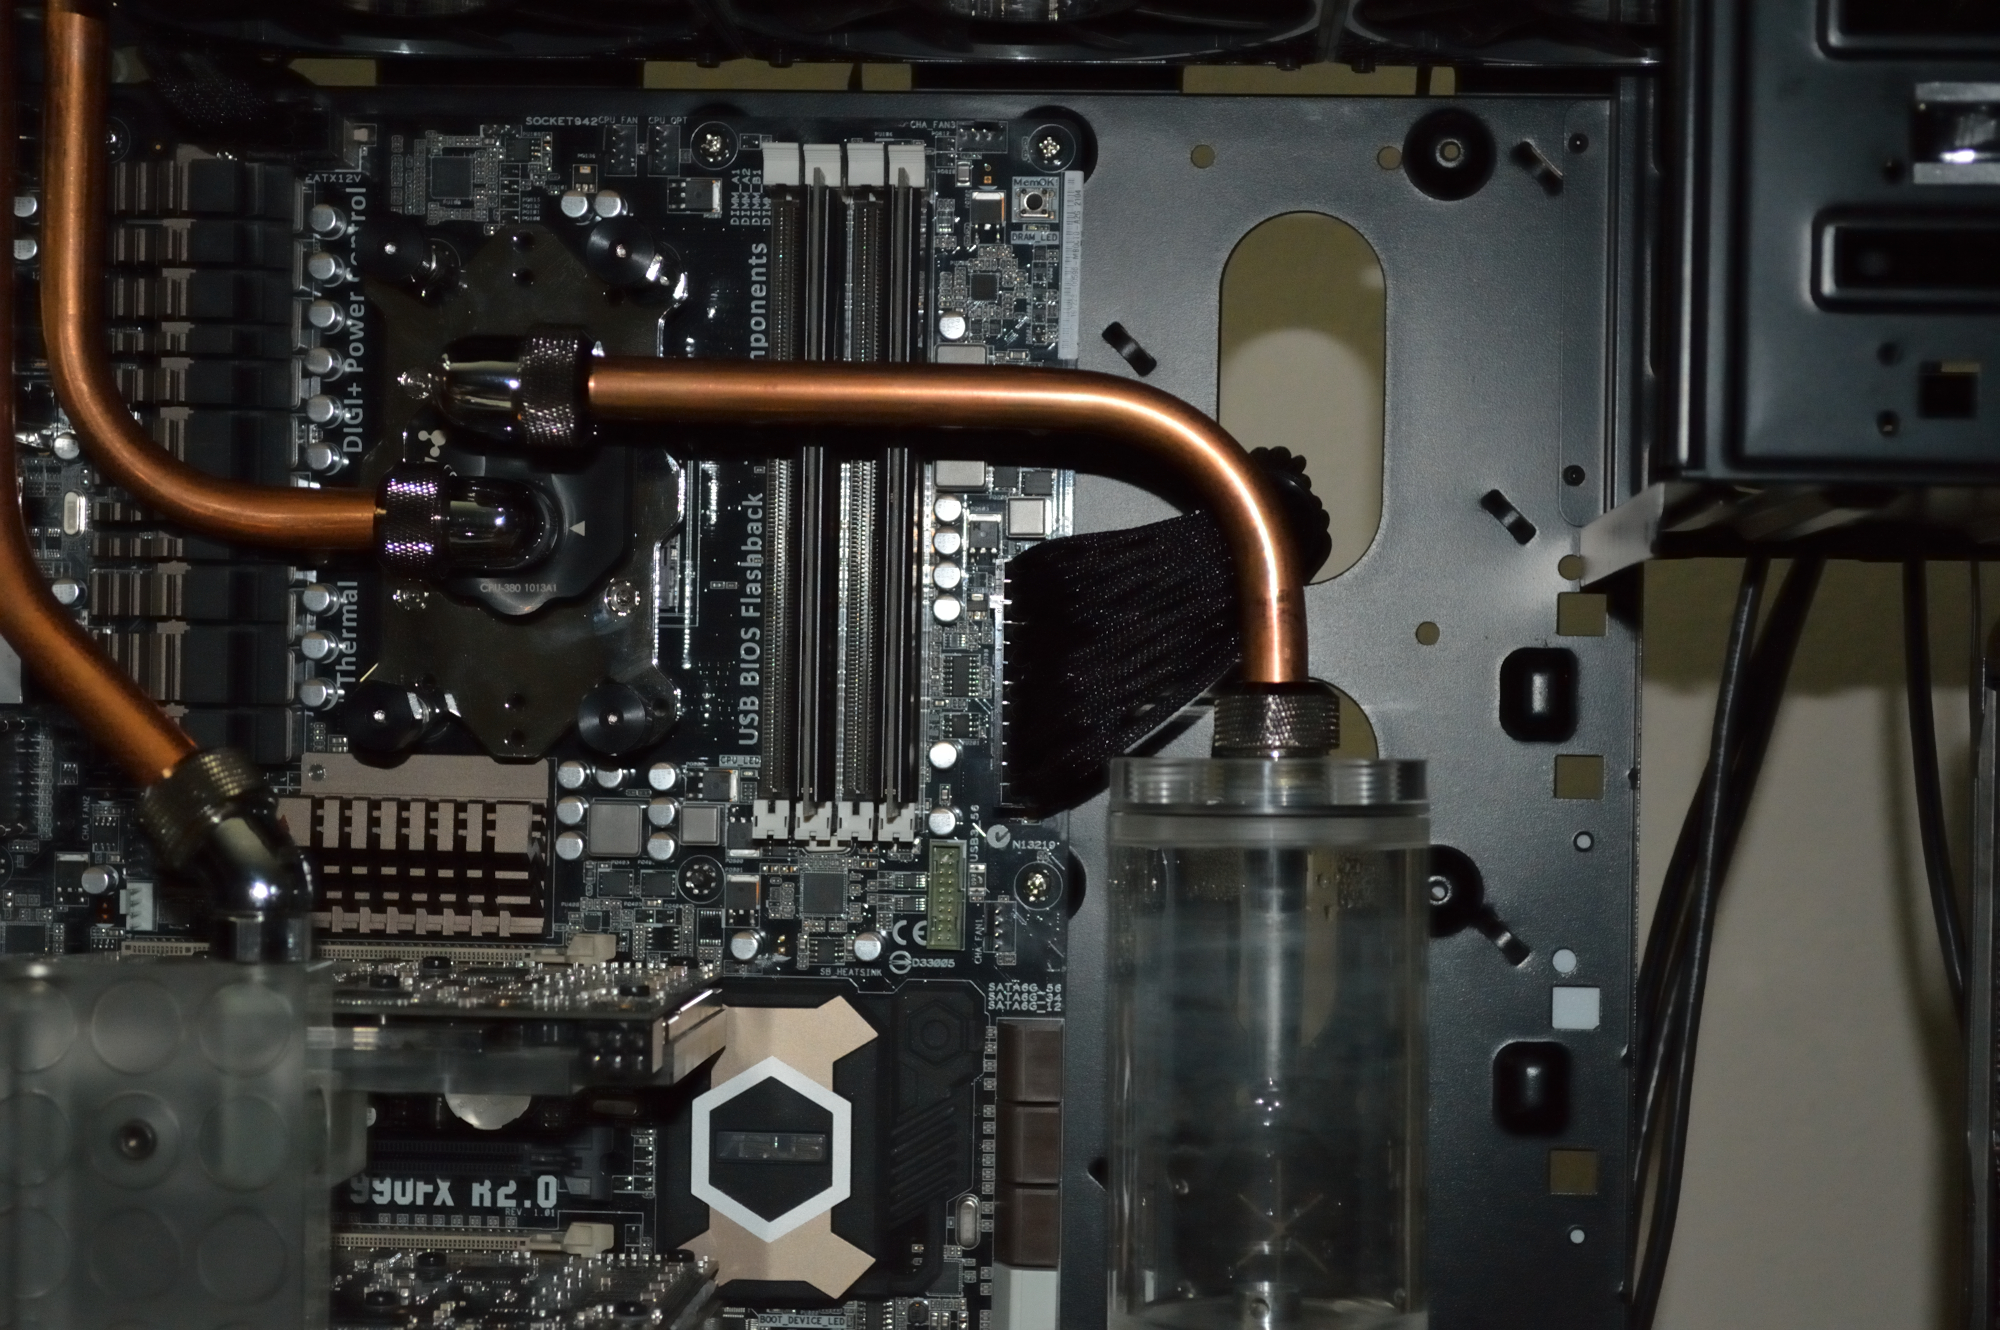
And I think the new loop looks much cleaner than the previous. The tube that crosses around in front is a much lower profile than what I initially had in Absinthe.
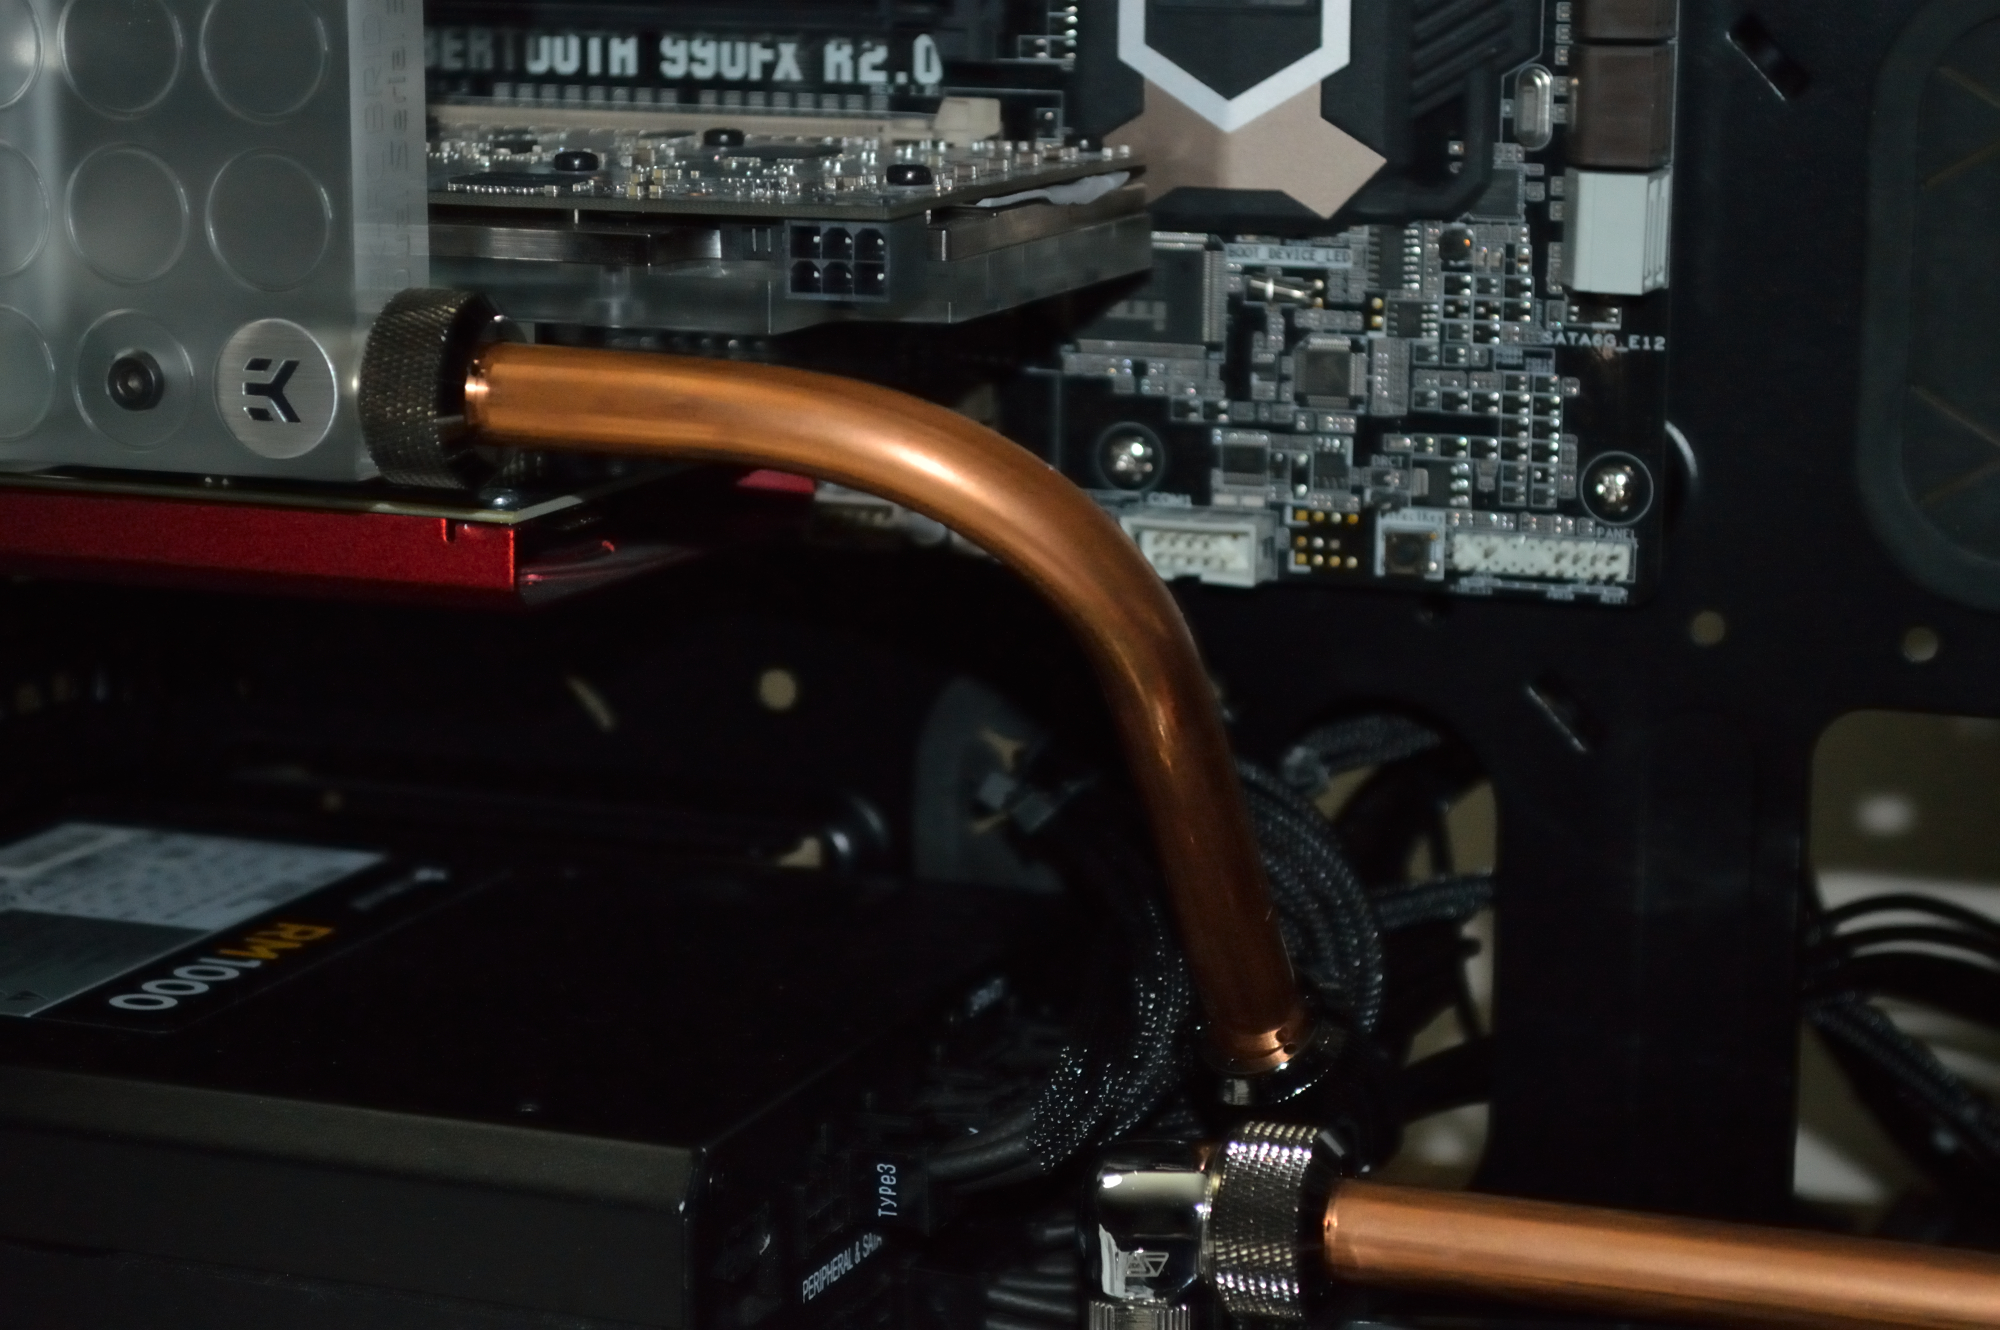
Overall I’m quite pleased with how it turned out. I was able to pull a couple 90-degree fittings from the loop, though I did add in two 15mm extensions. That dual 45-degree setup was split up and one 45-degree fitting created a much cleaner run from the GPUs to the top radiator, while the other made for an easy run from the bottom radiator to the GPUs.
And now for the overall loop (plus the mandatory cat tax):
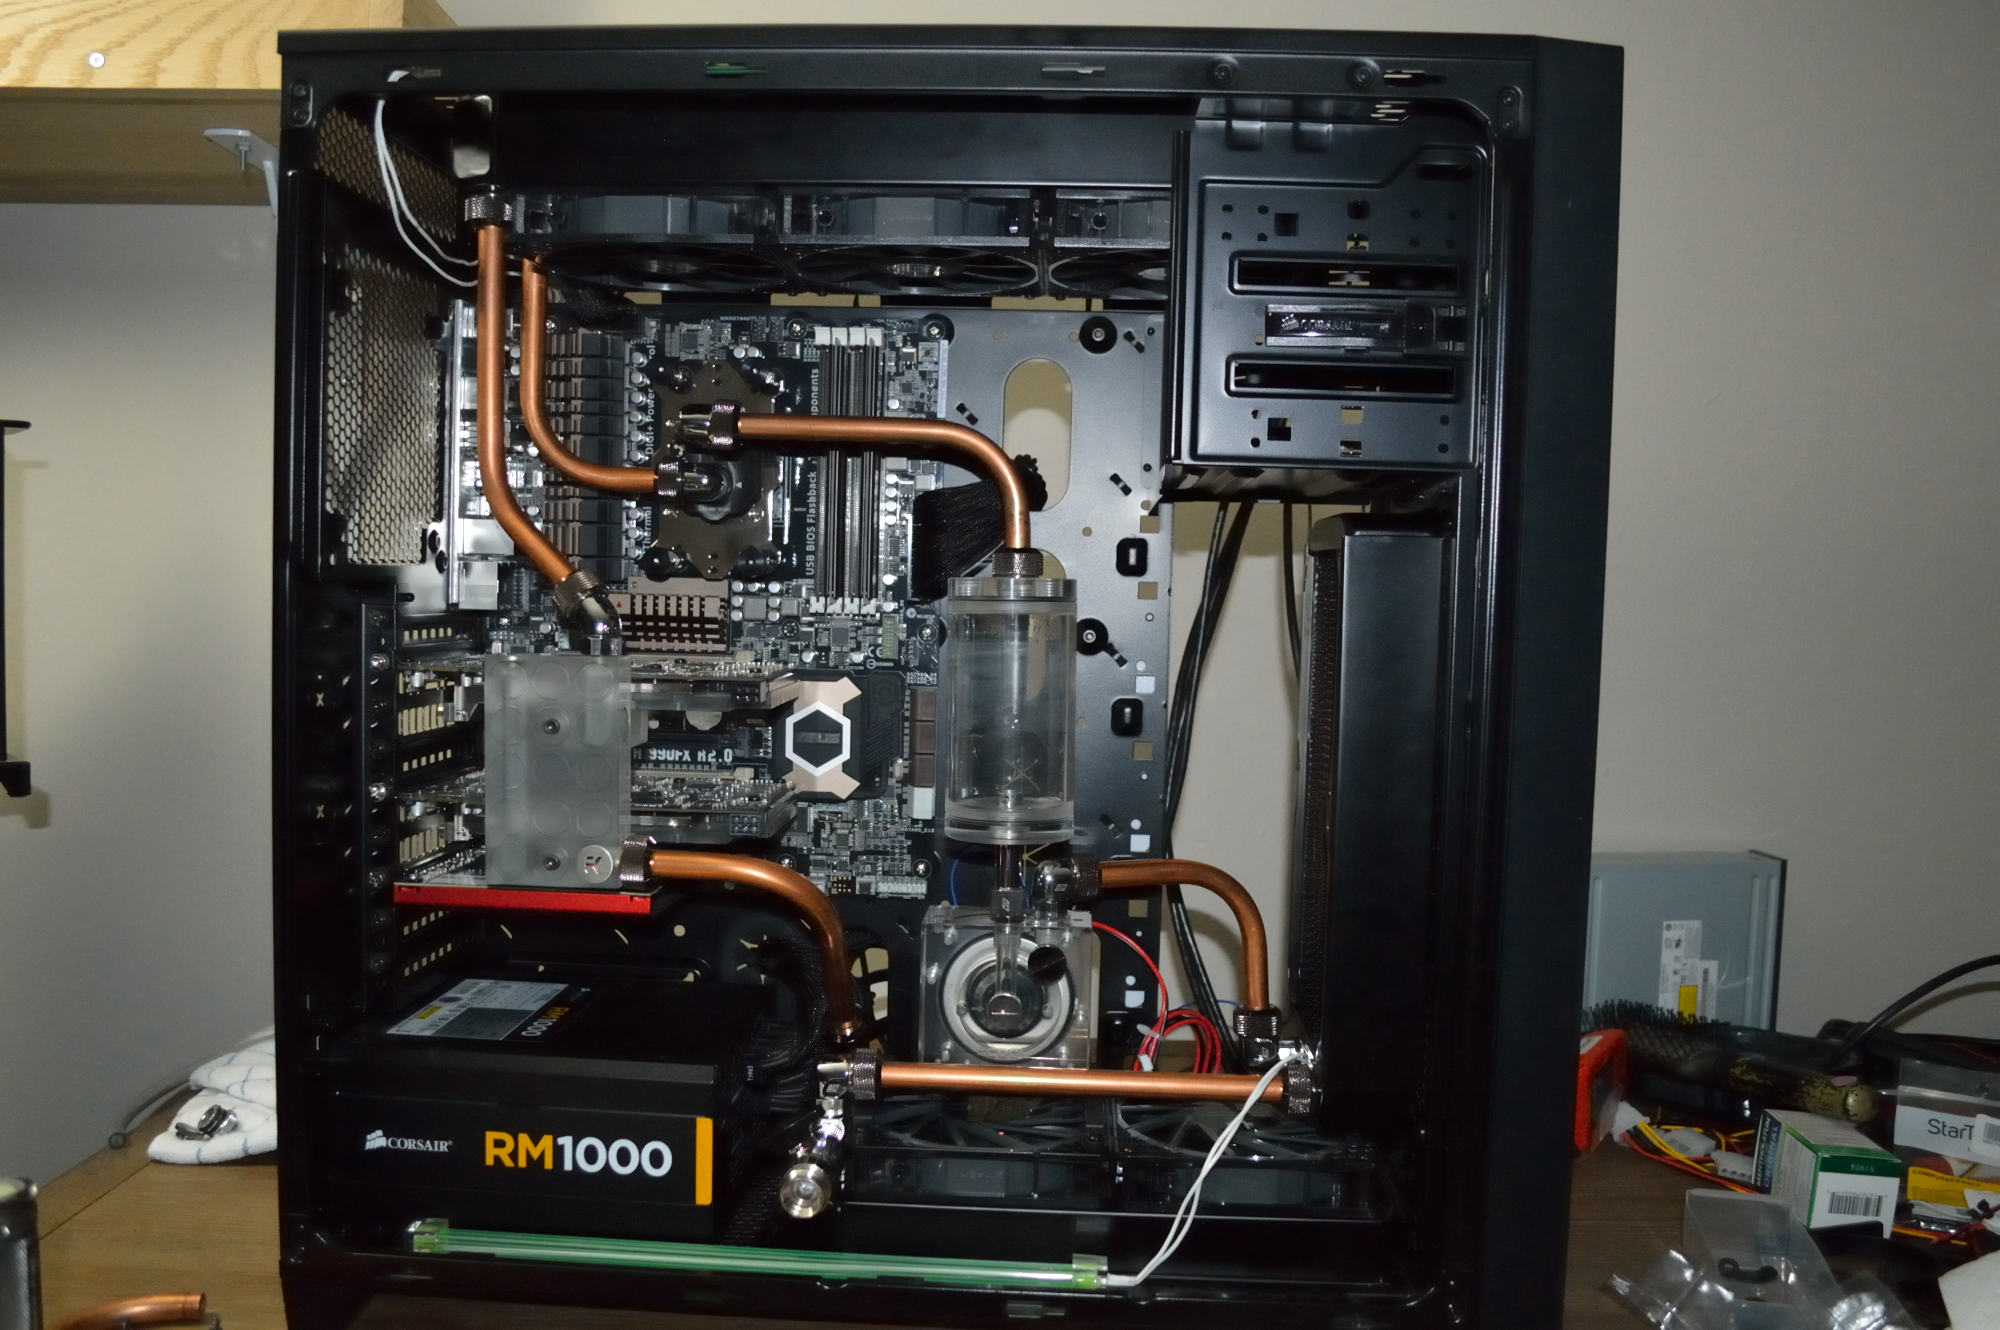
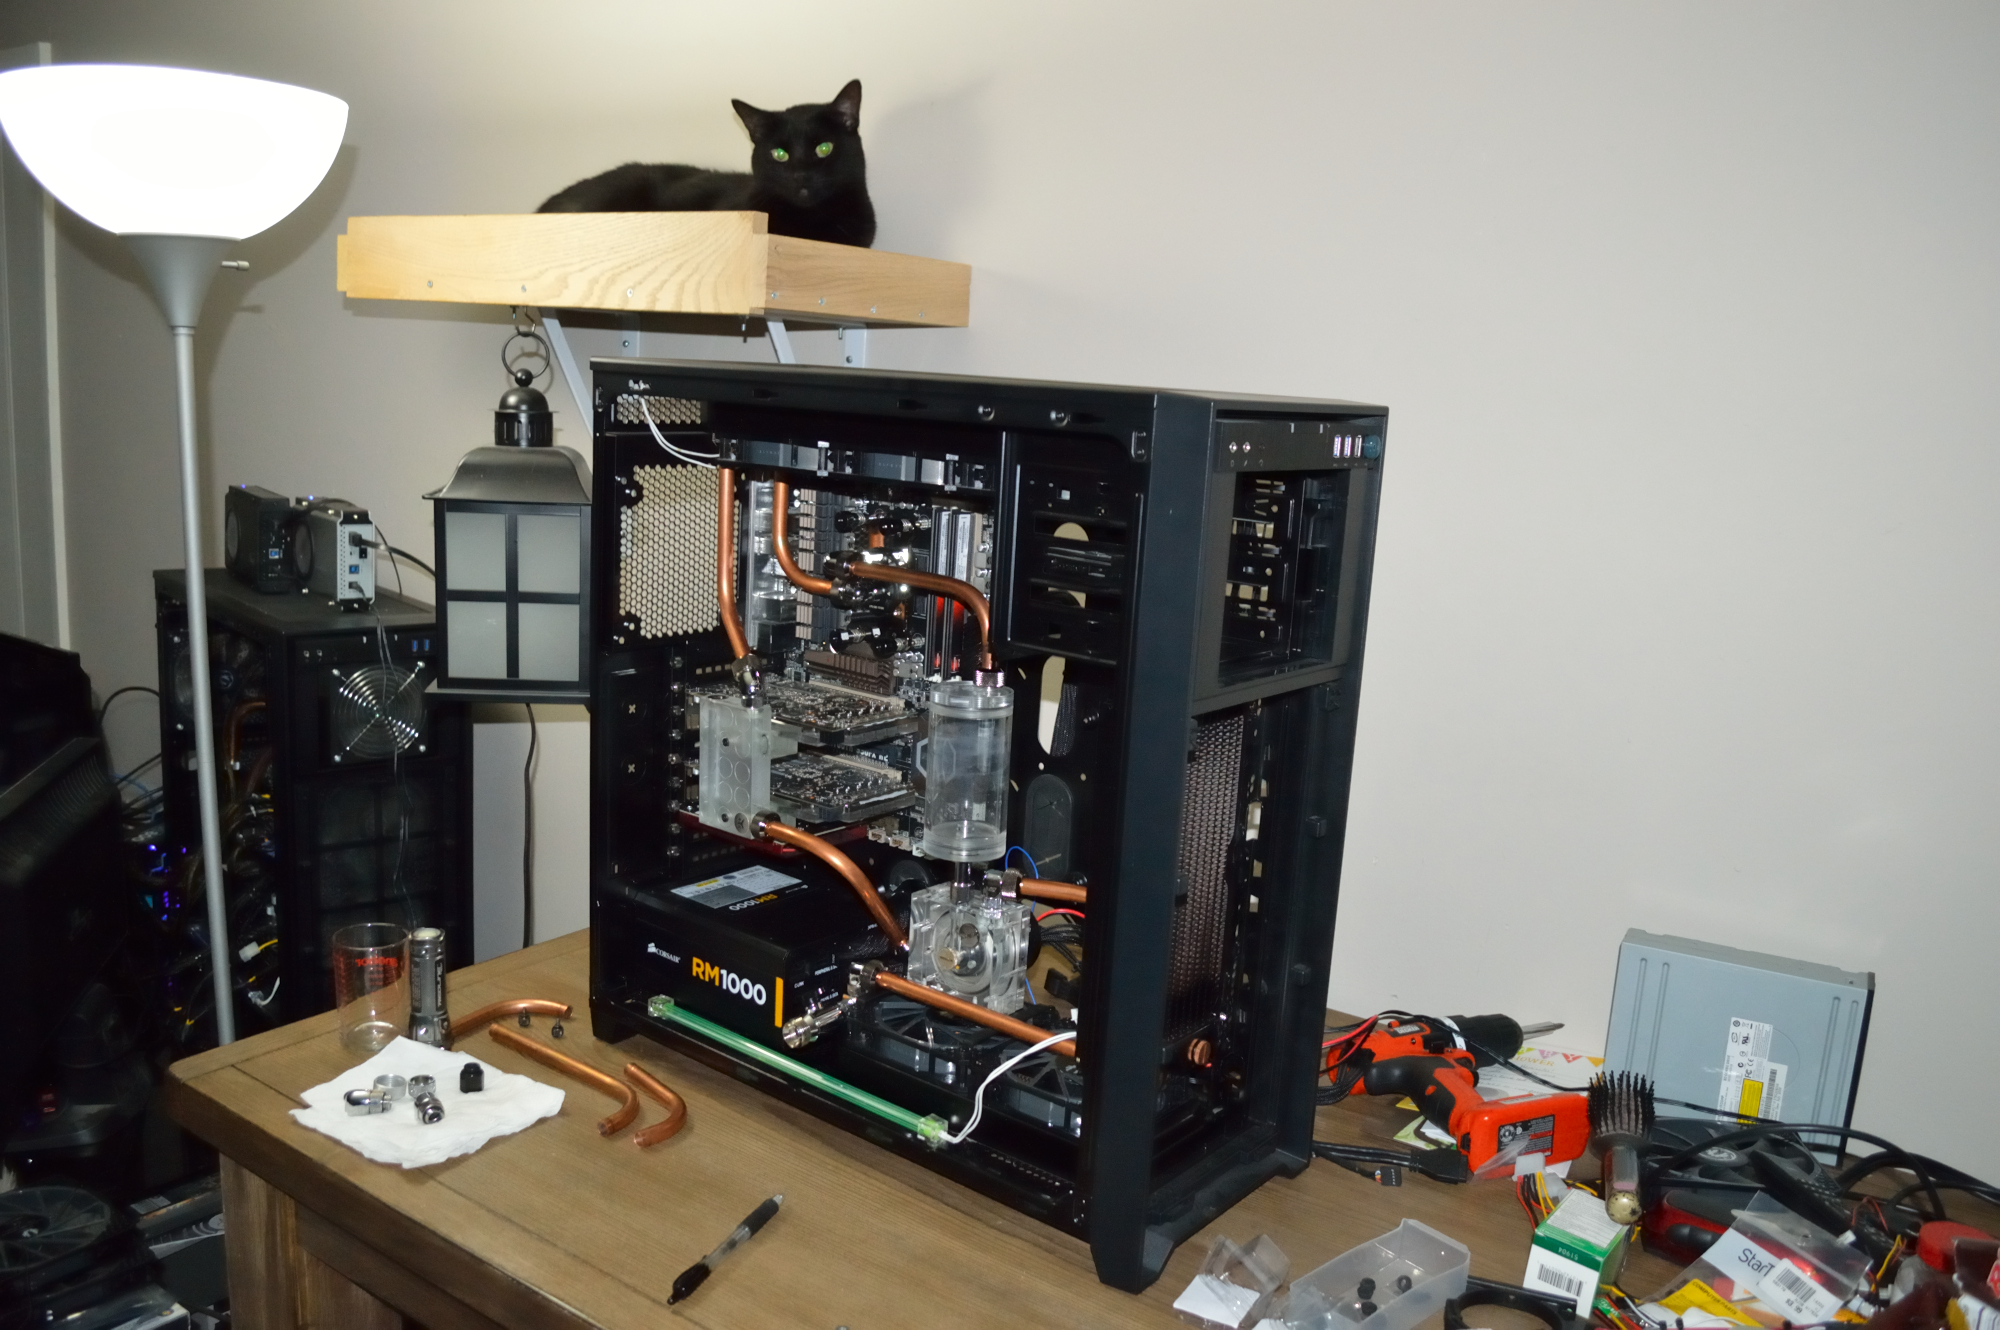
That’s Beta Orionis in the background hooked up to the “heart lung machine”. So with it all connected up, the only thing left to do was another distilled water leak test.
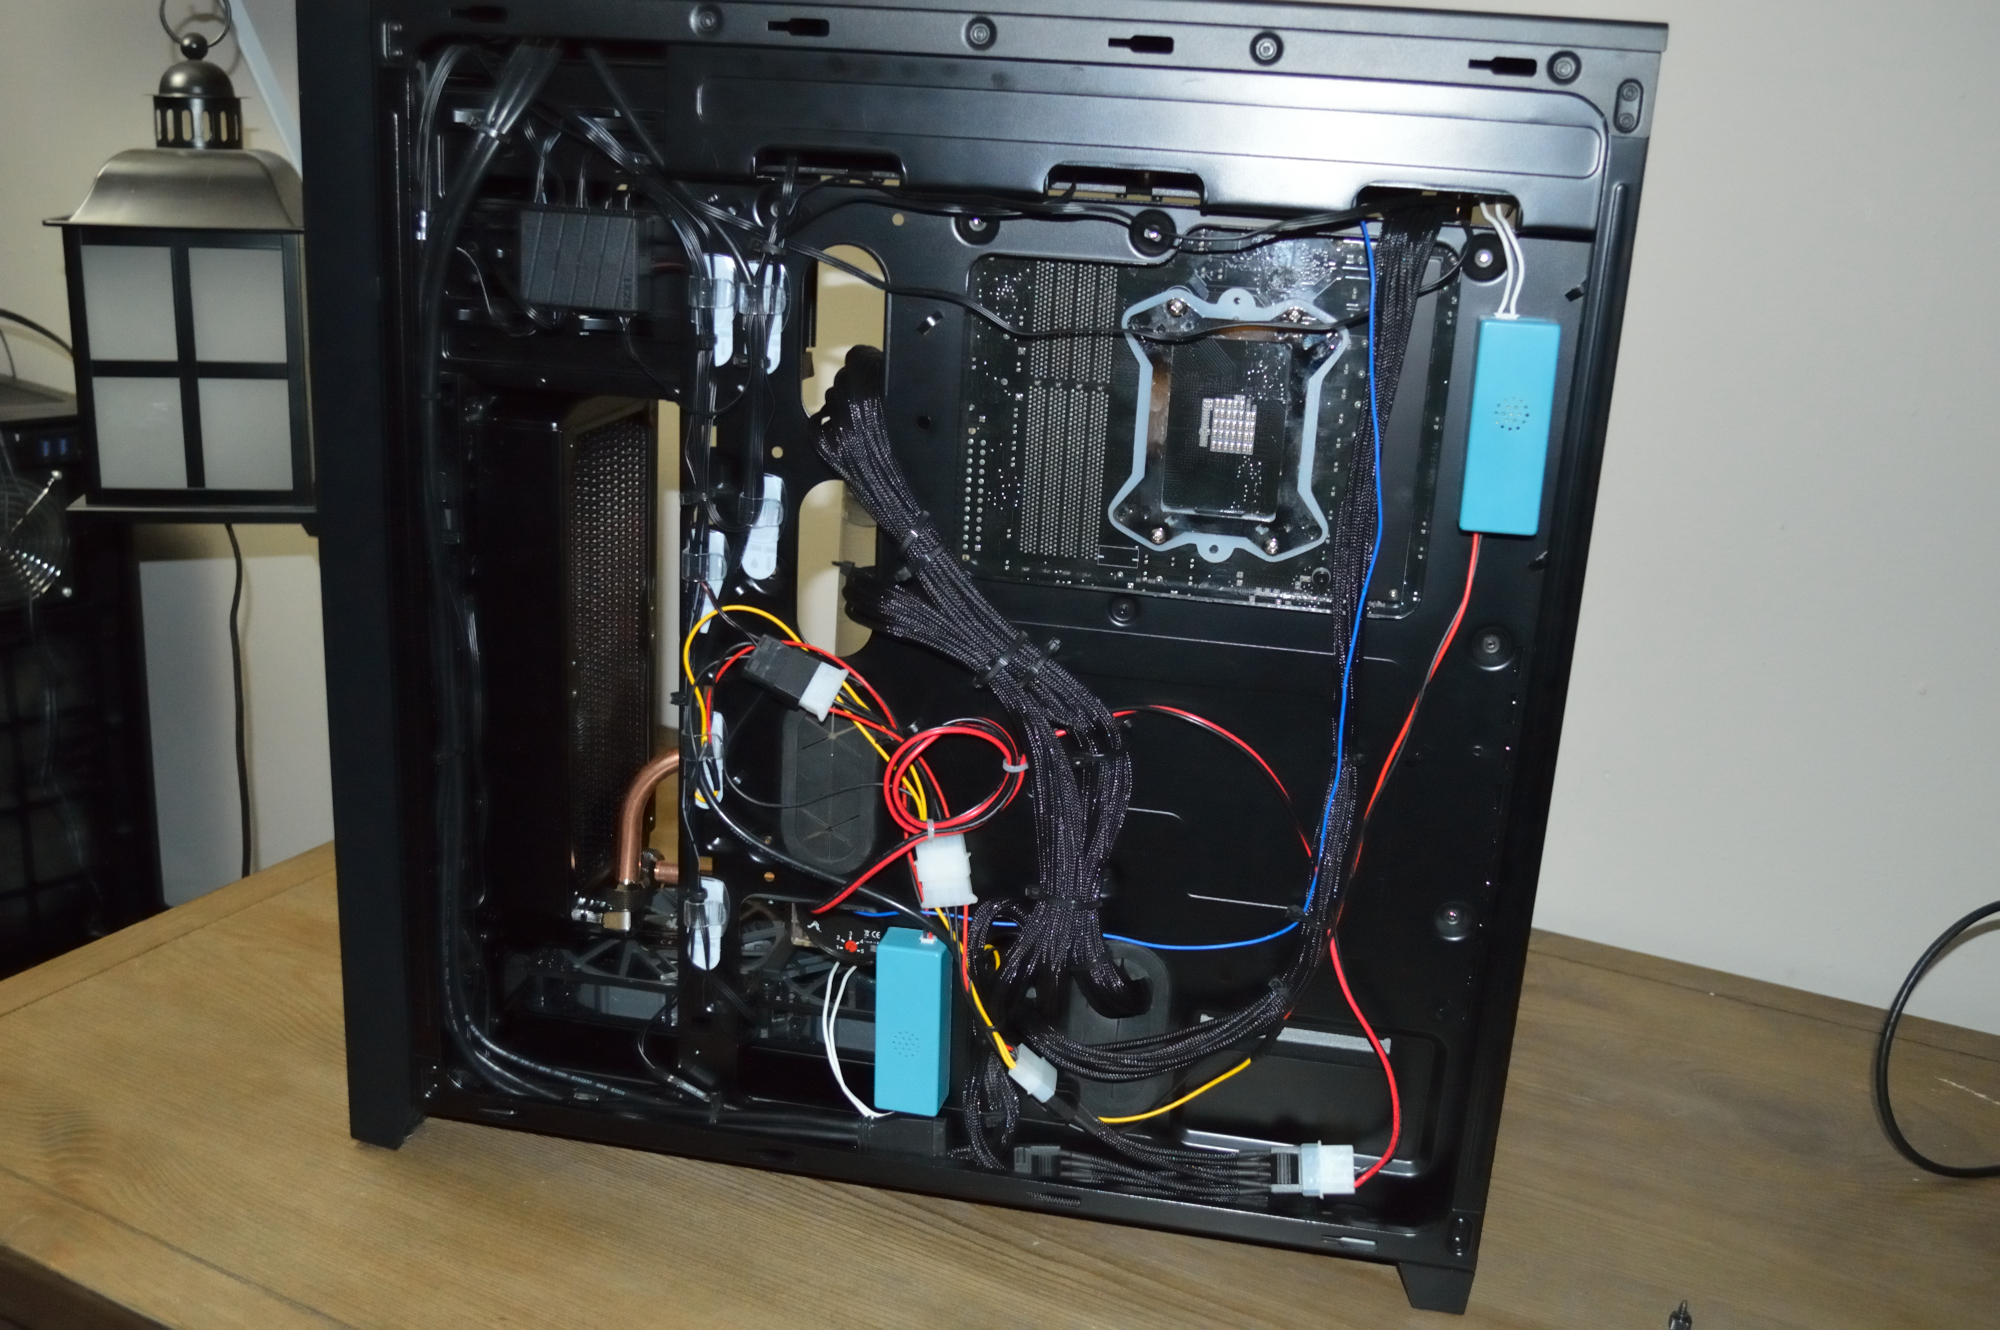
While it was leak testing, I worked on finishing the cabling. Ultimately it wouldn’t be done till I could connect the pump to the power supply after it was filled with (fresh) coolant and ready to boot.
And with that, my wife has her system back.
But work isn’t quite done. I have a fan mounting bracket on way from Mountain Mods to show later this week, along with a DEMCiflex filter kit for the 750D. So more updates to come.
You must be logged in to post a comment.