- Water cooling build in my wife’s computer – Introduction
- Water cooling build in my wife’s computer – Part I
- Water cooling build in my wife’s computer – Part II
- Water cooling build in my wife’s computer – Part III
- Water cooling build in my wife’s computer – Part IV
- Water cooling build in my wife’s computer – Part V
- Water cooling build in my wife’s computer – Part VI
- Water cooling build in my wife’s computer – Part VII
- Water cooling build in my wife’s computer – Part VIII
- Water cooling build in my wife’s computer – Part IX
- Follow-up on AquaTuning
- Defending AlphaCool and the risks of water cooling
- Kyle’s catastrophic failure
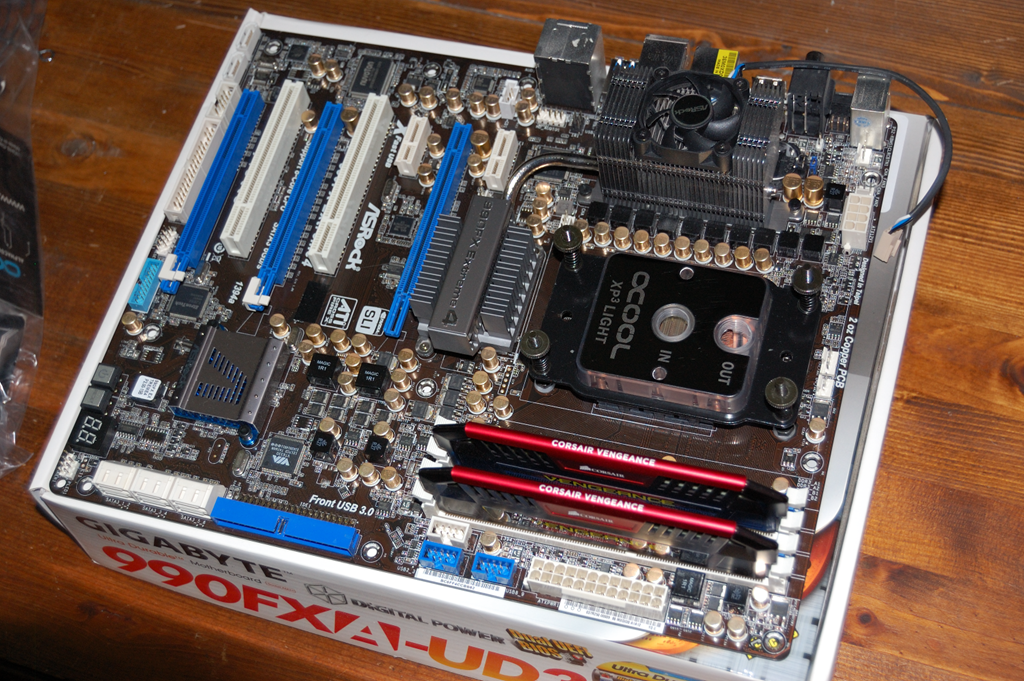
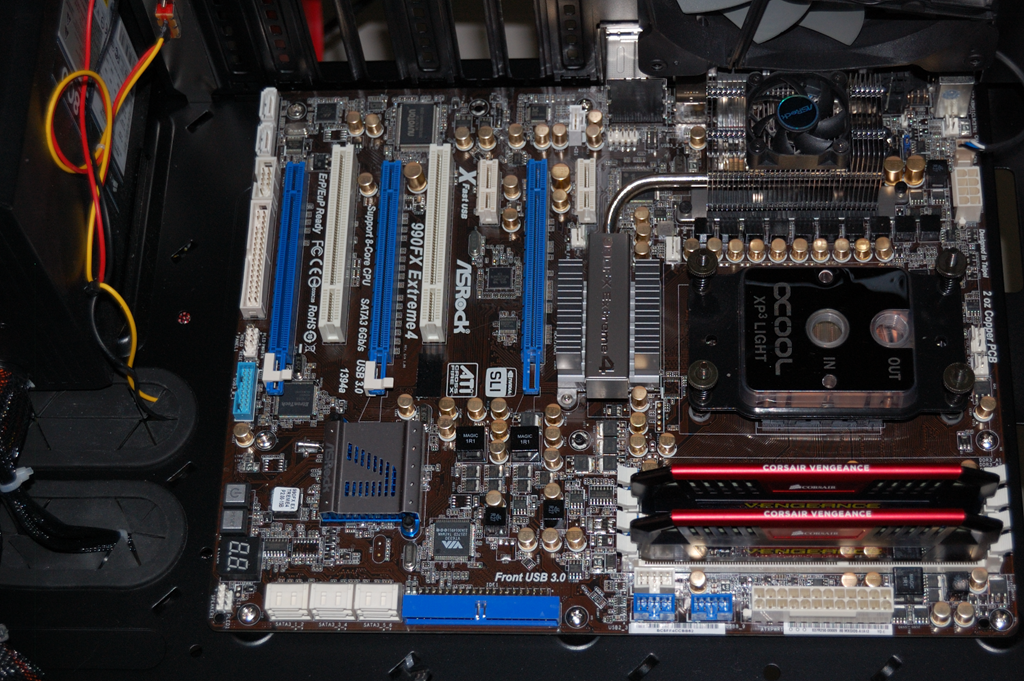
Let’s continue where I left off, with mounting the water block to the CPU.
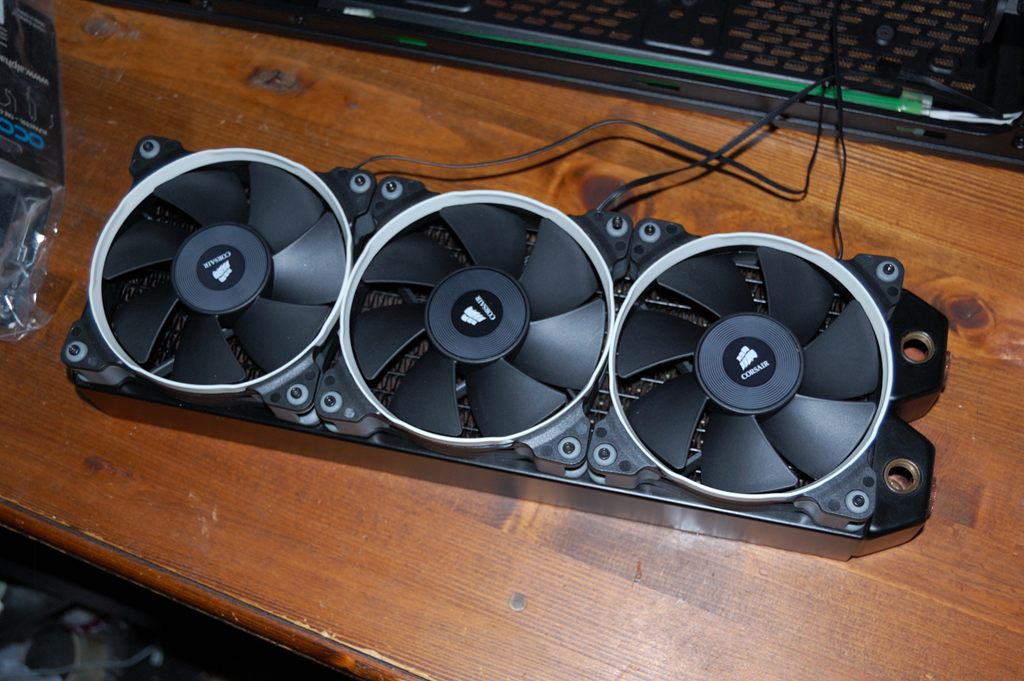
After this point, I mounted the mainboard back into the case and turned my attention to the radiator and mounting the Corsair SP120 fans to it. The fans come with three rings: red, blue and white. As the light kit in her computer is green, I decided to change the rings on the fins to the white rings. As the fans will be mounted in a push configuration, the rings will be visible on the radiator, and the red or blue rings I don’t think would’ve really looked right.
As you can tell by the picture, I initially intended to mount the radiator with the inlet and outlet to the rear of the case, as that is what most builds do from what I’ve seen. Actually, come to think of it, I don’t recall a build that doesn’t do that. The fans were mounted such that the fan cables would’ve been going behind the mainboard tray, for those who aren’t familiar with water cooling builds.
And as you might be able to discern from the picture, the case is upside down on the table. That was intentional as it gave me the best way to see how the radiator would look without having to try to hold it in place. Plus, the radiator didn’t come with any short screws for mounting the radiator to the case, the radiator has M3 threads, and I didn’t have any short M3 screws sitting around either, so it was kind of out of necessity. Needless to say, Home Depot was on my list of places to go the next morning.
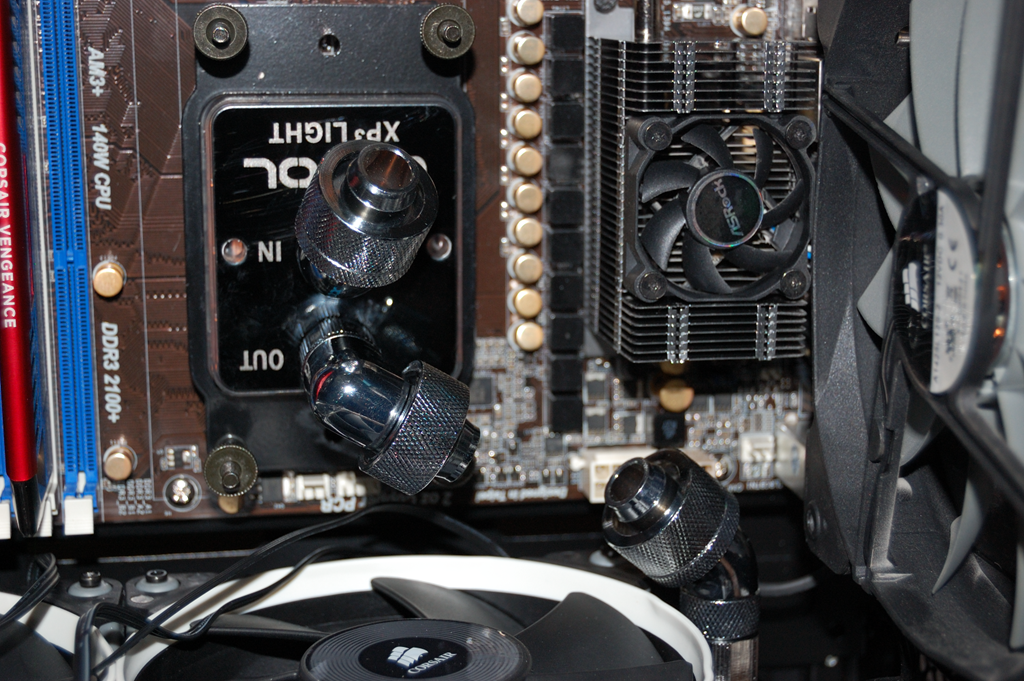
So the time came to start actually planning the tubing routing. Initially I wanted to go from the graphics cards to the CPU block, then to the radiator, and I mounted fittings with that configuration being the intention.
Now I chose this configuration to have the water coming out of the pump and going through all of the water blocks before traveling through the radiator.
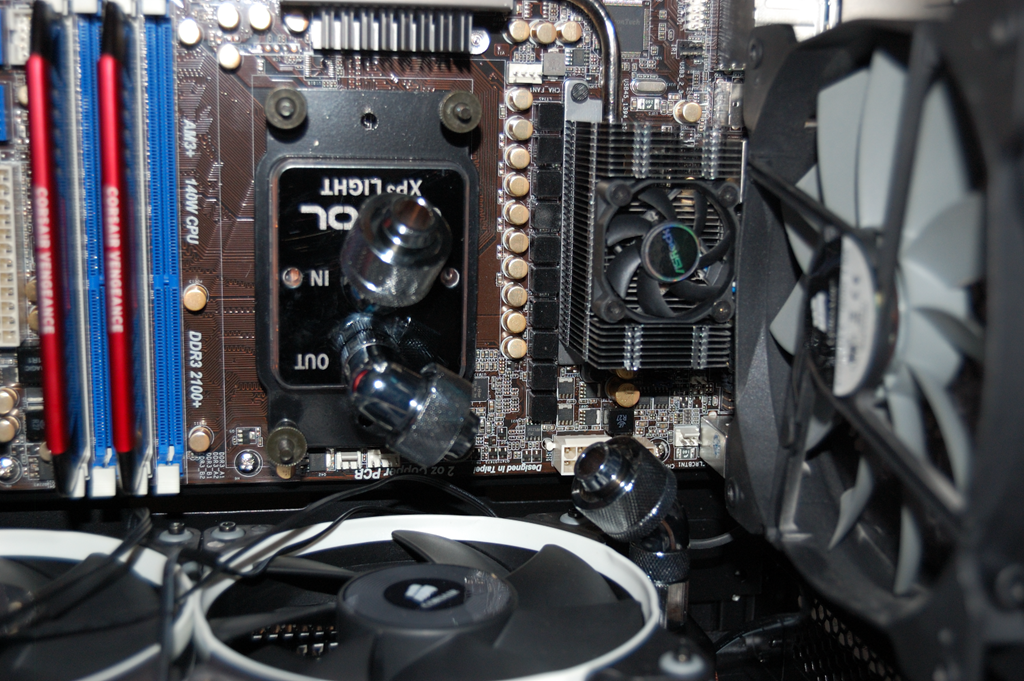
And as the picture shows, the 90-degree fitting on a 15mm spacer coming out of the CPU block going into a 45-degree fitting also on a 15mm spacer into the radiator seems to offer near perfect alignment. Except, recall what I said in the introduction about the tubing I’m using being stiff. This close of a gap would’ve been difficult to tube up after mounting the radiator to the case, even with the case upside down.
So I decided on an alternate configuration – one that, as I said, I almost never see.
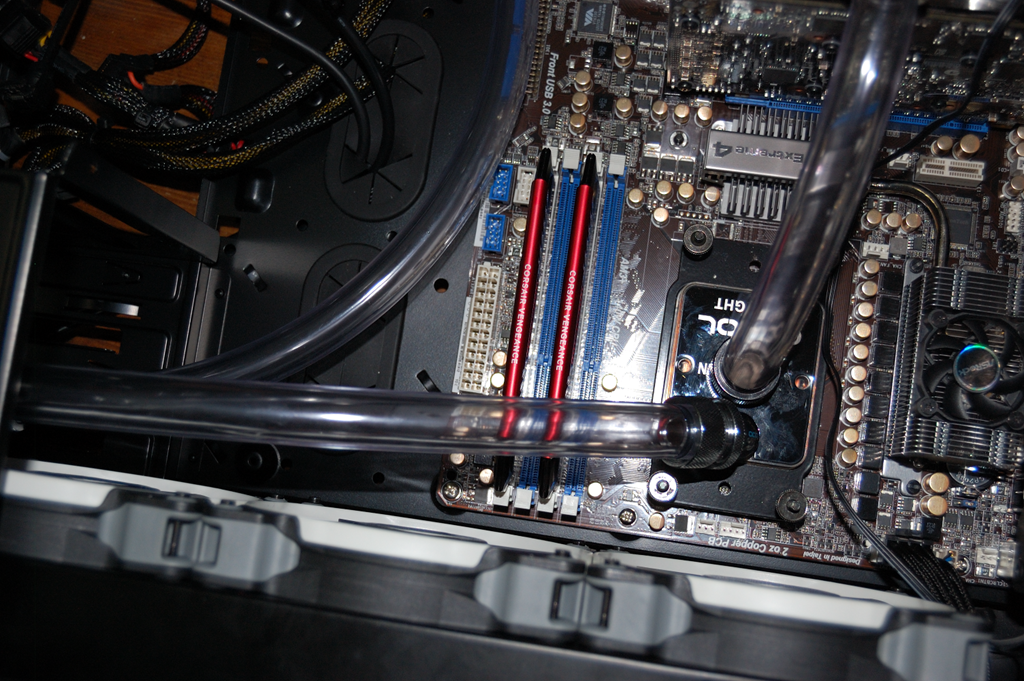
I had the inlet and outlet for the radiator pushed into the 5 1/4″ drive bay. This allowed me to use longer lengths of tubing with a 45-degree single-rotary fitting off the outlet on the CPU water block. Both the inlet and outlet on the radiator are 90-degree single-rotary fittings on 30mm spacers – actually 2x15mm spacers – to ensure clearance over the fans. And the fitting on the CPU block’s inlet is a flush compression fitting – note the CPU block I selected cannot fit two 1/2″x3/4″ flush compression fittings as both the inlet and outlet.
Now I’m aware this does mean that two hoses are interfering with the air flow around the radiator, but I went for the setup that I knew was going to be the easiest to make given the materials I had. Perhaps if I was using less stiff tubing (provided I was willing to spend several dollars a foot for it) then I could’ve gone with a different configuration that would’ve allowed more airflow around the radiator. But one of the fans was going to be blocked by the 5 1/4″ drive bay regardless and this configuration was easier to install.
Is there a better way to do this? Absolutely. After all I could’ve used rigid tubing for this whole thing.
And that is where I left things for the night. The next morning I picked up with my trip to Home Depot to acquire some M3 screws along with more tubing – I wasn’t sure if what I had left of the initial 10′ coil would suffice, but I was able to re-use many of the longer pieces I’d cut off from it. That was followed by a trip to Microcenter to get some more fittings I thought I would need – in the end, I only needed a couple of them and was able to return the rest.
So that is where I’ll leave this segment. The next part will pick up with installing the water blocks onto the graphics cards, which would give me a better idea of how to plan the loop.
You must be logged in to post a comment.