- Putting older hardware to work
- Colony West Project
- Adding the GT 620
- Follow-up on ASRock BTC Pro and other options
- More proof of concept
- Adding a GTX 680 and water cooling
- Finalizing the graphics host
- ASRock BTC Pro Kit
- No cabinet, yet…
- Finally a cabinet!… frame
- Rack water cooling
- Rack water cooling, cont.
- Follow-up on Colony West
- Revisiting bottlenecking, or why most don’t use the term correctly
- Revisiting the colony
- Running Folding@Home headless on Fedora Server
- Rack 2U GPU compute node
- Volunteer distributed computing is important
First I’ll say up front that I love quiet fans. They tend to not move the greatest amount of air, but quiet is always a nice compromise in my opinion.
I mentioned previously that the graphics box came with a Yate Loon 120mm fan. It was rated at about 70CFM and 1650RPM, but has a noise rating of 33dB/A. In the triple 5¼” drive bays, I had a Mountain Mods fan mount (I didn’t realize I had a spare) holding a Power Logic PLA12025S12HH-LV. That fan was rated at 2000 RPM, able to move over 80 CFM, and rated at 27 dB/A. Needless to say: loud!
Well in a trip to pick up fittings for Beta Orionis, I looked at fans at the same time. I didn’t really have many spare 120mm fans around, and the ones I did have were largely cheap case fans — read: loud — or Corsair SP120s — again, read: loud. So in looking at what Micro Center had, I looked at fans by Cougar and bought two CF-V12HB fans to replace both of the 120mm fans I had installed. I’d read about these fans before but never tried them.
They’re rated at 60CFM, so they’re moving less air, but given the chassis doesn’t have any active exhaust except the power supply, this isn’t a major concern, but they do have a higher static pressure — 1.75 mmH2O. Temperatures on the graphics cards are a little higher. But they’re rated at 17 dB/A, and that is what I wanted. The difference is fantastic.
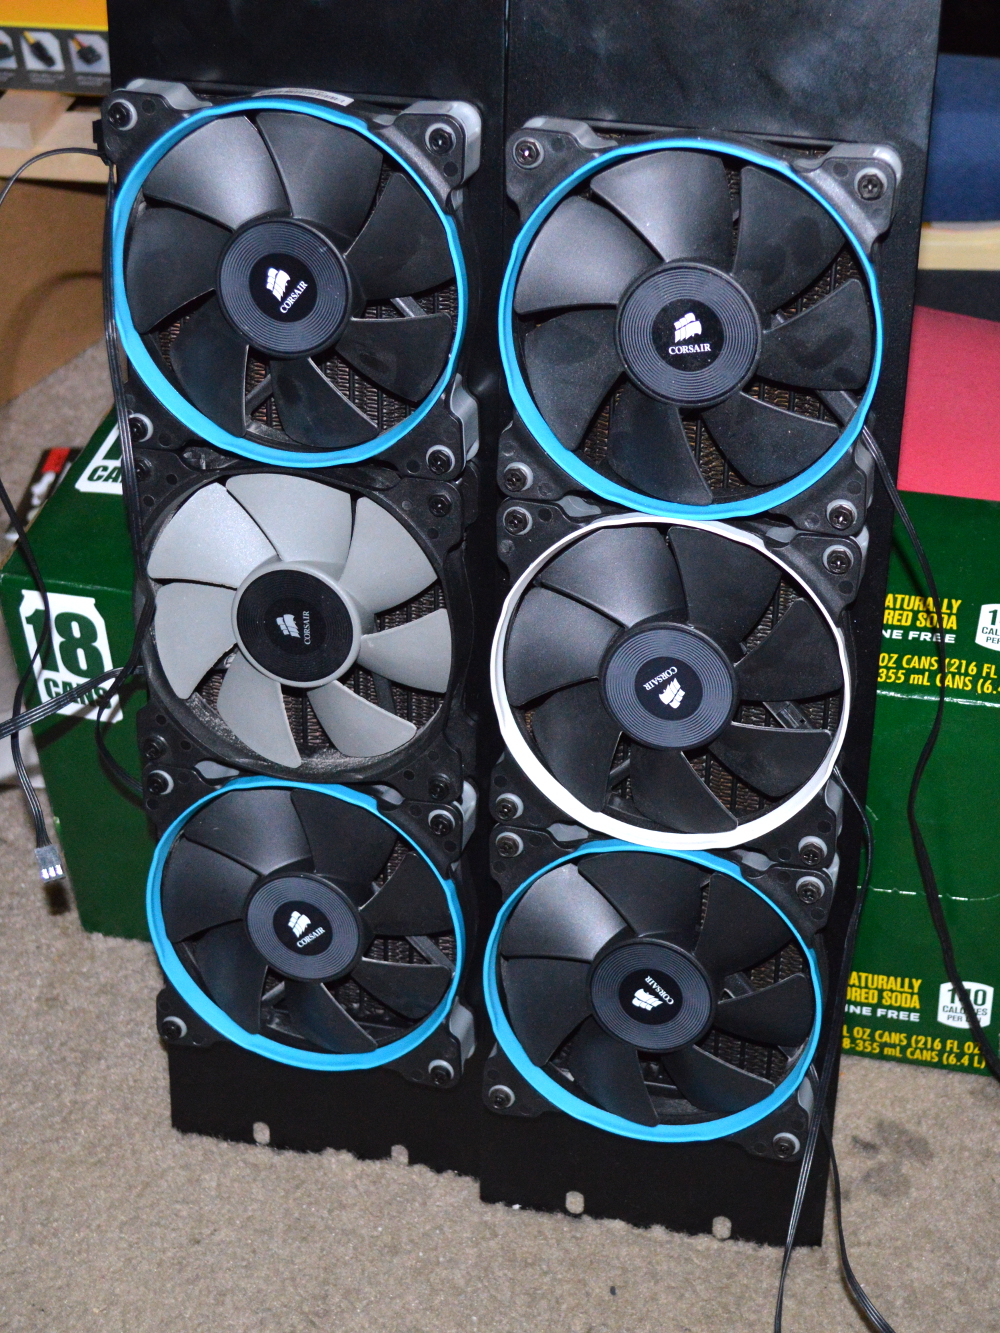
Just as a test, I wanted to find out what six SP120s sound like attached to the radiators. They look good on the radiators, but how do they sound? It overtakes the central HVAC unit in my apartment sitting only a few feet from it.
I found a listing on OutletPC for the Cougar CF-V12HB fans for significantly less than Micro Center’s price, so ordered six of them, and they arrived before I was finished with the cabinet. What do six of those sound like?
https://youtu.be/_31IFDzkGTI
Watch the two videos again. The camera in both instances was about the same distance away from the fans. Again in the first, the fans were overpowering the central HVAC running just behind my shoulder. In the second, you could hear the hum of the fans, but anything else could drown them out. Put them in a computer case and you’d likely not hear them. Undervolt them and they’ll be completely silent, which is likely what I’ll do with these.
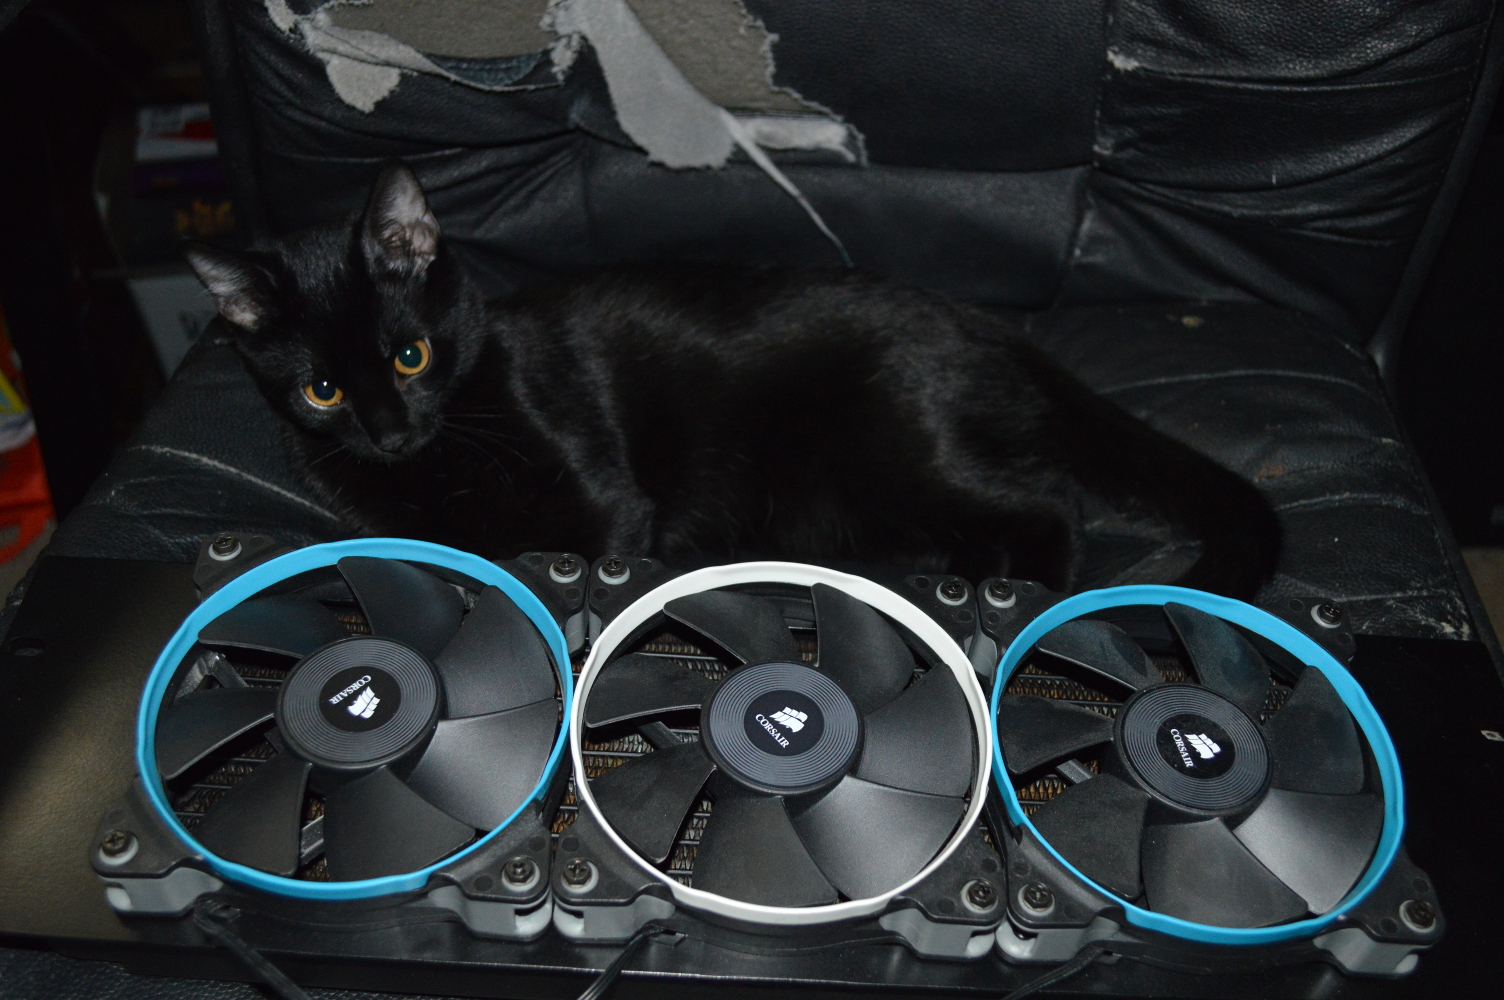
The cat you can see in the videos is Alice.
* * * * *
Building the cabinet
I was at the point in the project where I had to build the cabinet if I wanted to progress.
One thing I’ll say up front: this would’ve been a hell of a lot easier and quicker if I’d opted to go with pocket screws, following the instructions and design given in the plans I referenced earlier. But I didn’t want to do that. I wanted a cabinet that would be a hell of a lot stronger, given some of what it would be holding, so I opted mortise and tenon joints for the side panels.
And I’ll say up front that I don’t have a lot of experience with woodworking, and I’m starting to wonder if I have a masochistic streak that is making itself known.
I knew going into this that I’d likely need a drill press, but I held off on buying one to see how far I could get with a hand drill and a standard V-Drillguide to keep the drill holes perpendicular. And I wasn’t able to get very far. Namely because the V-Drillguide wasn’t going to hold still (and yes, I was trying to clamp it). So I bought a drill press from Harbor Freight — only the 8″ model as I didn’t need anything bigger (keep your mind out of the gutter).
Except I didn’t do mortise and tenon joints for the cabinet. I started drilling for it with the press, but it would prove too much for my limited capacity. I had the tools for it — the press to drill out most of the material, and the chisels to hone them square — but I knew after getting through a couple of the corners that this wasn’t going to work for me and I’d end up going through a lot more wood trying to make it work.
I looked for alternatives, and the one alternative that kept popping up in my search was a dowel joint. Not only would it be a hell of a lot easier to implement, but, depending on the wood you’re trying to join, it could possibly be stronger than a mortise and tenon. Let’s also not forget the fact that a dowel joint involves just drilling holes.
Now since the dowel joint is basically an enhanced butt joint — again, keep your mind clean — I would need a jig to drill the necessary pilot holes in the ends of the pieces being joined. Again, Harbor Freight to the rescue. While I was there, I made sure to pick up some 36″ I-bar clamps. Then it was off to Home Depot after that to pick up some ½” dowel rods.
A note of caution: as reviews to the doweling jig point out, it comes nicely coated with oil, so have paper towels handy when you first open it. This also means that parts of it can get nicely coated with sawdust as if you were breading chicken, so expect to have to really clean it. The centerline for the holes was also a little off. In my case the center mark for the ½” guide looked to be about 1/16″ off, compared to the center brad on the drill bit. Not a significant amount and something relatively easy to account for in making your marks.
Also make sure you have a good 1/2″ drill bit for cutting the wood, and know that you’re going to have to alternate between drilling and pulling out (again, keep your mind clean) as you try to reach the depth you need…. (okay, I give up). The ½” brad-tipped drill bit that Harbor Freight sells as part of a kit wasn’t working out for me. It kept binding in the jig. The Dewalt Titanium-coated ½” pilot-point bit, however, worked perfectly.
Dowel joints would not be complete without dowel pins. But since it doesn’t appear anyone in Kansas City supplies ½”x3″ fluted dowel pins, the recommended size for this application, I had to order those in online. For that I turned to California Dowel and Turnings, Inc. I had to order 500 of them to meet their minimum order requirement, but since I have multiple cabinets planned, along with the potential to use them in other projects (or just giving them to my dad), I suppose it’s worth the $50 I paid to buy and ship them.
In keeping somewhat with the original plans, I used 2×4 Douglas Fir studs all the way around. The side panels have 2x4s spaced along the side to ensure there will be plenty of weight distribution and strength. The reinforcement is centered at 11⅔” intervals (20U = 35″) between the top and bottom. The original plans called for just one support on the side, but I opted for two. Each horizontal support is secured to the corner beams with three dowel pins on each end.
For glue, I used Titebond III for the pins and in the holes, and Titebond No-Run No-Drip glue, which is made for end-grain applications and doesn’t set nearly as quickly as the Instant Bond glue. Both I found at the Woodcraft Store in Lenexa. Additional support joists run across the top and bottom, secured with wood screws and glue — Titebond No-Run No-Drip.
Overall the cabinet is about 46″ tall with a 3½” clearance underneath, about 31″ deep, and a hair over 22″ wide. It’s not a perfect frame-up, not completely square all around, and the supports aren’t completely flush with the corners, but it should still hold. I went with the extra supports knowing it wasn’t going to be a perfect job.
With the framing done, it was time to turn attention to enclosing the cabinet and adding doors. I’ll cover that in the next section, though, along with pictures of the finished cabinet. For now, though, it was a matter of moving things into the rack frame to get weight on it and make sure it’s going to hold up.