- Water cooling build in my wife’s computer – Introduction
- Water cooling build in my wife’s computer – Part I
- Water cooling build in my wife’s computer – Part II
- Water cooling build in my wife’s computer – Part III
- Water cooling build in my wife’s computer – Part IV
- Water cooling build in my wife’s computer – Part V
- Water cooling build in my wife’s computer – Part VI
- Water cooling build in my wife’s computer – Part VII
- Water cooling build in my wife’s computer – Part VIII
- Water cooling build in my wife’s computer – Part IX
- Follow-up on AquaTuning
- Defending AlphaCool and the risks of water cooling
- Kyle’s catastrophic failure
Well to begin, the CPU block is going through customs in Germany as I write this. I don’t have any reason to believe it won’t get through, but we’ll see. If you have any experience working with AlphaCool/AquaTuning’s RMA process, I’d like to hear from you, so leave a comment discussing it.
Salvaging a graphics card
I took another look at the graphics card that took the least amount of damage in this whole ordeal and wondered if it might be salvageable. I took some alcohol and was able to clean out a lot of the corrosion or whatever that mess was from around the capacitors before taking a multimeter to them. All of the parts came back as live, so that was a great sign. Things would’ve needed to be cleaned up a bit more to get all of the residue out before I’d consider putting it into a mainboard.
But there is a concern: the dripping fluid managed to eat away solder on the edges of the capacitors, but I was confident that the card could be salvaged. I just didn’t have the soldering skills to tackle such a tiny ordeal – actually I didn’t have any soldering skills at all, and I wasn’t about to try to acquire them on a $200 graphics card.
Instead I decided to turn to EVGA to see if they could help me. Their RMA page says this with regard to void warranties:
If your product is received damaged, EVGA will contact you with information and options to assist with filing a claim or offering a repair fee to avoid the product losing it’s warranty.
With that in mind, I opened a4 support ticket to see if they could help me:
Good day,
Before explaining things, I’d like to first quote your RMA page regarding “Void Warranty Policy”: “If your product is received damaged, EVGA will contact you with information and options to assist with filing a claim or offering a repair fee to avoid the product losing it’s warranty.”
I had a custom water cooling loop running in my computer for a couple months before the CPU water block ruptured. I had two EVGA GTX 660 SC graphics cards running in SLI in the loop at the time. One of the graphics cards is a complete loss as it caught fire, but the other graphics card appears to have sustained only slight damage from the liquid coolant, and I think is salvageable as it appears to have sustained only light damage to several small capacitors on the board.
My question is whether I can send this in on RMA for a repair, even with a fee being charged, based on what was quoted above from your RMA page?
They responded confirming what I thought with regard to this, and then created the RMA ticket so I could submit an RMA to send in the card, which was approved in short order. I’m thinking they’ll send me a refurbished card and then figure out what it’ll cost to repair this one. If the damage is all that I think it to be, they shouldn’t quote much on that. We’re talking small electronics parts – sure they may require a surgeon’s precision to solder, but it shouldn’t be all that bad. Cleaning the rest of the gunk from around them is bound to be the most time consuming part.
In preparing the card to be shipped for the RMA, let me say this: the IC Diamond compound is a great performing thermal compound, but a pain in the ass to clean off the smaller chips and surfaces you find on a graphics card, even with using ArctiClean. It cleans off metal surfaces quite easily, and I can wipe a good portion of it away before I need to go at it with the ArctiClean, but on the surfaces of VRMs and memory chips, it’s a pain to clean away. A flathead screwdriver and gentle scraping got a good portion of it cleaned away first before using the ArctiClean to get the rest.
Now I just need to get it in the mail.
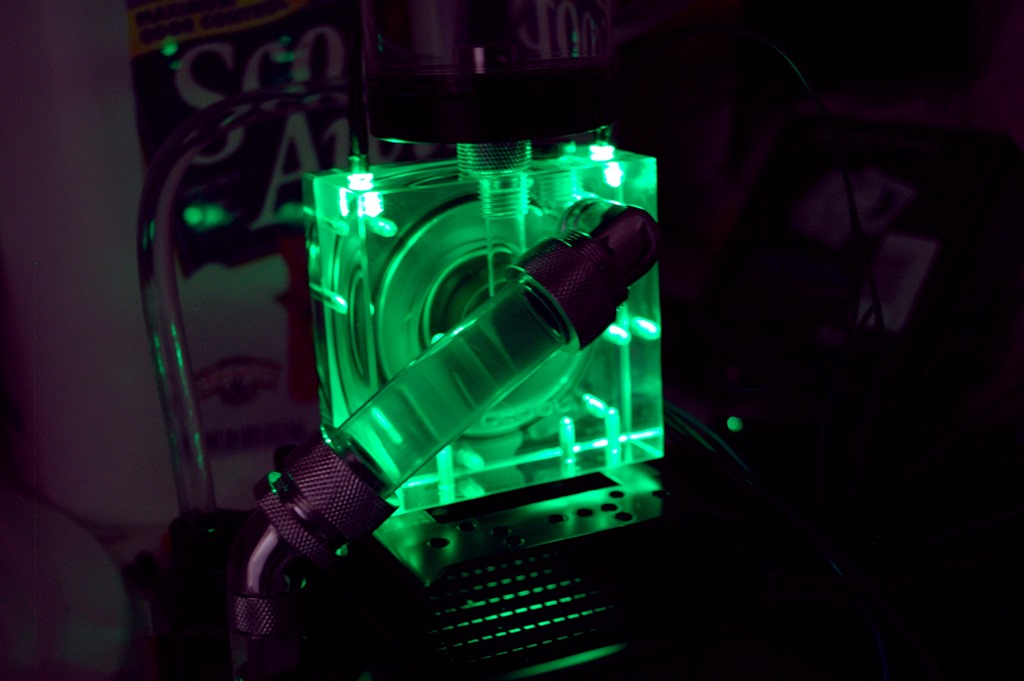
Revisiting the pump
When I got the new pump top home I immediately went to work putting it together and tubing up a makeshift loop to try things out, and everything works like a charm, significantly better than with the Bitspower D5 mod top and the Swiftech housing I purchased initially. In hindsight, I should have just purchased that at the same time as the pump, but again, you live and learn. If I use this pump for a loop in my computer – which is quite likely – I’ll just need to make sure I get the pump top at the same time.
And the pump is quiet. I can hear a mild hum while it’s running on its lowest setting, meaning it’ll be practically inaudible over the fans that’ll be running under the radiator beneath it.
But just for good measure, and to see if I could silence it further, I decided to buy some rubber washers from Home Depot, along with some all-black M3s for mounting the pump mount plate to the radiator – the M3s I have are entirely silver, so having the all-black M3s blends everything together nicely and hides the mounting hardware. I also bought some longer M4s for going through the mount plate and the washer into the pump top. Once all the air was out of the pump and the small loop I have everything mounted into, you’d have to put your ear up next to the pump to hear it. And that’s only because putting your ear up next to it gives your brain the signature it needs to distinguish the pump from the rest of the background noise, meaning the pump is going to disappear behind the whir of the fans.
Add in a fan controller, and I should be able to get the system completely dead quiet at times. It’s going to have 5x120mm of radiator space, so I don’t think that’ll be difficult, even after the graphics cards are added back into the mix as it’ll just be the CPU initially… on 5x120mm of radiator space. Hey, I’ve seen builds with the just CPU on a quad radiator, and other overkill builds like that, but again they allow you to turn the fans way down and still give more than adequate cooling.
I’m guessing the Bitspower top puts a tight fit on this particular D5 pump as the flow comparison is like night and day. Now I was trying to tube it up so that the pump pushed water into the lower radiator first. This means that given the natural flow of air versus fluids, some if it wanted to go back into the pump, some wanted to go out through the other outlet. And with the Bitspower and Swiftech pump tops, the pump had a hell of a time trying to push against that, even with setting the pump to the maximum speed. Now with some fluid still sitting in the pump, the pump wasn’t in any danger while trying to figure this out, but it was frustrating to no end.
With the AlphaCool pump top, it could push against that without any problem at all. It needs to be pushed to max speed to get that initial pocket of air gone, but at least it could do the job.
So now I have a spare pump top that I’m not sure if I’ll be using later. As I said before, I’ll probably just sell it. I did buy replacement M4s for this one as well – all black as well so they’ll blend into it nicely – since one did end up going down a drain, literally.
In the mean time, the new top has 4 holes for 5mm LEDs, so I bought more LEDs and a board for powering them. I’ve decided I’m likely going to use just two of them, mainly because the more LEDs you have in the board, the dimmer the rest become – perhaps the better choice would’ve been a Bitspower LED Station. Plus the two holes in the front will be a nightmare on cable management as well as there’s no way to not see the cables, whereas using only the two holes in the top will still allow me a little leeway for tying the cables out of sight, even if I might need to use cellophane tape to keep the LEDs in place.
I’m definitely looking forward to seeing how this’ll look with the rest of the lighting in her case.
Graphics card water blocks
Given the extent of the damage to the lower graphics card, cleaning the water block was straightforward. The upper graphics card, however, the one that bore the brunt of the damage, was a different story. Because that card ignited, there was some mild scorch damage to the water block, but thankfully not very extensive. It looked more like some of the melted components dripped onto the block and solidified.
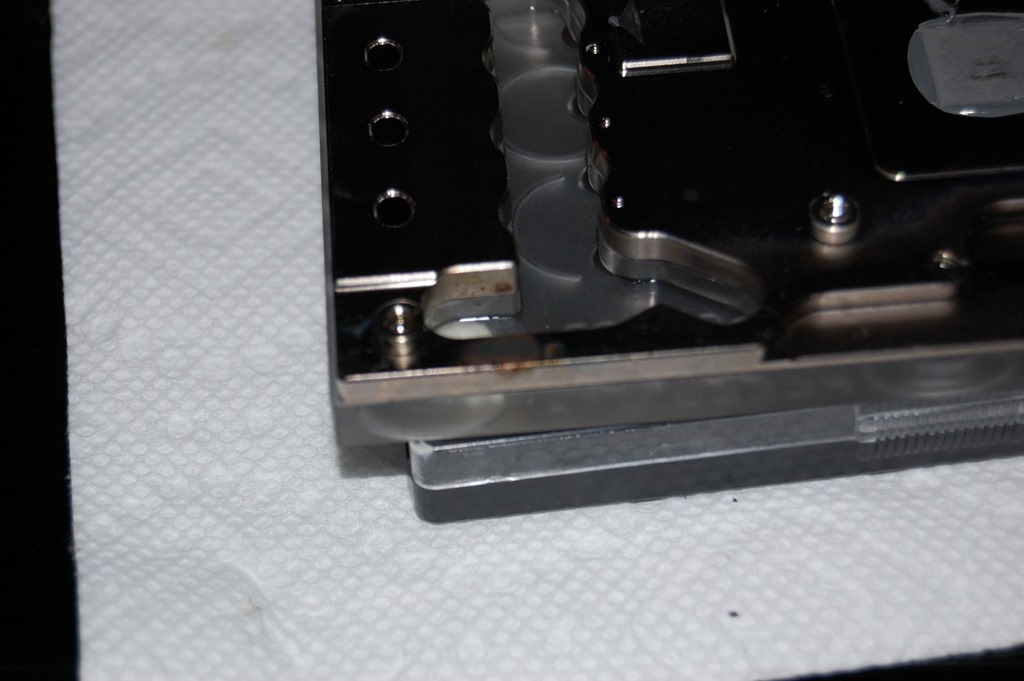
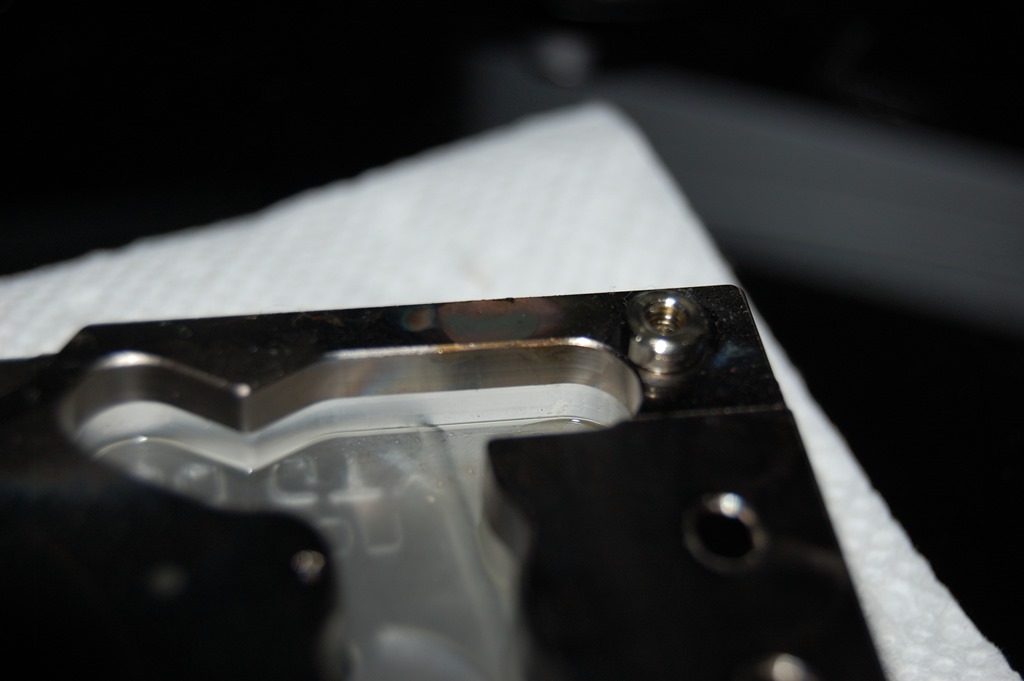
So my hope was that I’d be able to clean it away without having to make use of anything more than a mild abrasive. Enter ArctiClean.
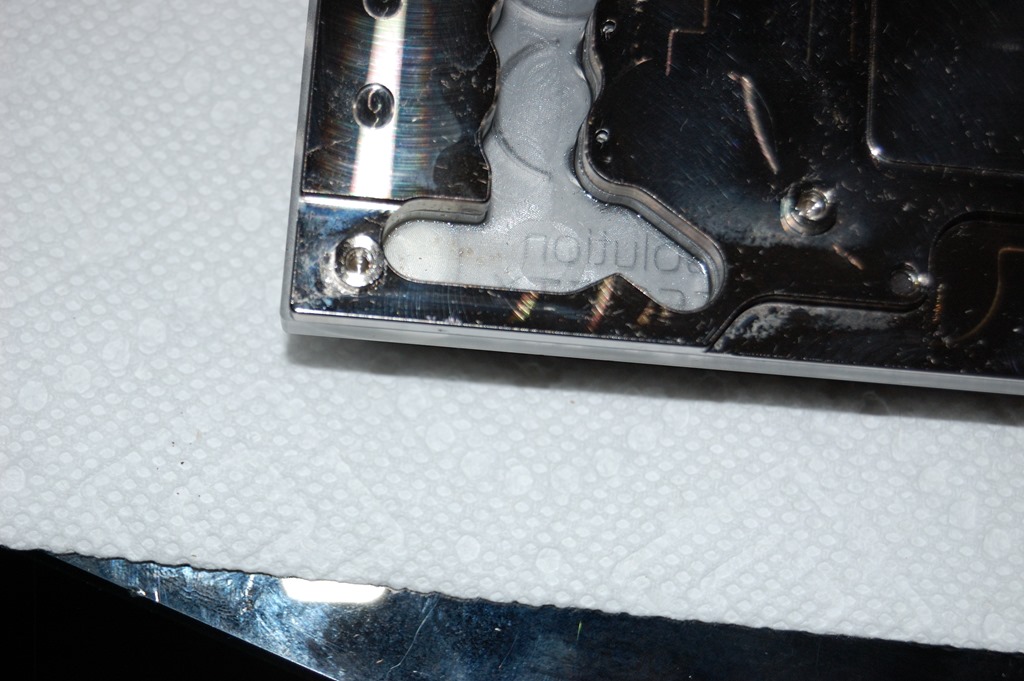
As you can tell by the above picture, it worked, but took several applications of the first part and a little elbow grease with a paper towel to clean it away.
Parts acquisitions
While everything’s been going on in the background with cleaning up the mess that the water block rupture created, I’ve also taken the time to acquire new parts to assist in getting a new loop up and running. I’ve already mentioned some, such as a clear acrylic top for the AlphaCool VPP655 pump and the small parts to go with that, along with the Koolance CPU water block.
Previously the radiator was mounted with M3 screws in the top of the 750D case, but those were going through grommets that come with the case. In disassembling everything, I discovered that several of the screws seemed to be barely held by those grommets. So instead of using the grommets, I’m going to be using other 00 rubber washers as the dampeners between the radiator and case, and I have #6 washers for the M3 screws. I will remove the grommets from the case when I am mounting the radiators.
For those who don’t know, #6 washers are 5/32″ (4mm) ID, 3/8″ (9.5mm) OD. The holes in which the grommets are currently installed are 1/4″ (6.35mm) diameter, and the heads of the M3 screws I used are 5.25mm.
To power all the fans in her system, I’m currently using a Bitspower X-Station I, but I was not aware until recently that not all of the 3-pin plugs on the board are 12V output – that’s what I get for not reading the description well enough. But I have wanted to get a fan controller for her system (and one for mine, eventually, as well) so that she can turn everything down when she’s not on her system and crank them back up when she’s gaming. I was looking at the Lamptron offerings, but decided to go with the Phobya TPC, which I’ve read is virtually identical to the Lamptron FC5V2 controller in function and capability. I was also seriously considering the FC5V3 until I encountered the Phobya offering. But given that the Phobya has blue text and that color cannot be changed, she might want to go with a Lamptron so she can have green text that matches the rest of her build – including the green-lit Razer mouse.
Once the transitions are done, I’ll be repurposing the X-Station to power a Raspberry Pi and and other things I intend to use with it, in part because it has a 5v output I can use to power the Pi – multiple Pis, actually, if I so desired.
And with the fan controller, I also decided to acquire a Koolance temperature probe. I’m planning to put it on the lower radiator. If you’ve seen AlphaCool’s radiators, you know there are 6 threaded ports on the radiator. I’m going to have the tap on one of the inlet ports, ensuring the drain is at the lowest point in the loop. On the outlet side is where I’m considering installing the temperature sensor plug since it’ll be easiest to install in that position and should be fairly out of sight.
The silence of the pump caused me to also consider a flow meter as well, but I opted against it right now. The RPM line from the pump should be adequate, and I can set an alarm on my wife’s mainboard based on that as well. I’ll probably consider a flow meter a little later down the line, though.
You must be logged in to post a comment.