Materials and components:
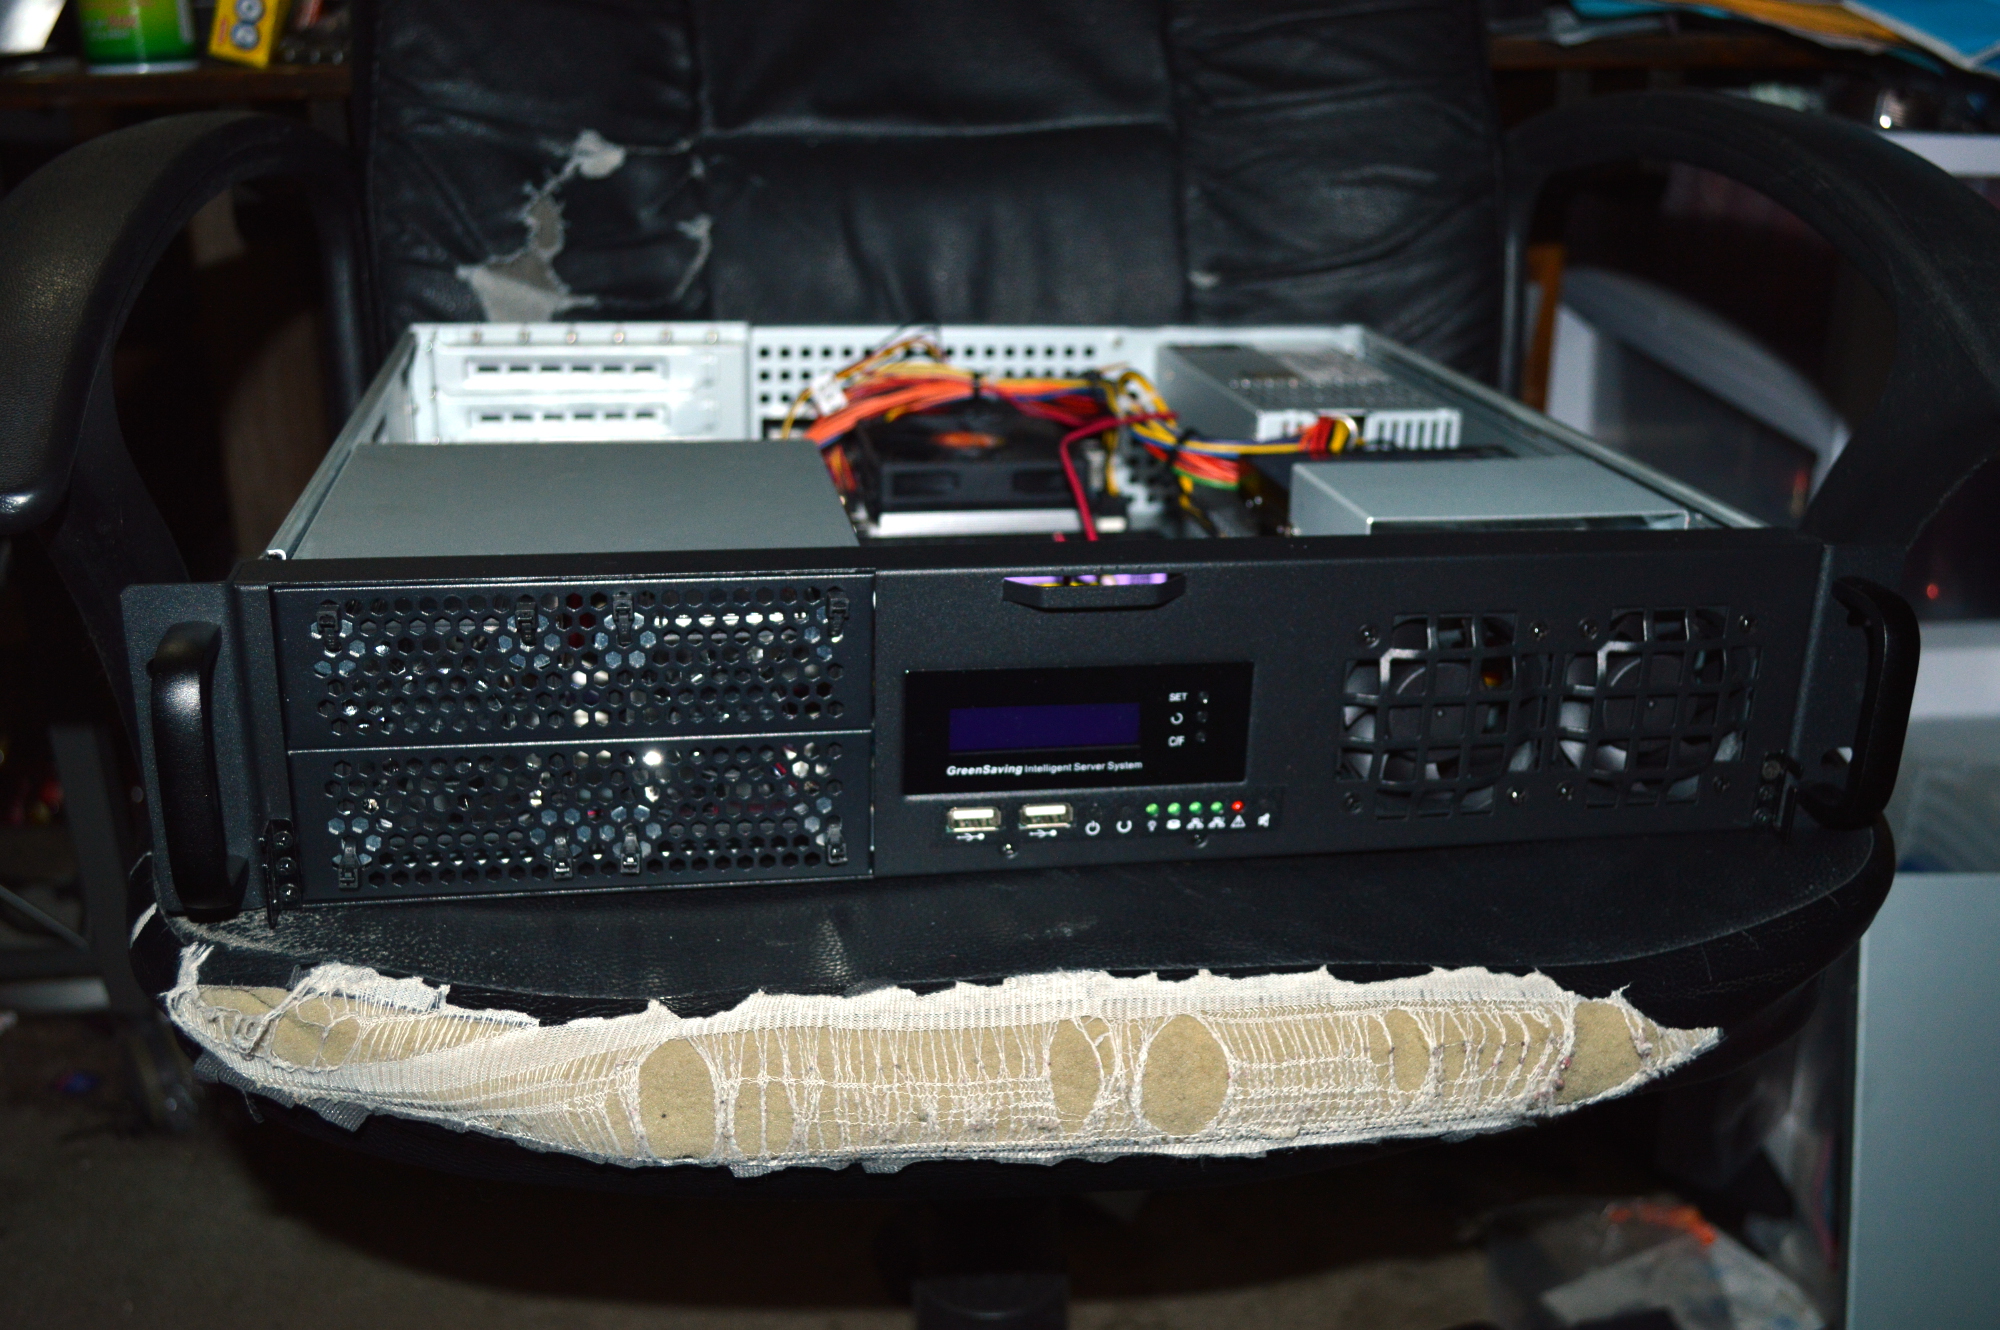
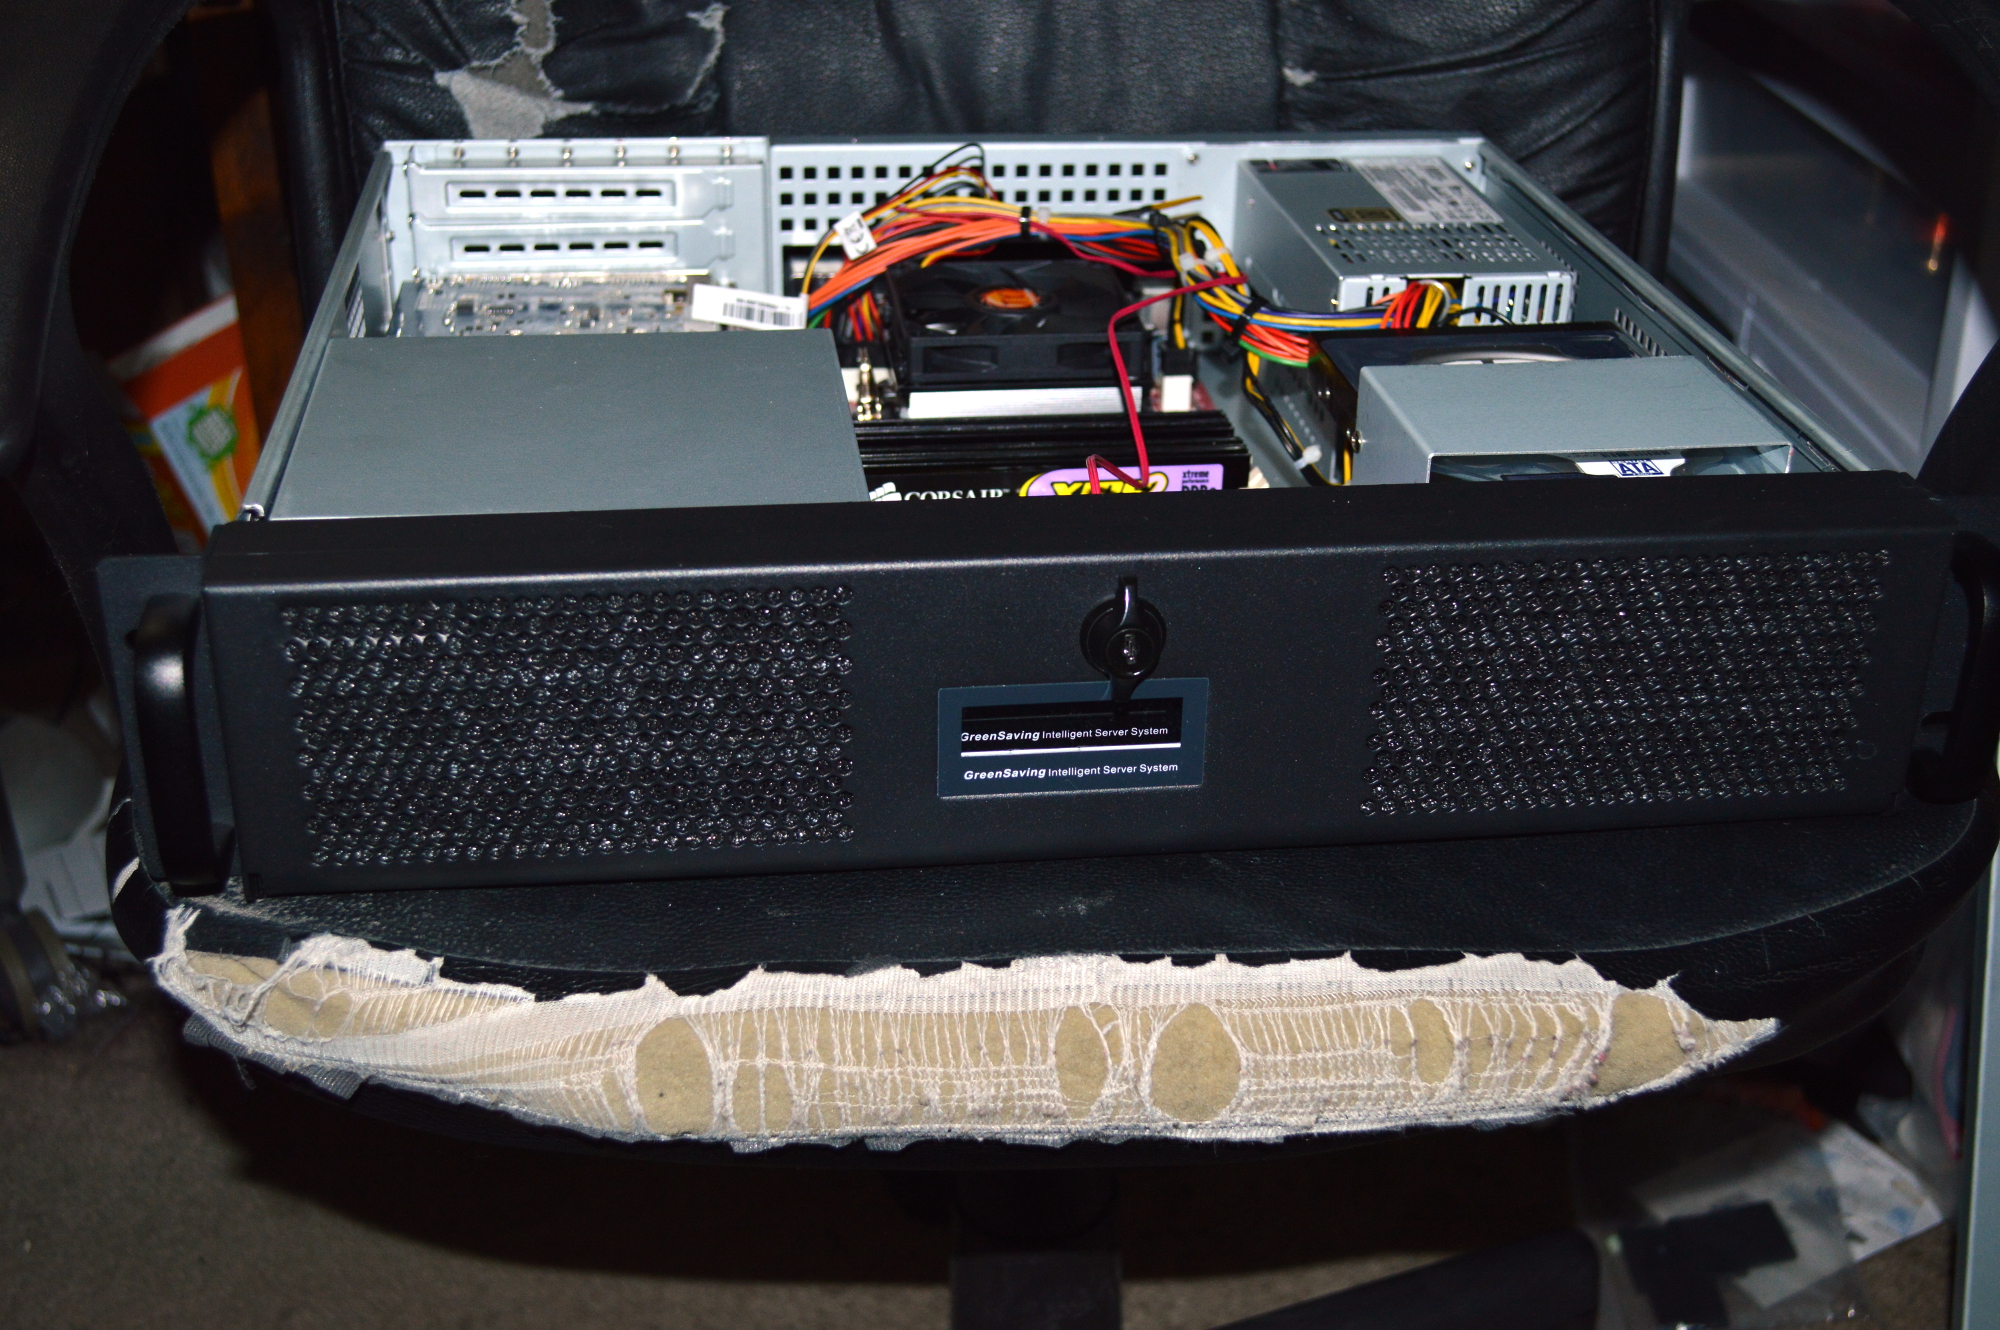
- Case: PlinkUSA IPC-G252S 2U server chassis
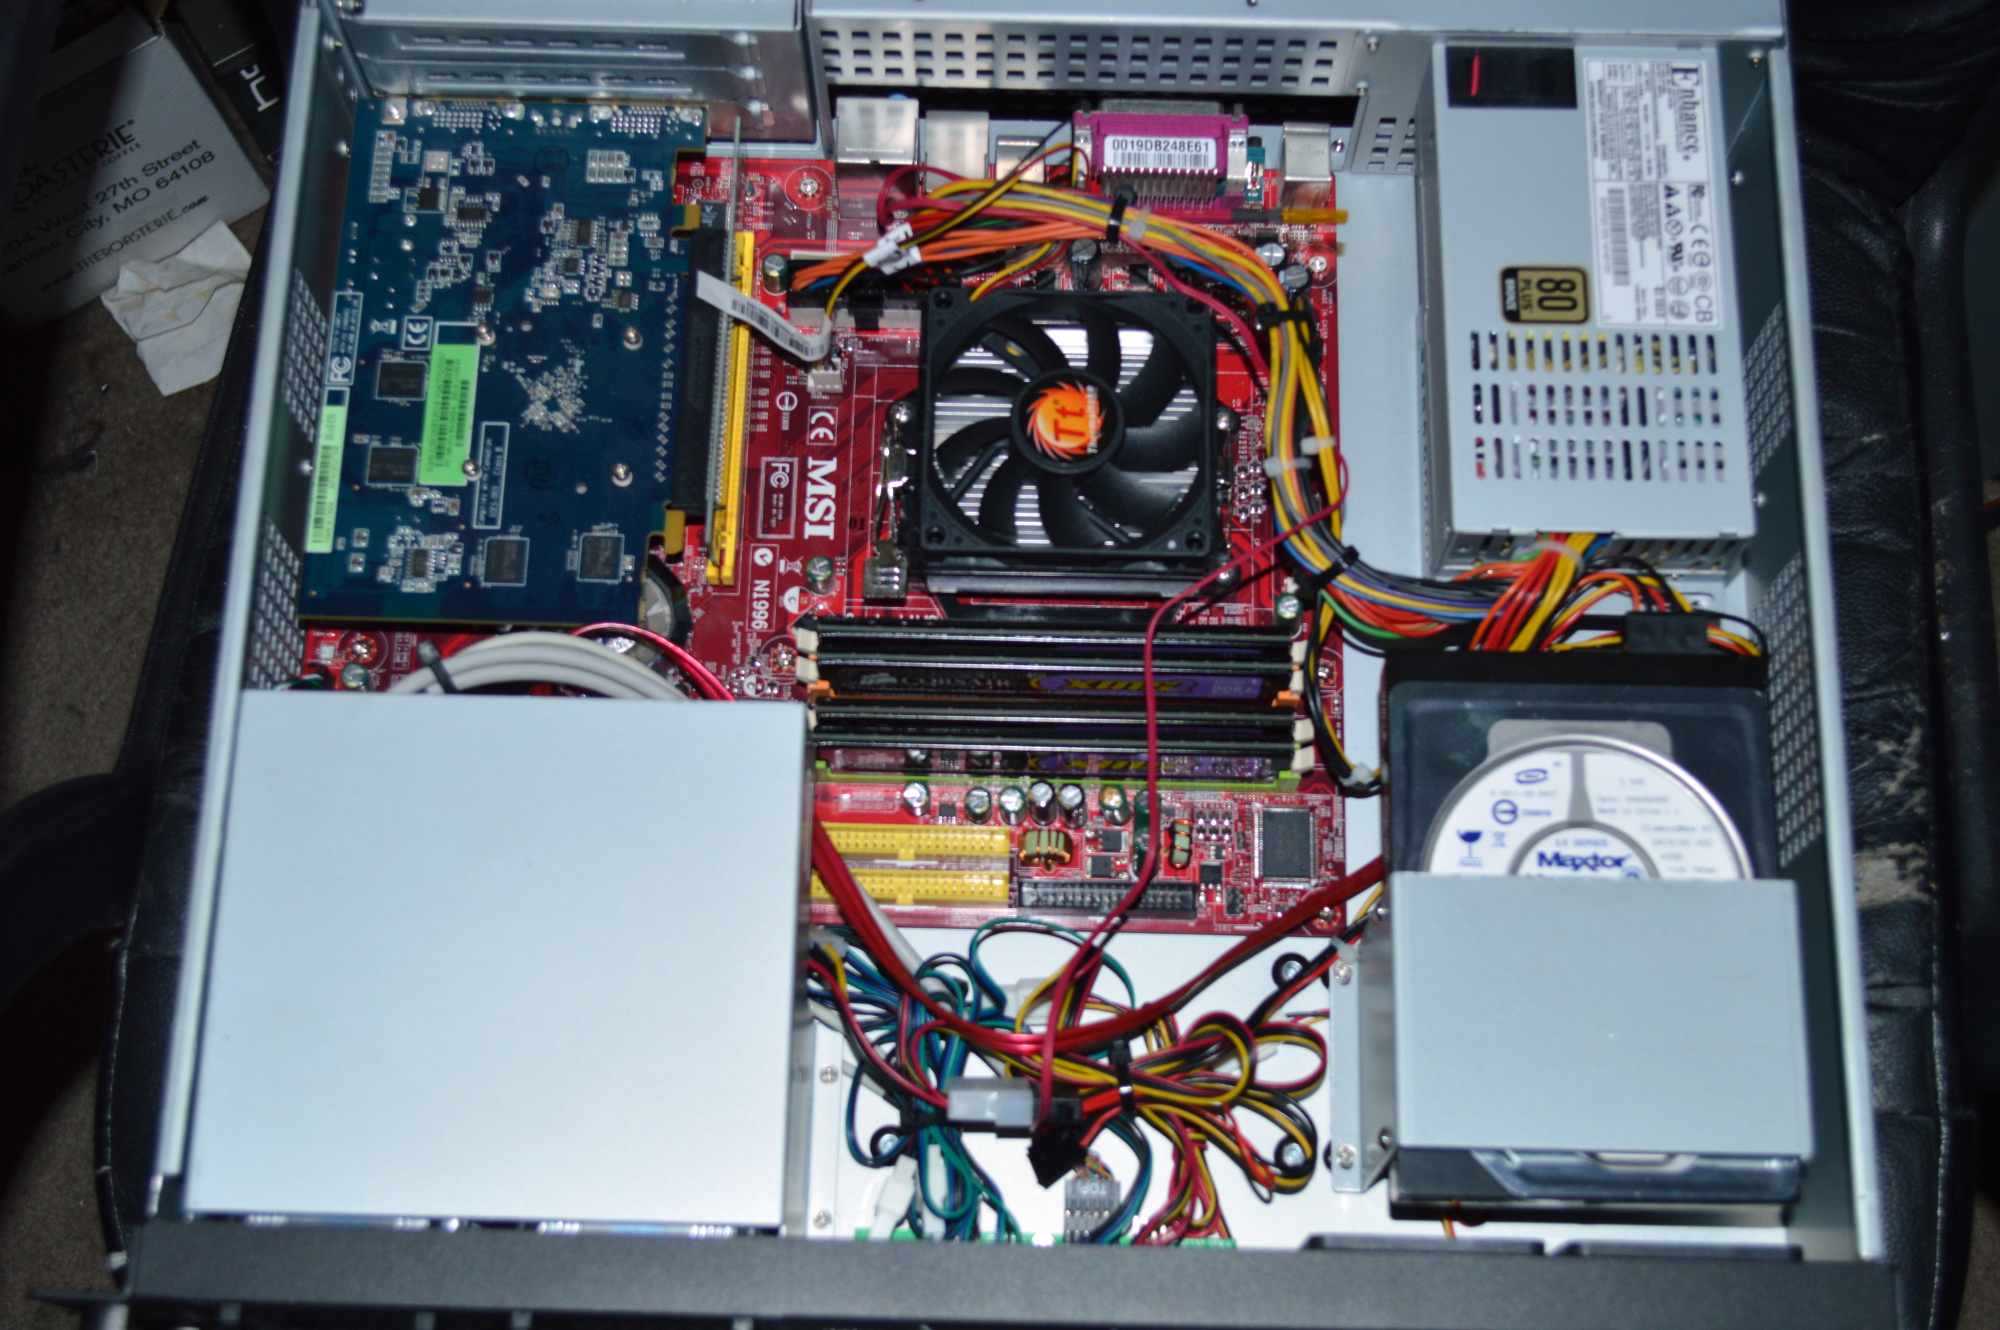
- Power supply: Enhance 1U Flex ATX 250W 80+ Bronze
- Mainboard: MSI K9N4 SLI
- Processor: AMD Athlon X2 4200+ (Socket AM2)
- CPU cooler: ThermalTake CL-P0503
- Memory: 2GB DDR2
- Graphics card: Sapphire Radeon X1650
- Hard drive: Maxtor 60GB SATA 1
Yes this is a server being built from older hardware. My wife’s been bugging me about building her a server, so I decided to go this route. Initially I built this into a Logisys 4802 4U server chassis, which was almost 2′ long, but decided that wasn’t going to really work well. For one this was going to be mounted into a short rack cabinet, so a 2′ long case just wasn’t going to do. Plus with a full-ATX power supply, it was heavy. Now this still isn’t exactly light, but it’s a hell of a lot lighter than what was built into the Logisys case.
And building into this small of a case was certainly frustrating.
I went with this case simply because it can support a full ATX mainboard, as it was only full ATX mainboards I had laying around. I still have several of them actually — one holding an old Athlon XP chip, another with a Celeron 800MHz processor, another with an Athlon 64, and one more with another Athlon X2 (3800+, I believe). So building a rack mount server seemed the best way to put some of that hold hardware to use.
And given I’m considering trying to build a cabinet from an IKEA kitchen cabinet, I might have a use for the Logisys case after all. Or I might go small form-factor again.
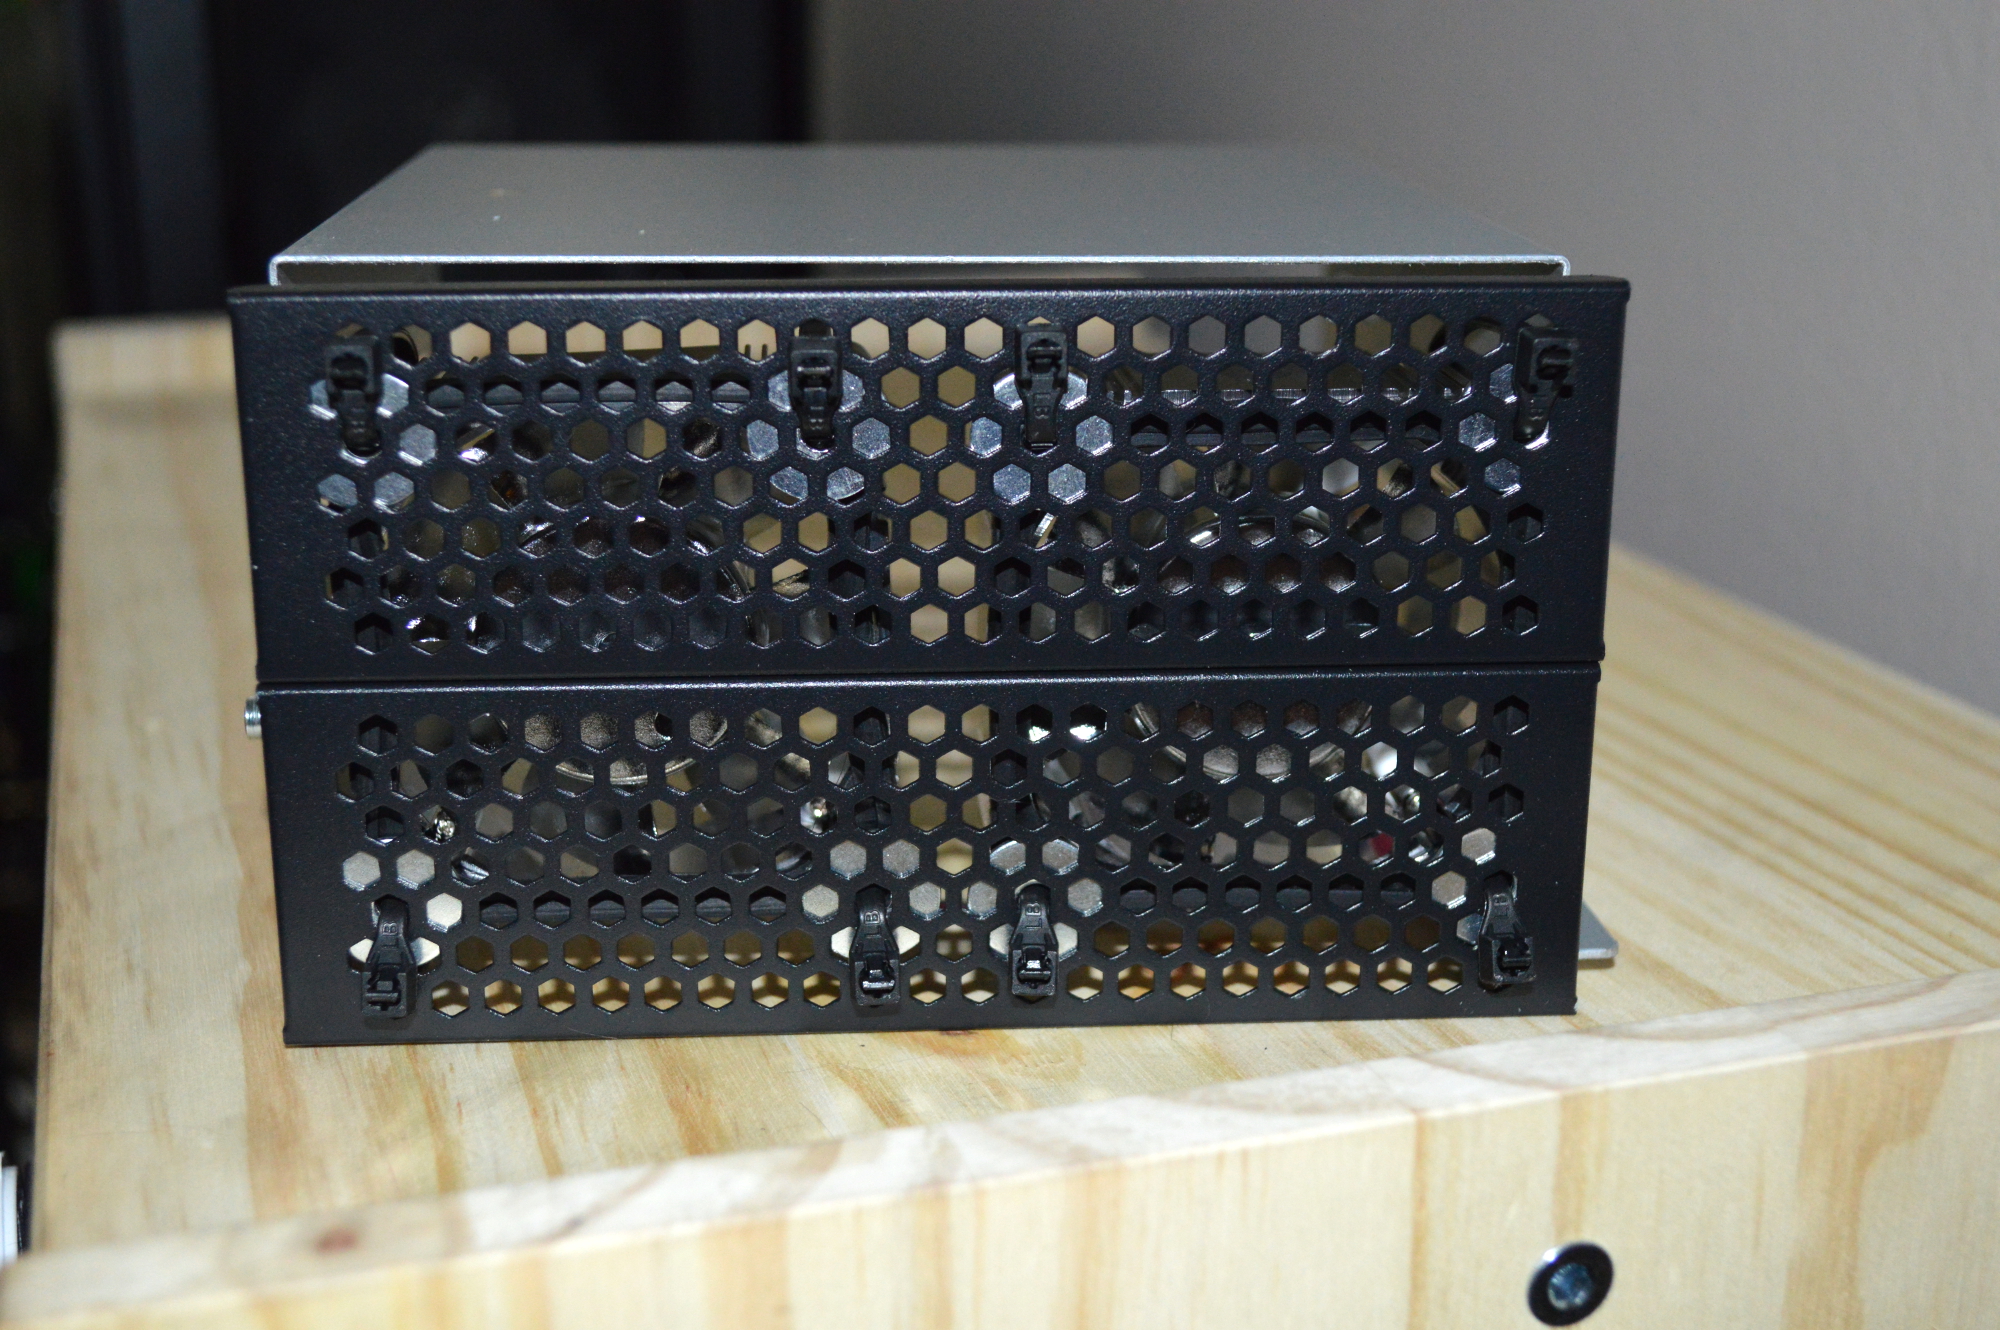
Modularity is one of the great things about the PlinkUSA chassis. There are three drive mount brackets: two for 3.5″ drives, and another for 5.25″ drives/devices, all of which are removable. It also comes with a fan controller with a temperature sensor. It also provides plenty of screws as well, which is good because the heads seem to strip easily — one of the things I hate about Phillips head screws.
Unfortunately the 5.25″ bracket interfered with the mainboard. I considered removing it entirely, but since the chassis comes with just 2x60mm fans pre-installed, I wanted to retain the 5.25″ bay for additional fans. Cue the tin snips.
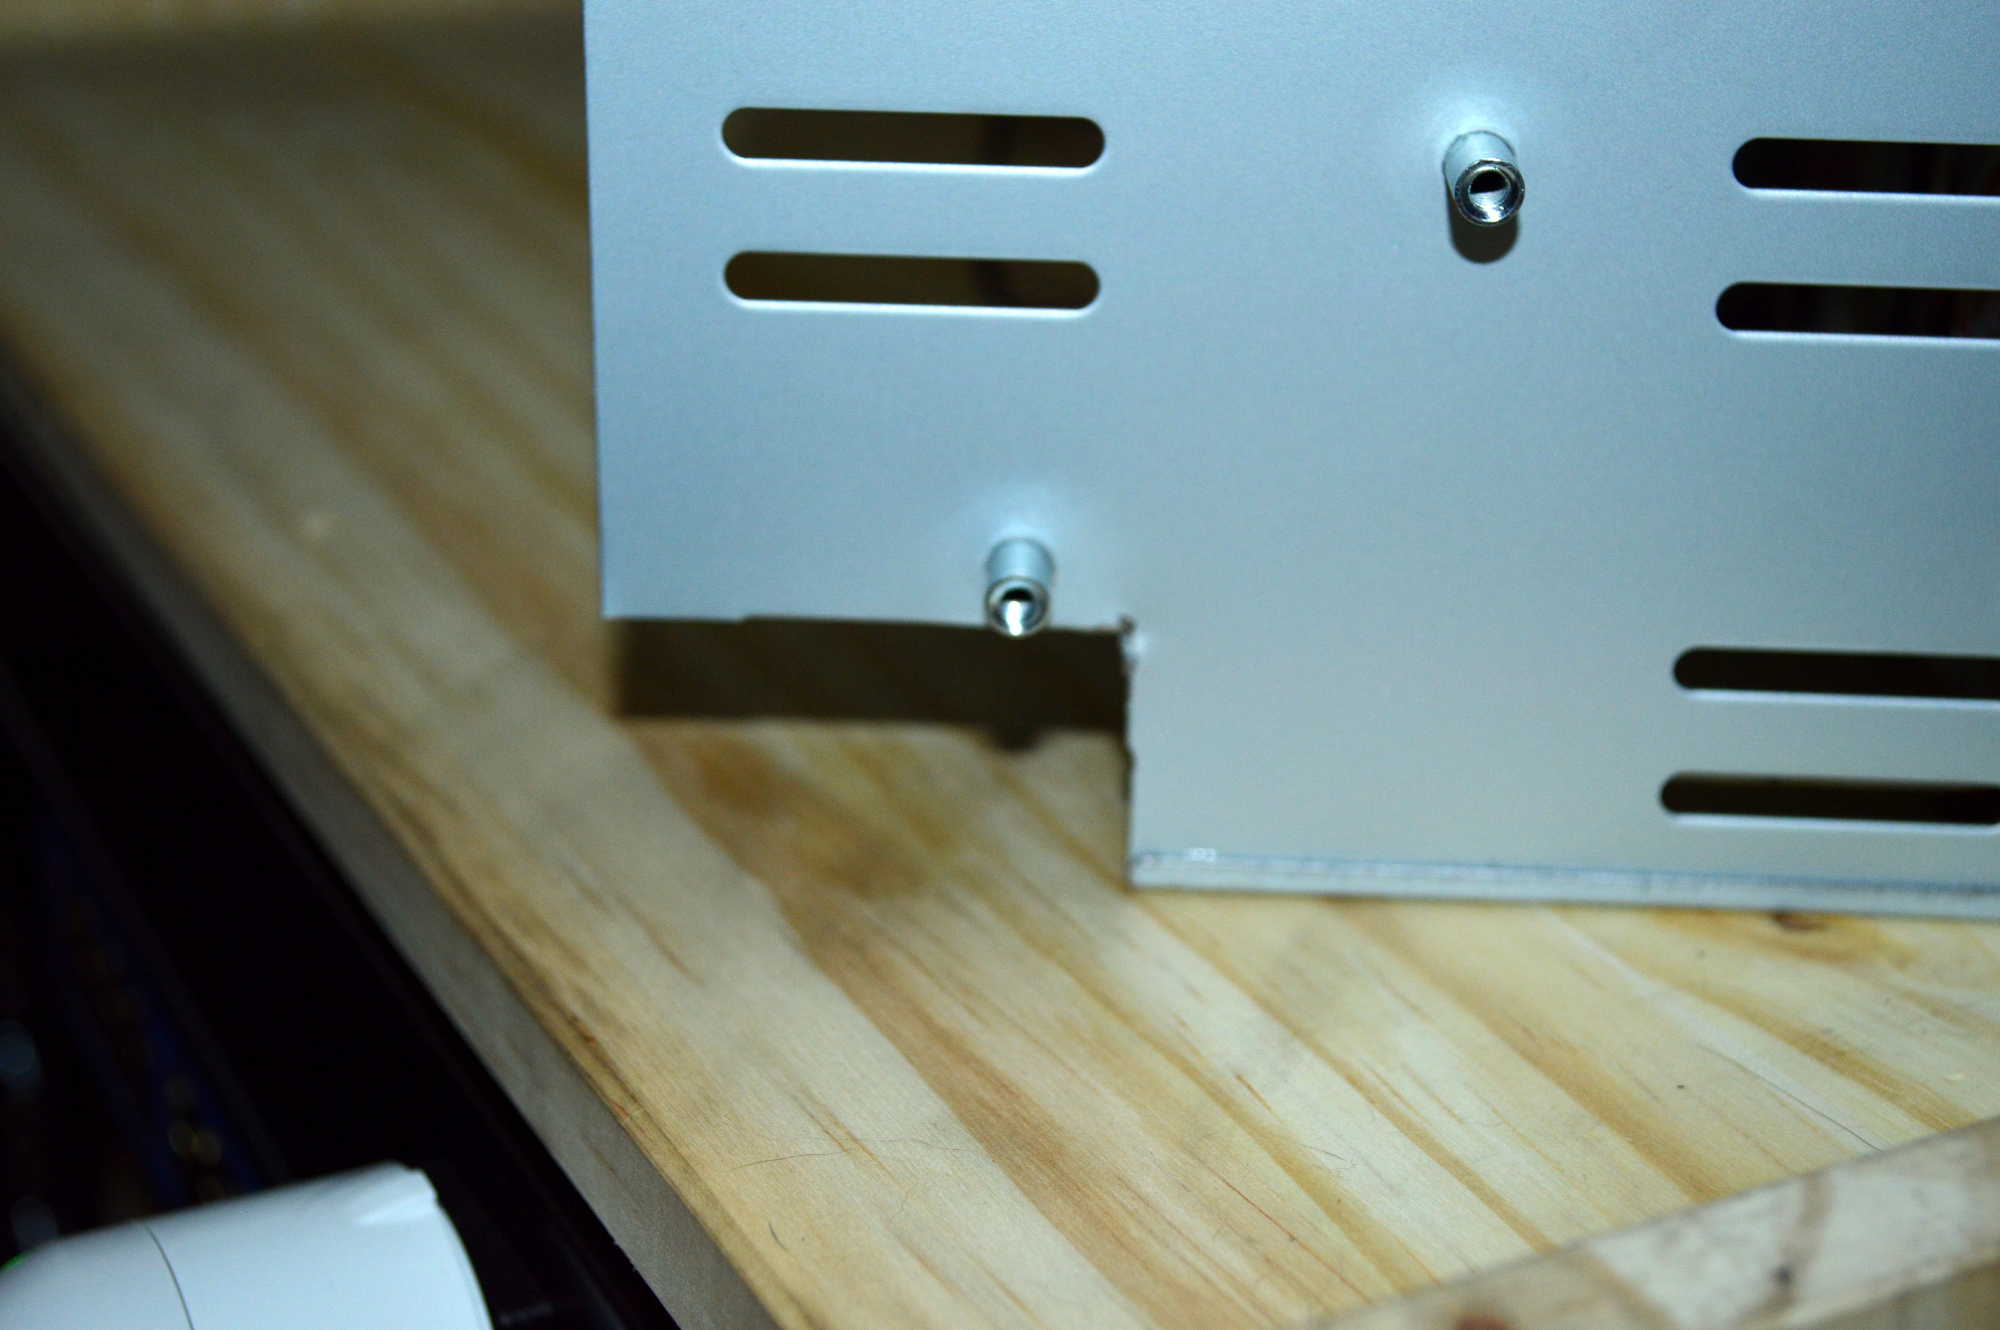
In the end I had to take the cut entirely above the screw mount to ensure there was room for the FPIO connectors. This isn’t going to be supporting 5.25″ devices, so needing to cut away at this wasn’t a huge deal. And my tin snips were able to cut through this without a problem.
I purchased two 60mm fans from Micro Center to mount to this. Unfortunately the front mesh doesn’t line up with really anything available. So instead of trying to find something online, I decided to improvise. Plus the only fan mounts for 2 drive bays I could find would be for a single 80mm fan, though mounts for 40mm fans into a single drive bay are available.
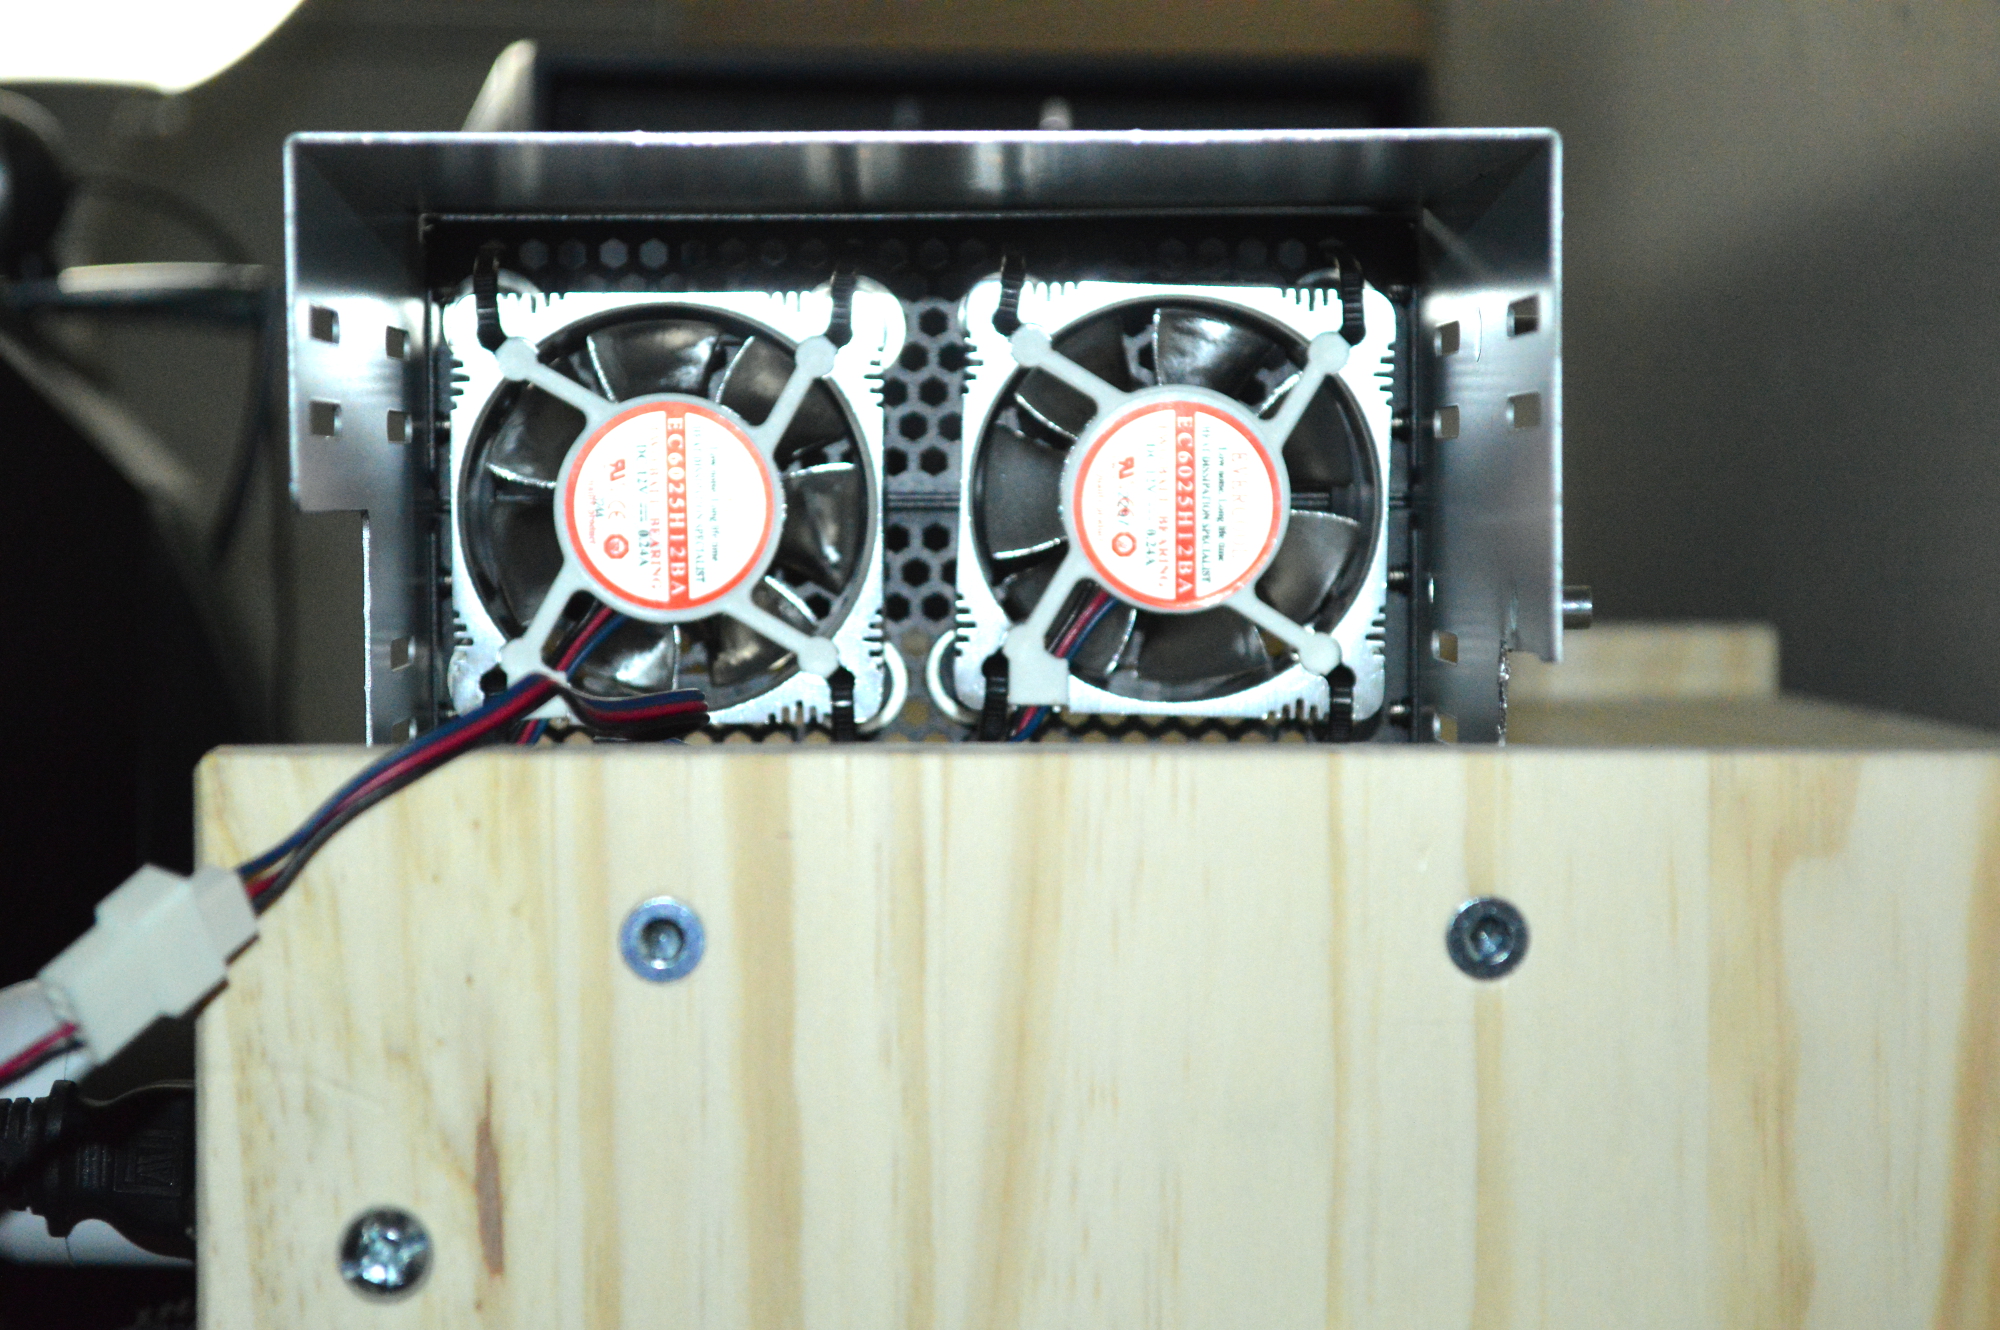
Zip ties and washers. Sometimes you just need to go with it. And it works fine, as after mounting these up I plugged them into a spare power supply to test.
I’m unsure what metal washers I used, as they were just some spares I had lying around. But there are also 00 rubber washers and a 60mm Lamptron fan gasket as well holding the fan against this. The fans are the Evercool AL6025. And it’s a good thing they’ll be connected to a fan controller as these fans are loud at full speed. If they become annoying, I might change them to NoiseBlocker 60mm fans. But as this server shouldn’t be getting used for anything really intense, I don’t foresee it being a problem.
This is especially true because finding a low profile cooler was interesting. Thankfully I got lucky at Micro Center and didn’t have to order one online. The one I selected is the ThermalTake CL-P0503, which is made for the AM2 socket. It’s certainly a lower profile than the stock cooler that comes with the Athlon X2, and I’d certainly prefer a lower profile still, but this was a readily available option, and it was only $7.
Now my only concern with this server build is just the power supply. It’s only 250W, so I think it’ll be good enough for all of this. The graphics card is my only concern with it, but as the graphics card isn’t going to be seeing any major action, it should still be fine. Micro Center carries Flex ATX power supplies, though, so if I feel I need to bump it up, I have a local option.
So that’s it for this project. It’ll be mounted into another rack mount cabinet I’ll be building from the IKEA RAST nightstand, where it’ll reside until I build a rack cabinet for the entertainment center. But it won’t get fired up until I build that cabinet, which will happen when another rack mount surge suppressor arrives this week.
You must be logged in to post a comment.