Previous: “Cooling off a Pi so it won’t crash”
I have to admit that before starting this little experiment I was a little nervous about how it would all work. I wasn’t sure if I’d succeed or if I’d end up frying my Raspberry Pi and possibly a power splitter board, and perhaps a power supply in the process.

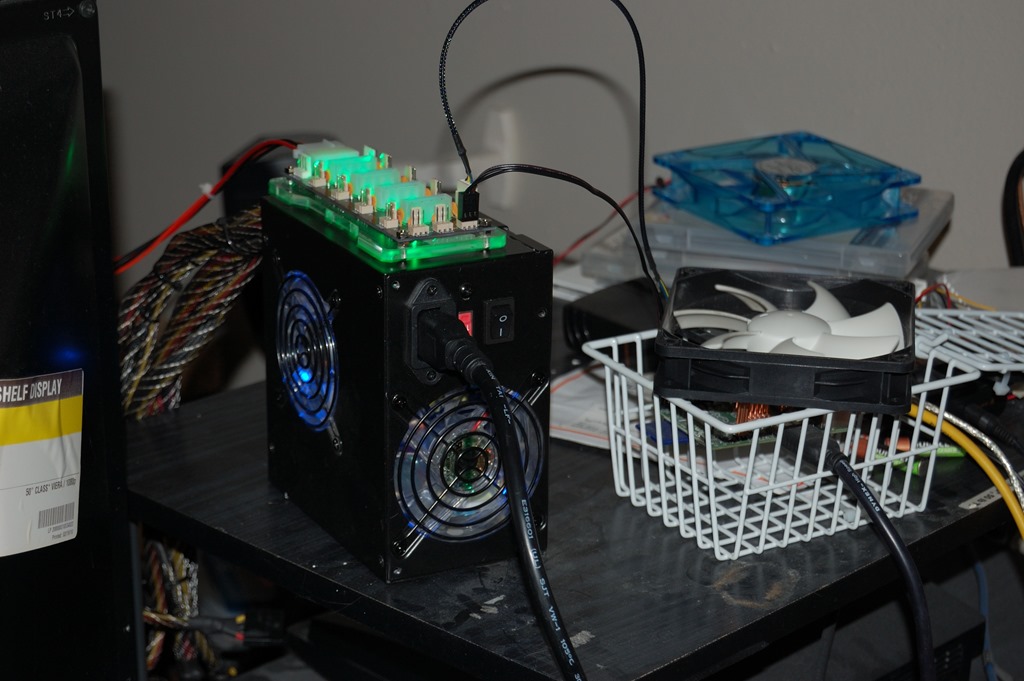
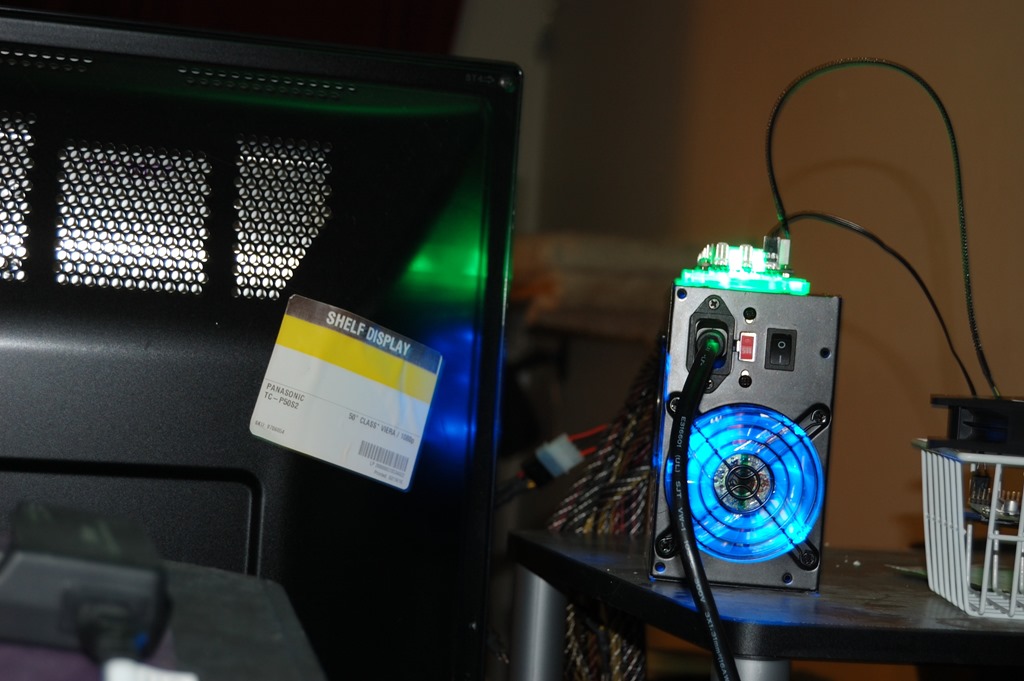
Here’s the setup: I had the Raspberry Pi powered off one of the 5v connectors on a Bitspower X-Station I. There are 3 of them, so in theory this setup should be able to power three Raspberry Pis while also providing for fan cooling on all of them as well. The fan in the picture is a ThermalTake fan that came stock with a ThermalTake Water 2.0 Performer all-in-one CPU water cooler. The fan was plugged into a 12v connector. I later tried a Corsair SP120 High Performance fan as well.
And all of this was powered by a 500W Rosewill Stallion power supply. Note: I needed to use a 4-pin Molex extension cable on the power splitter board as the power supply’s connector had difficulty getting a solid connection that would allow the 12V connectors to be powered.

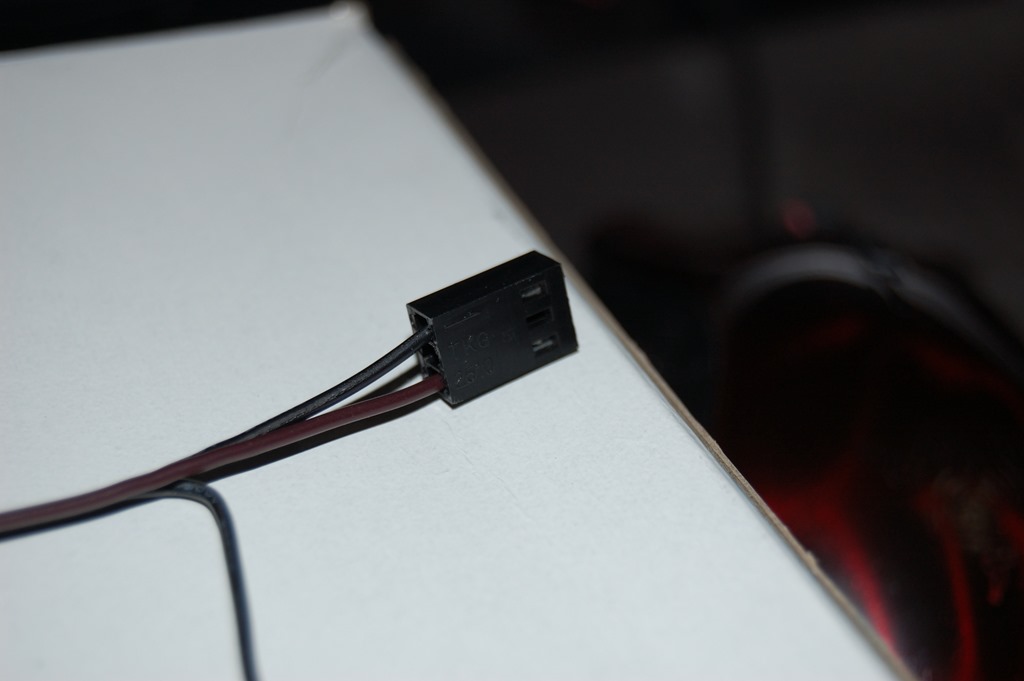
The cable connecting the X-Station to the Pi was built from a female-to-female 3-pin fan extension cable distributed with an NZXT Grid, but I had to modify the end going to the Pi. The pinouts for these connectors are, looking down at it from the non-keyed side, pin 1 is ground, pin 2 is 12V, and pin 3 is the RPM sensor signal. To power the Pi on the GPIO, you need to put 5V into Pin 2 and ground into any of the ground pins, the nearest being pin 6. And the keyed connector won’t fit as-is, but you can cut the key slots off the connector and then you can slide it onto the pin array.
So basically you need to change it so Pin 1 on the connector is 12V and pin 3 is the ground with nothing in the middle, as the above picture shows. And to make it fit, just shave or clip off the keyed rails on the connector. If I had the knowledge along with the materials, I might have tried to build something directly rather than adapt something. Perhaps that’s a future project, or I’d solder the wires directly to the board and get rid of the GPIO pins completely.

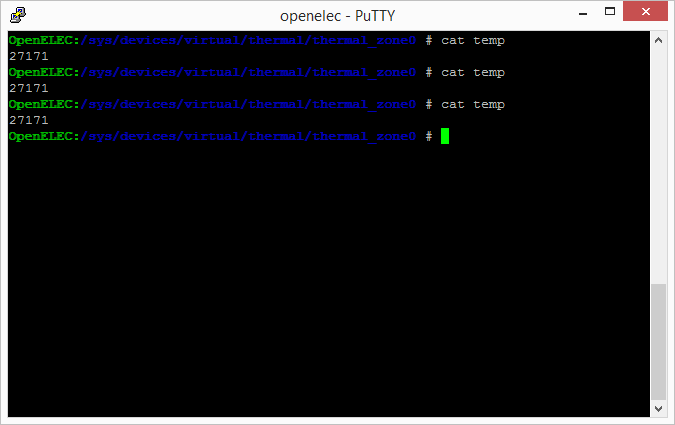
And it’s keeping the thing nice and cool, with the copper heatsinks helping as well. That number you see below means the core temperature is registering at 27.171°C (80.9°F). As I mentioned in a previous article, the Pi will crash if the temperature gets into the upper 40s Celsius. And using a Corsair SP120 (a fan typically used on water-cooling radiators for PCs) didn’t fair much better, perhaps a half a degree Celsius at best.

So now that I’ve got a viable way of powering and cooling the Raspberry Pi, or at least another proof of concept, I’m going to see what else I can do with this. I know that the power board can also be used to power a hard drive, or I can use the power supply for that as well. But as I’m considering an enclosure for all of this, with a fan to keep it all nice and cool, I’ll want it all powered off the Bitspower X-Station, and then I can use a SATA data to USB converter to get it into the Pi.
The reason to go that route is I actually want to set up a small NAS with the Pi as the server. And if I can power everything off the Bitspower board, using a PC power supply, most likely, or something that I can adapt to provide power to it, I should be able to have pretty much an enclosed unit. I’ll see what I can come up with on that. The idea I have in mind for an NAS enclosure is a chimney-type setup with airflow coming from the bottom and exhausting out the top with the Pi, X-Station and hard drive held vertically. And using a hard drive off it would actually give me a sense that I’m doing something with the board as opposed to using a $20 power splitter for just two items.
These temperatures are not significantly better over the 40mm fan I originally used, meaning using an 80mm fan would probably suffice just as well, though a 120mm fan would provide adequate airflow to cool the Pi and a hard drive when blowing across both. Now for just a small media center device, an 80mm or 40mm fan would work just as well.
You must be logged in to post a comment.