- Radiator box for PC water cooling
- Mira
- Mira – II
- Mira – Finished
- Another pass by Mira
- Another pass by Mira – II
- Another pass by Mira – III
- Another pass by Mira – IV
- Another pass by Mira – V
- Some changes to the radiator box
- Back to AMD
- A more intelligent radiator box
- Upgrading the chassis
Back almost three years ago in 2016, I set out to do something rather unique with regard to water cooling: building an external, self-contained radiator box. And for the most part I achieved that goal. Maintenance cycles would see some improvements to the implementation, leading to a box that is very quiet, and a total water cooling setup that provides very good temperatures.
There were still additional improvements to be made. Particularly with the power delivery. Powering everything was initially… messy. Integrating a hodgepodge of parts that more or less got the job done with as little need for modifying anything as possible and virtually nothing custom.
Here’s the parts:
- NCASE M1 power cable
- CoolerGuys 12V/5A DC power adapter
- Performance-PCs vandal switch cable harness
- EAO series 82 vandal-resistant switch (green LED ring)
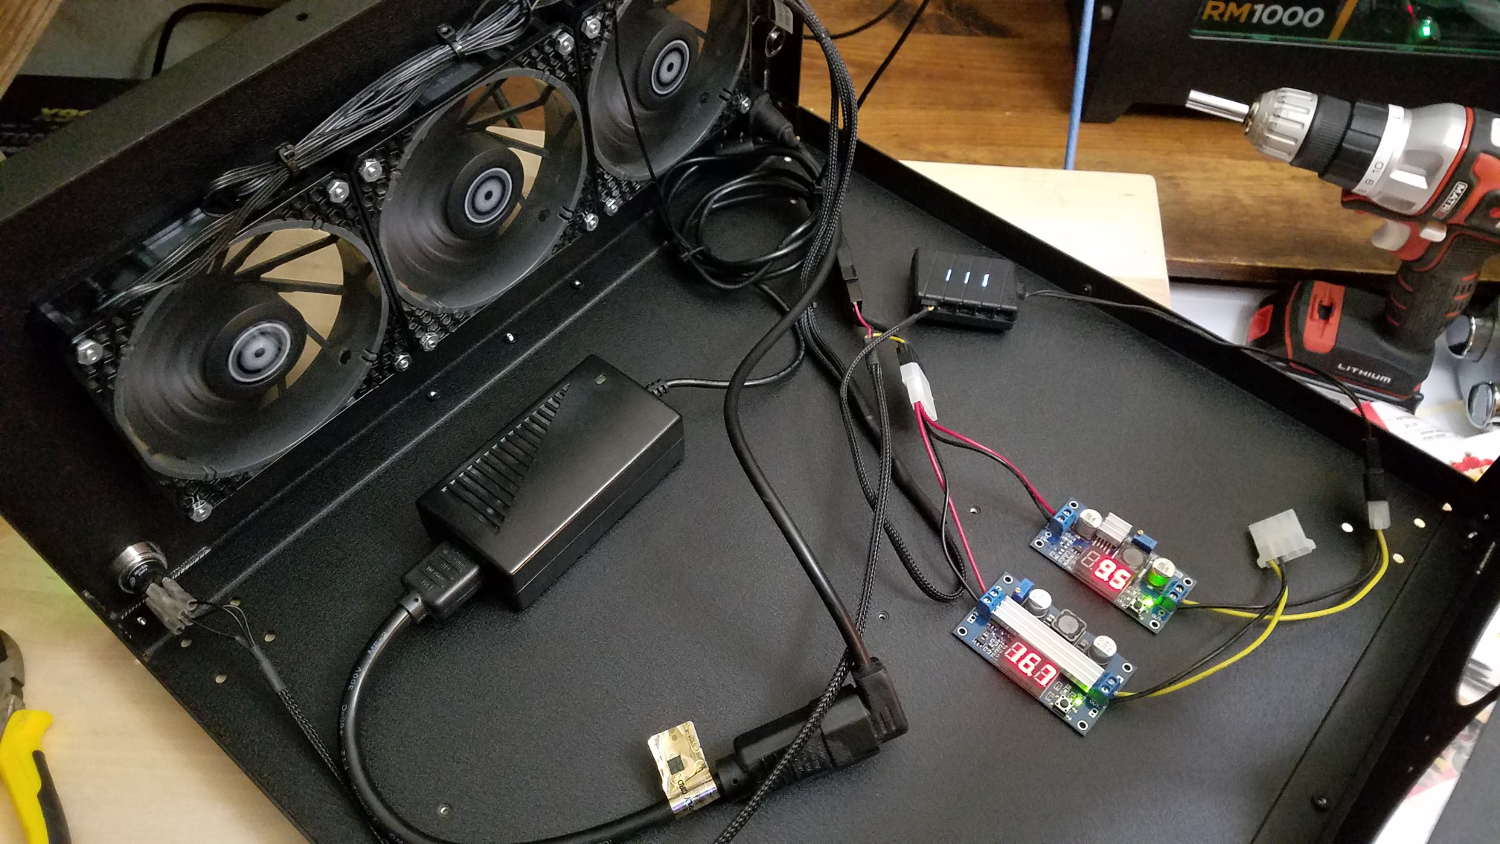
And the power went into two voltage regulators, one a step-up to run the pump at greater than 12V when I had a D5 Strong, and the other a step-down to undervolt the fans. So it was a bit of a mess with regard to cabling.
I still have the switch, along with the step-down regulator to undervolt the fans. The step-up regulator isn’t needed. And most everything else from this is gone. In its place is this: NiuGuy 12V/4.2A (50W) power supply. And wires. And a terminal block.
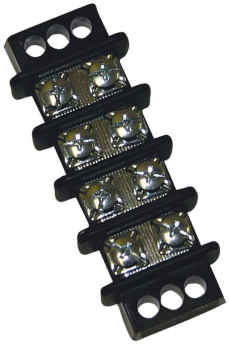
All of this started when I was casually browsing Home Depot and saw terminal blocks in the electrical section, a part of the store I normally don’t pay much attention to. From there I purchased a crimp tool kit, terminals, and wire. Later I acquired 2.8mmx.5mm spade terminals to get rid of the vandal switch wiring harness. The small power supply came later.
And that power supply is seriously small. Smaller than the power brick I was originally using. I was actually surprised when I first saw it. Here’s a size comparison of the product box with a PS3 game case. The power supply itself is only slightly smaller than the box.

I’ve encountered power supplies like this before and had previously considered employing them in the radiator box. But I initially wanted something that didn’t require much in the way of additional tools and electrical supplies to build, so I went that direction. I also didn’t know much about electronics and circuitry at the time and have since enlightened myself.
I kept the NCASE M1 power cable, cutting off the C13 connector and stripping the insulation back so I could add terminals for the power supply. The switch is inline between the power supply and terminal block. One pair of terminals create the circuit for the pump and rear fans at 12V, while the other pair creates the circuit with the voltage step-down regulator for the radiator fans. Bus wires connect the circuits in parallel.
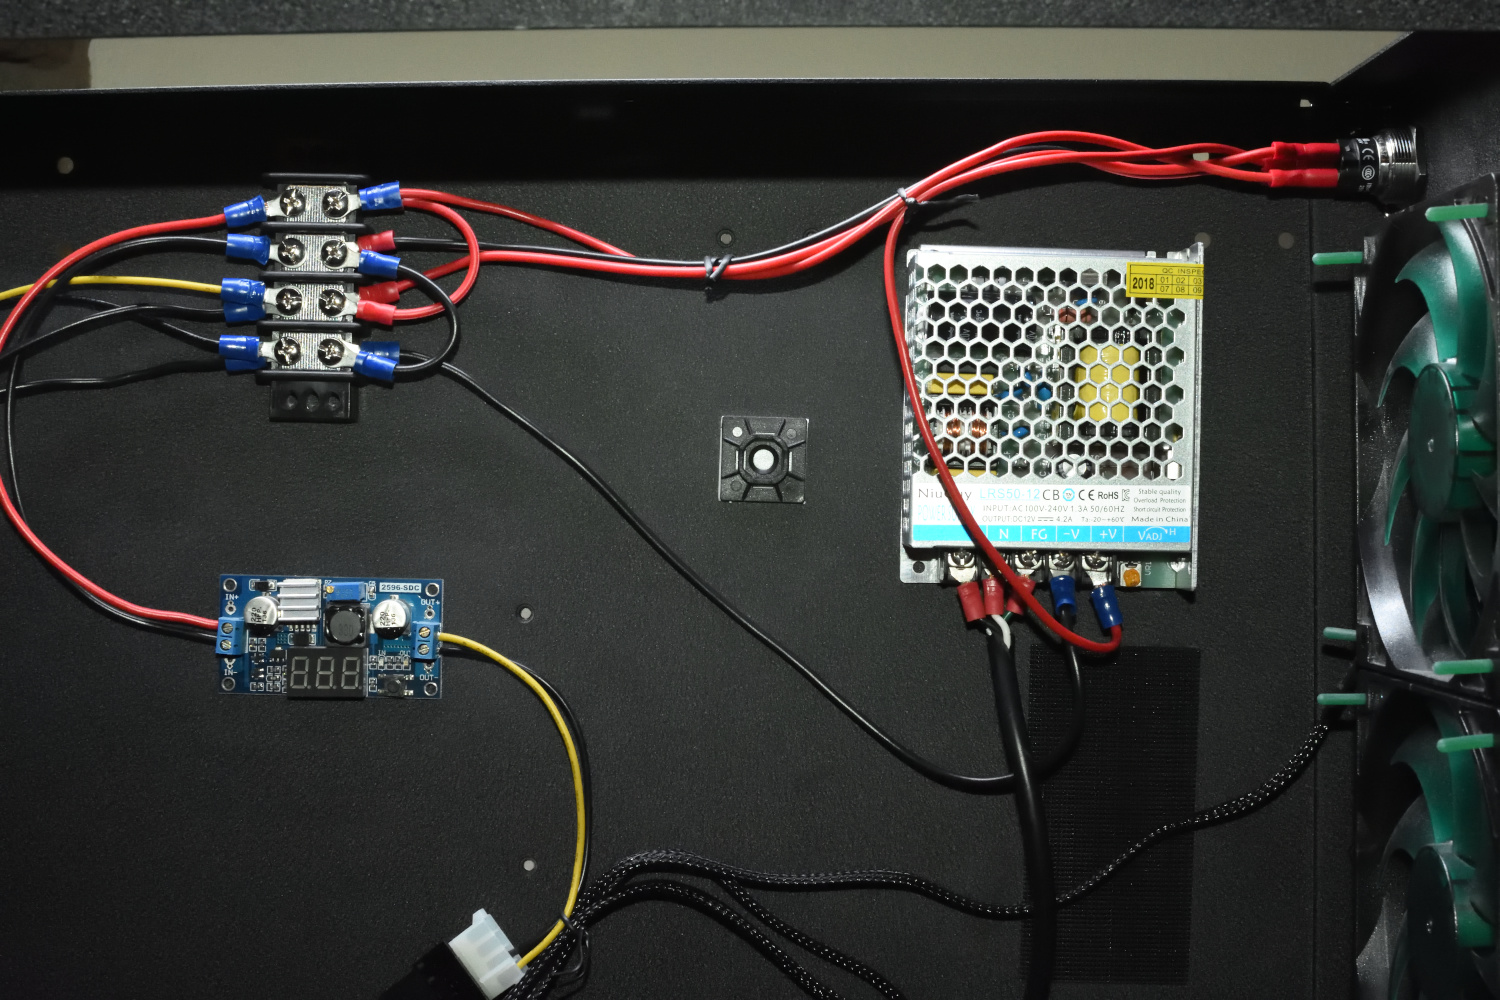
Much simpler and cleaner compared to what I had previously since I wasn’t having to figure out what to do with really long cables coming off pre-fab items. And sure there are a couple ways this could be cleaner, but I wasn’t concerned with perfection.
The D5 pump (Koolance PMP-450 specifically) is out with a DDC pump (Swiftech MCP50x) replacing it. The only reason I swapped it out is clearance. The DDC is more compact. And the one I selected is PWM controlled, so I can dial it down to a lower RPM using a manual PWM fan controller like the Noctua NA-FC1. I clipped off the pump’s SATA power connector to use terminals to power it from the terminal block, after extending the wires using butt splice terminals with equivalent gauge wire.
So why the lower clearance necessitating the smaller pump? I lowered the reservoir using 120mm mounting rails (Performance-PCs) for the Singularity Computers Ethereal Single (Performance-PCs). (Since I say this every time, I’ll again do so here. Full disclosure: I also support Singularity Computers via their Patreon.) Much more stable compared to how I had it previously, and it allowed me to secure the reservoir more toward each of the end caps. And the lower position meant lower clearance, necessitating the smaller pump.
And I swapped the Bitfenix fans I had at the rear for Nanoxia Deep Silence 120mm fans, the ones that previously were in Absinthe, now Amethyst. They are super quiet (14.5dB/A) at 12V while still moving 60CFM. I’m not sure how that’ll affect cooling, but it’s bound to be better than the rear fans being voltage-synced with the radiator fans. And as a bonus, they match the green ring light on the power switch.
I still have the pipes I showed in the previous article. They keep the coolant flow well out of the way of power and data cables, reducing the amount of soft tubing needed, even if it does create a little headache for maintenance. I’ve considered adding a valve to the pipes as well to make it easier to drain. Instead I used a 4-way block with a couple spare quick-disconnect fittings to create something to drain the system.
Performance
I’ve made some changes to the tubing in the H440 as well, but not in a way that drastically affects performance. The GTX 1070 still barely touches 40ºC under load, and I was able to bump the CPU overclock (i7-5820k) to 4.3Ghz while still keeping temperatures in the mid to lower 60sºC.
I’ll detail the changes and reasoning behind those changes separately.
Possible next steps
Since first building this, I’ve loved having an external water cooling setup. It’s unique, and I’ve yet to see someone else do this. Sure the setup is a little complex, and maintenance can be a little bit of a headache, but having a water cooling setup that is not tied to any particular chassis or hardware setup is the main benefit. And I see no reason to go back to the traditional in-chassis water-cooling setups that… nearly everyone else does.
Maintenance is, of course, the main drawback. Good thing it really only needs to happen once a year.
And there really isn’t much of anything to add to this. A better mount for the pump? Not entirely necessary. I would like to have temperature sensing on the coolant, but that isn’t a pressing concern. Replacing the radiators or radiator fans with better options? I don’t really have a reason to do that. The XS-PC EX360 radiators work without any issue here, and I have zero reason to believe better radiators (e.g. AlphaCool, Hardware Labs) would make a significant difference, though they would certainly inflate the cost.
The only realistic direction I can go is making the box smarter.
The last couple years have seen the introduction of various ways of controlling fans using software. I’ve used NZXT’s Grid for powering a lot of fans at once. Future adaptations saw the Grid+, which allows for software control of the fans based on temperatures via their CAM software. The latest incarnation is the Grid+ V3, which supports PWM fans, meaning it should also support PWM pumps.
And the Corsair iCUE Commander Pro is an option to integrate temperature sensing and fan control. But it requires all three voltages from its SATA power connector – 12V, 5V, and 3.3V – whereas the Grid+ requires only 12V and uses a barrel connector – meaning no modification to the device. The power supply noted above is 12V only, so I’d need a voltage adapters to provide 5V and 3.3V, or I’d need to replace the power supply with one that can provide at least the 12V and 5V.
I’ll figure out which to use later, along with how to connect it to the main system.
You must be logged in to post a comment.