- Beta Orionis
- Beta Orionis – Part II: New fans
- Beta Orionis – Part III
- Beta Orionis – Part IV
- Beta Orionis – Part V
- Beta Orionis – Part VI
- Beta Orionis – Part VII
- Beta Orionis – Part VIII: Delays
- Beta Orionis – Part IX
- Beta Orionis – Part X
- Beta Orionis – Part XI
- Beta Orionis – Part XII
- Beta Orionis – Part XIII
- Beta Orionis – Part XIV
- Beta Orionis – Part XV: Follow-up with Koolance blocks
- Beta Orionis – Part XVI: Overclocking the GPUs (or not)
- Beta Orionis – Part XVII: The AX860
- Beta Orionis – Part XVIII: New power supply and quieting things down
- Beta Orionis – Part XIX: Taking it outside
- Beta Orionis – Part XX: New loop
- Beta Orionis – Part XXI
- Beta Orionis – Part XXII
- Beta Orionis – Part XXIII
- Beta Orionis – Part XXIV
- Radiator box for PC water cooling
- Beta Orionis – Part XXV
- Corsair AX860: A retraction
- Mira
How to begin on this…
Beta Orionis (β Ori.) was reduced to little more than parts due to the work on Desert Sapphire. The reason was to move β Ori. into a 4U rack chassis — specifically the Logisys 4802.
The intent was to externally water cool the system, much like I did with Desert Sapphire, but only without building a cabinet just for that purpose. Instead I would build a setup virtually identical to Colony West: rack mount the system and use custom rack panels to mount radiators, a pump and reservoir. With the temperatures I observed with Desert Sapphire and Colony West, I was eager to get that moving.
Only that project never really came to fruition the way I intended. I blame my wife. No, seriously. But let me explain.
Not long after Desert Sapphire was delivered, I ordered a 4U aluminum enclosure. The intent here was to create a rack mount radiator box. While I said the original intent was to mount the radiators on panels identical to how I built Colony West, I ultimately decided against that idea with the intent of some more experimentation. Building the cabinet in Desert Sapphire is what gave me that idea and I started brainstorming.
While I was in the middle of building that up, though, I decided against using the radiator box for β Ori. and instead decided to see how well it’d work as a proof of concept. If it worked, then I’d actually transition Colony West to use the radiator box instead of having the radiator panels. This would take the water cooling in the rack from two 3U panels with a 2U panel between (8U total for those bad at math) to a 4U enclosure, giving room for mounting another system (or two) into the rack.
So what, then, for B Ori.?
Back to the Zalman chassis
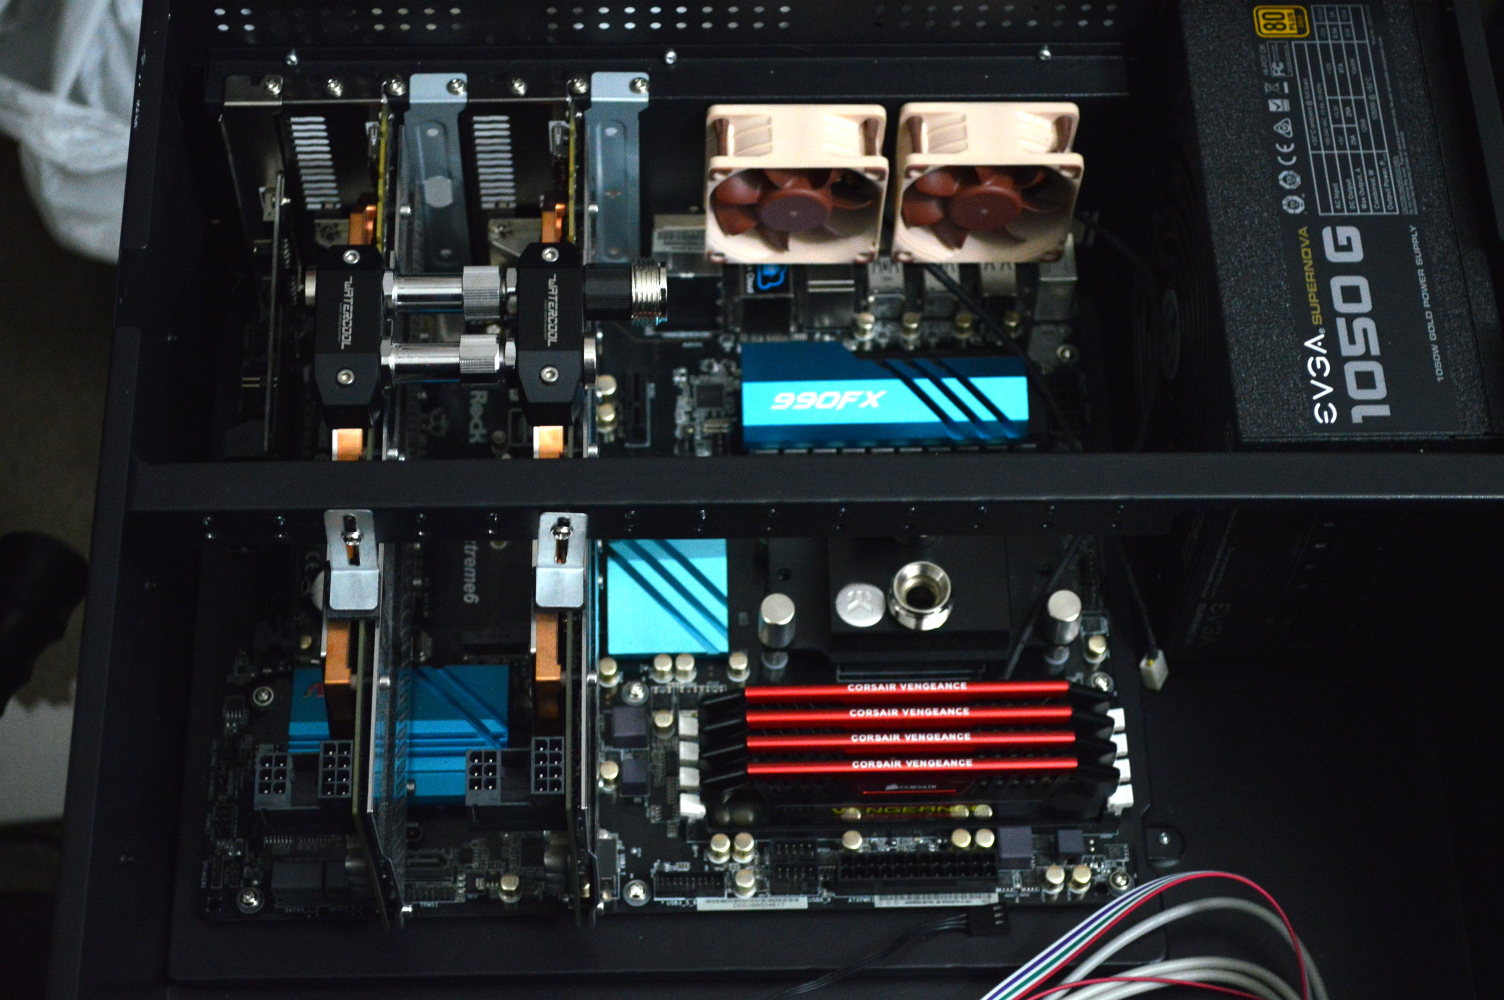
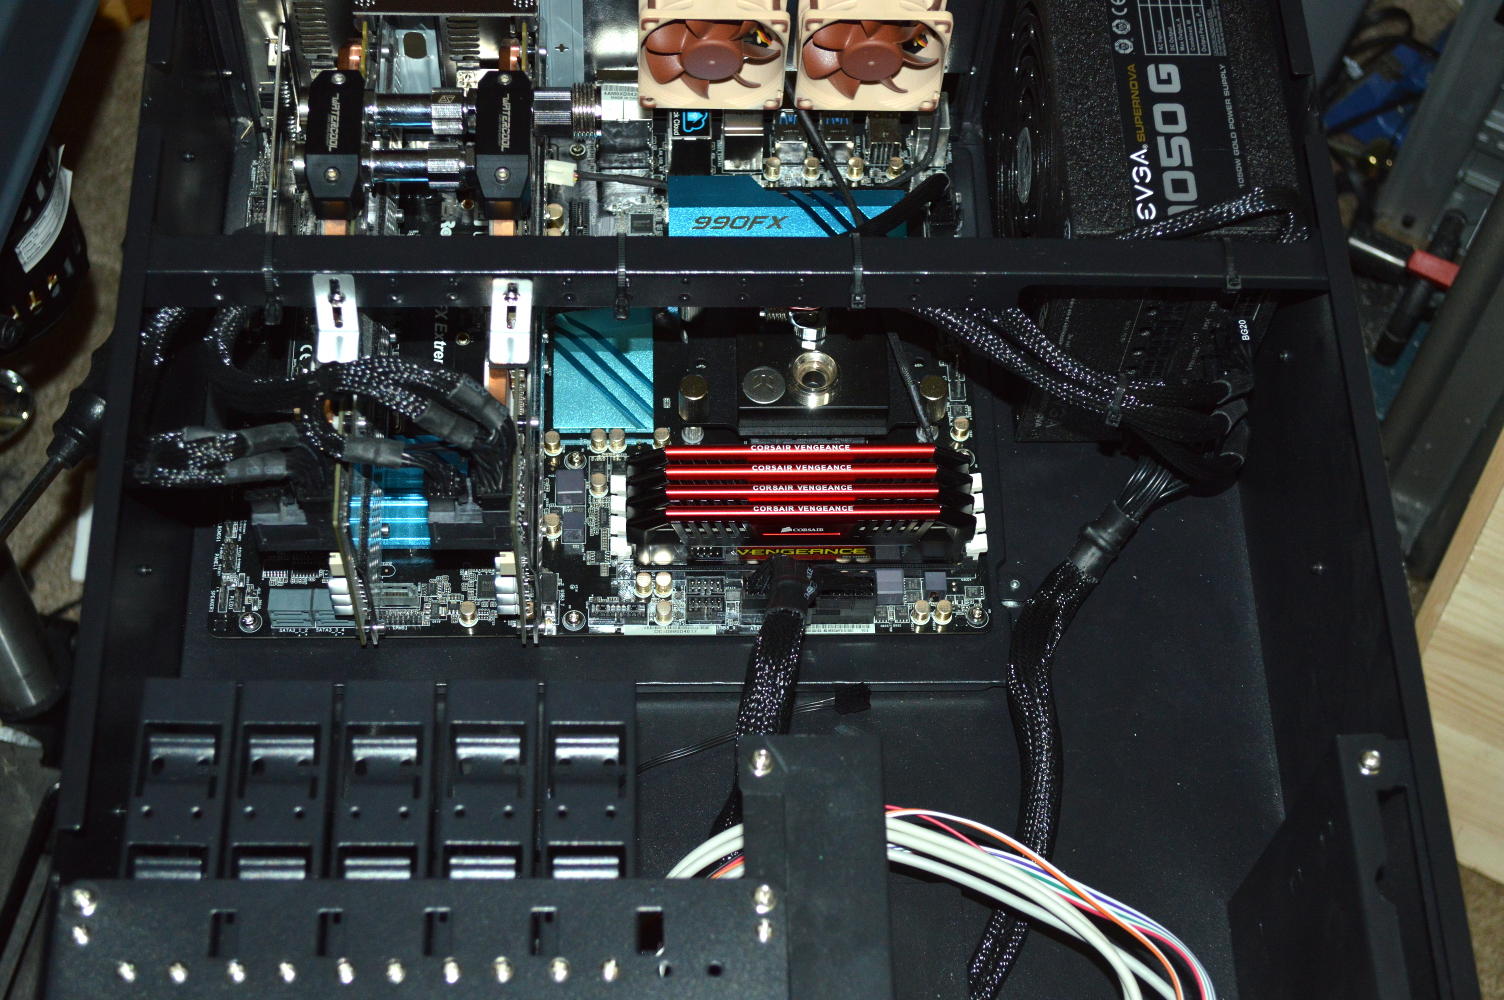
Way back in the early phases of this build log, I noted that I mounted the system into a mid-tower chassis: the Zalman Z12 Plus. The intent then was just to be temporary and open up the Corsair 750D for test fits on a new water cooling loop. This time, the move may be permanent.
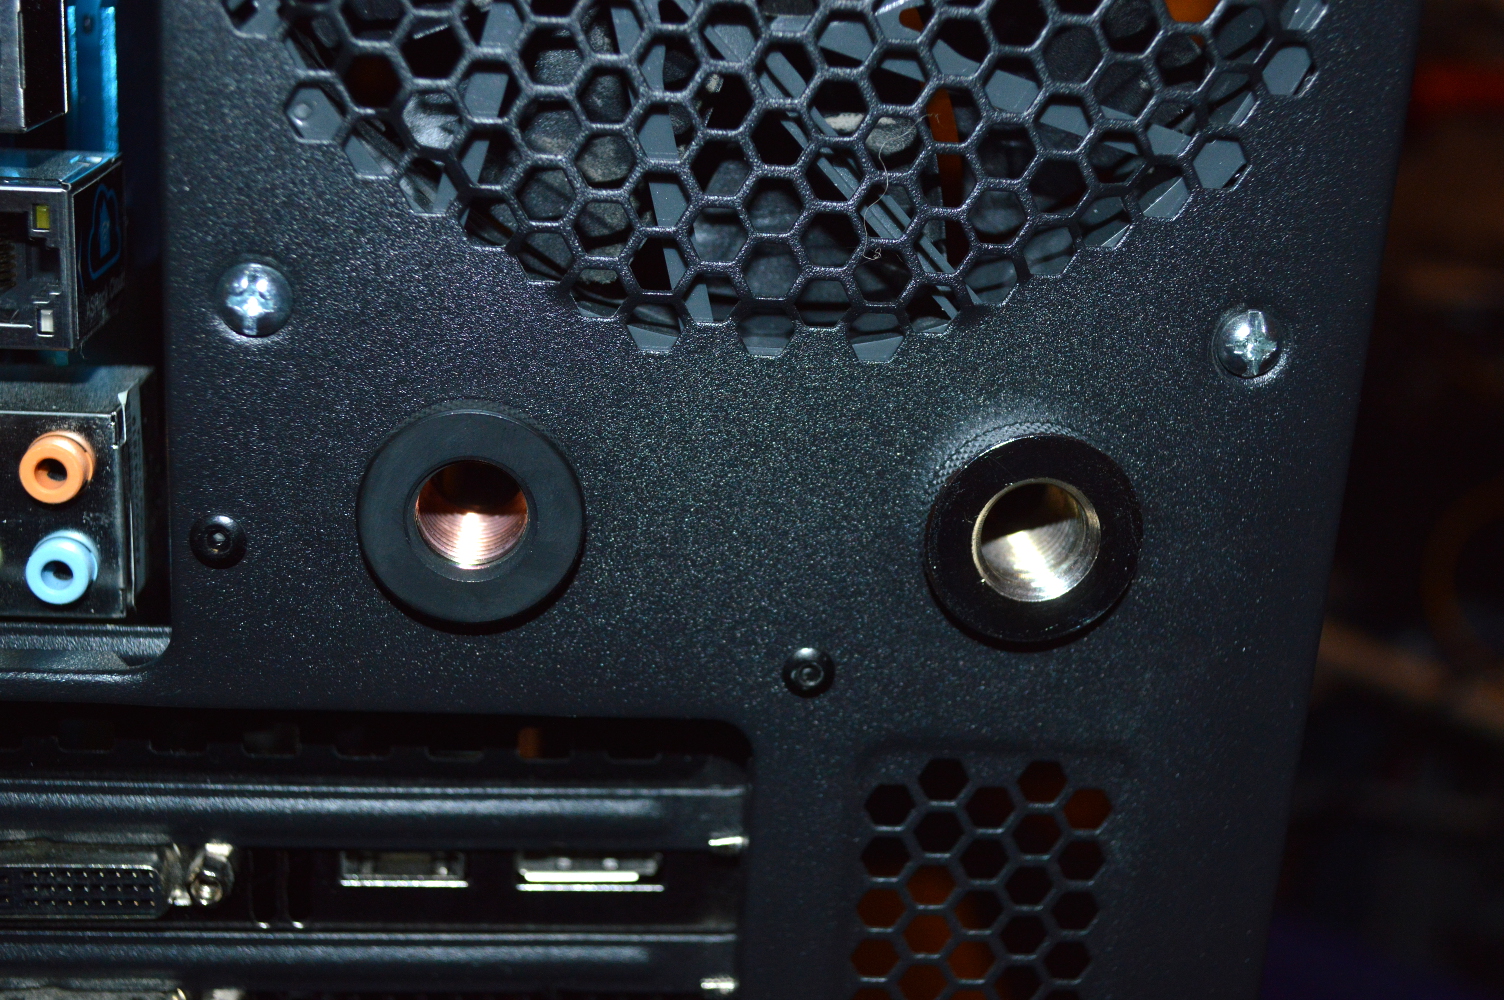
One of the reasons for that move is the water-cooling grommets on the back of the chassis. While these are intended for tubing to pass through, I discovered that the holes into which the grommets were set are just large enough for an AlphaCool bulkhead fitting. It’s almost like they planned them that way. Initially the 4U chassis was to be modified to mount pass-through fittings on the back panel and everything tubed up doing that. For the Zalman chassis, I was prepared to buy another set of Koolance QD3s to ensure that quick disconnects could still be used while having the tubing pass-through the grommets rather than removing them. But this made that unnecessary, and I could carry on as initially planned.
On the inside, that meant the tubing could run to Swiftech compression fittings in the way I initially intended for the 4U chassis. The tubing is Tygon clear 3/8″x1/2″.
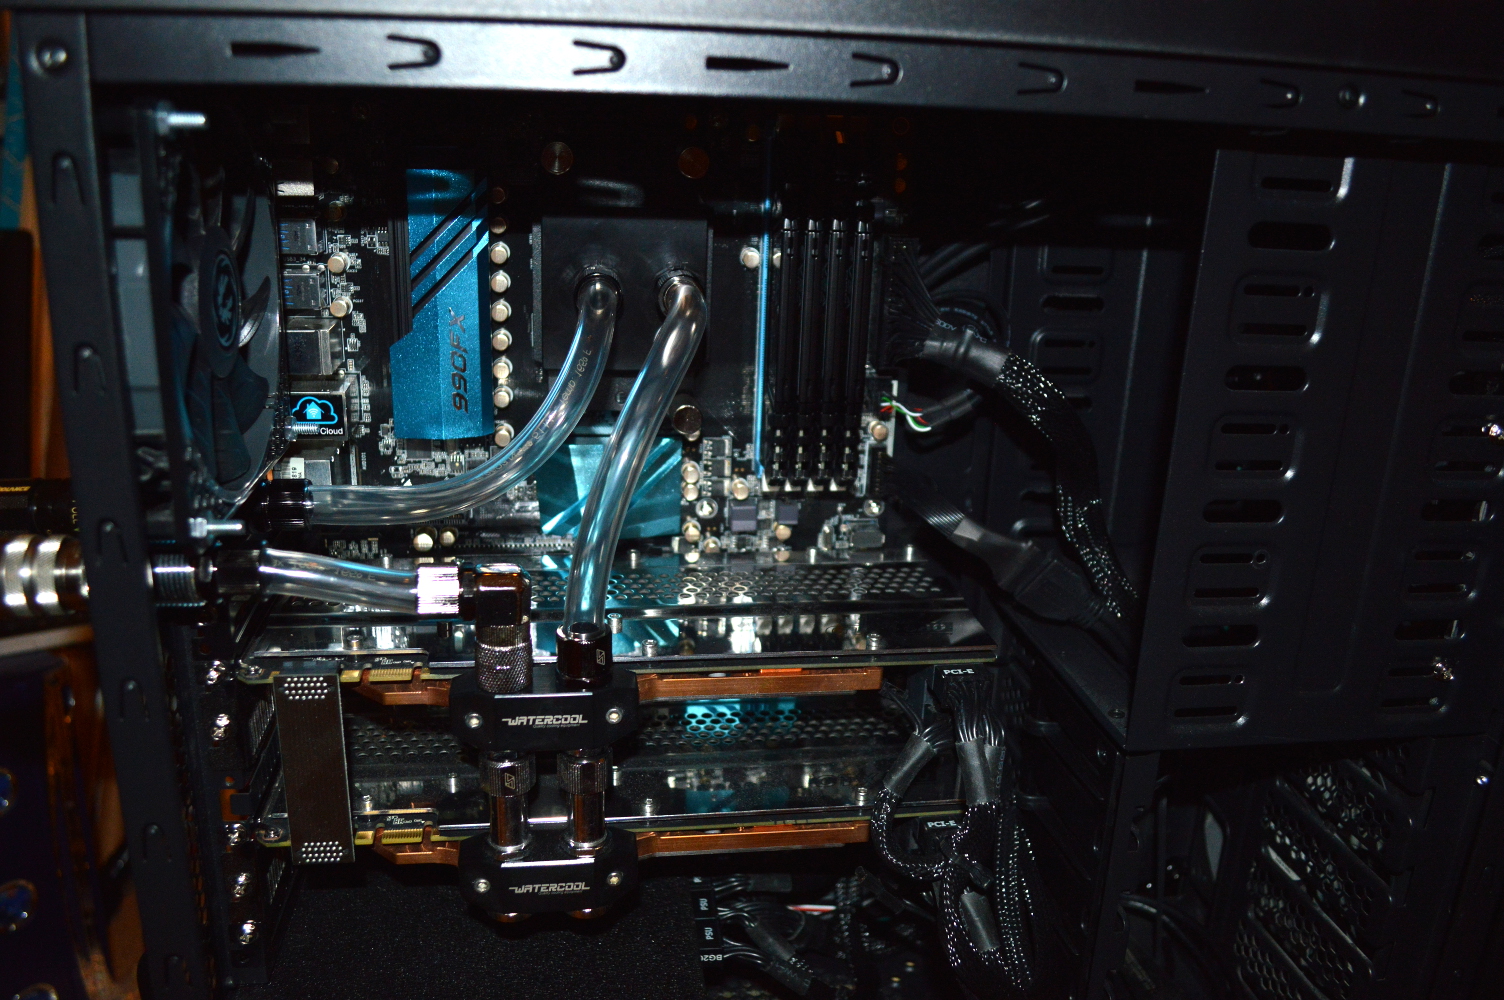
So if the pump, reservoir, and radiators aren’t going inside the chassis — since there’s absolutely no room for it, even if I wasn’t using full-length graphics cards — how will this system be cooled? Well, externally as originally intended. Only somewhat different.
Radiator box
What initially got me interested in externally water-cooling a system is this video:
Full disclosure: I am a contributor to Singularity Computers via their Patreon.
While Danger Den went out of business in late 2012 (though their website is still active, for some reason, and they’ve also posted to their Facebook), the idea of doing something like this had not left me. Note that the video above was published in July 2011, but I didn’t see it until last year, if I remember correctly. Then came AntVenom’s video that I’ve mentioned a few times as well:
This is what really got me interested in the idea, though being in an apartment meant I couldn’t mimic his setup. But the idea of taking the bulk of a system’s heat out of the system via a coolant line to dissipate it through external radiators stuck with me. If you’re subscribed to Linus Tech Tips on YouTube, you might also know of their whole-room water-cooling project, which works on a similar concept.
I wanted to do something similar to the Danger Den radiator box. I wanted an external solution but I didn’t want to go rack mount. That is why I ultimately moved the system back into the Zalman chassis. I knew it had water-cooling grommets on the back and where they were, so I knew it would be a lot more conducive to such a project without having to drill holes or buy/use anything else. But then came the question of what to build and how.
The major problem here is that, with Danger Den out of business, it seemed no one was selling anything similar. Koolance has a fully-enclosed external solution, but it’s over 980 USD for the option with an aluminum radiator, over 1100 USD for the option with a copper radiator. Phobya makes a radiator box similar to Danger Den, but it’s not quite what I’m looking for. With the Danger Den radiator box, everything could be self-contained within the box. The Phobya radiator box is too thin to allow for that.
Off the shelf, kind of
I opted against just buying an aluminum box and using hole saws, jig saws, or what have you to build something, as I wanted to do as little modification and tooling as possible. Designing something in Protocase’s designer software for a quote led to a cost higher than I wanted to spend. So to land somewhere in between, I needed to go with something off the shelf, or about as off-the-shelf as I could get.
The closest I came to finding something similar was Mountain Mods and their “water barrel” products. While I didn’t want something near what those could provide — I’m not going to use eight (8) triple-120mm or seven (7) quad-120mm radiators — it gave me an idea.
I’ve written all about it here: Radiator Box. Temperature results are also in that article, but I’ll relay them here again. How long until Mountain Mods starts distributing one of their own?
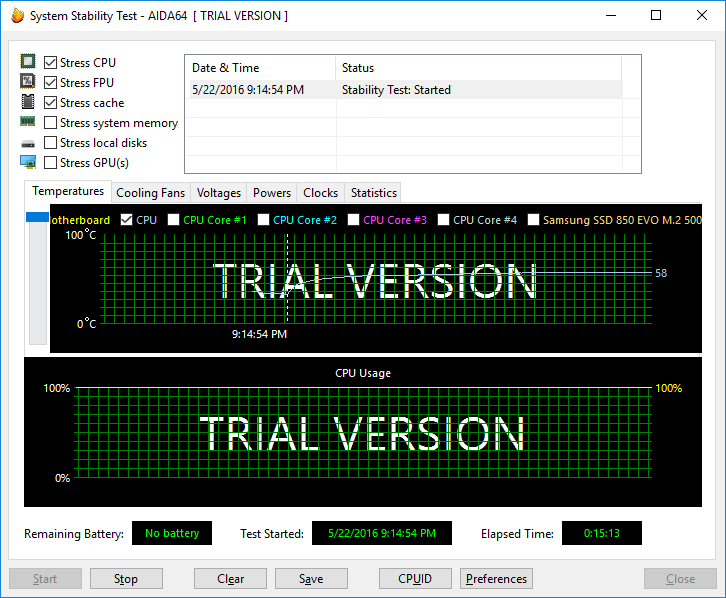
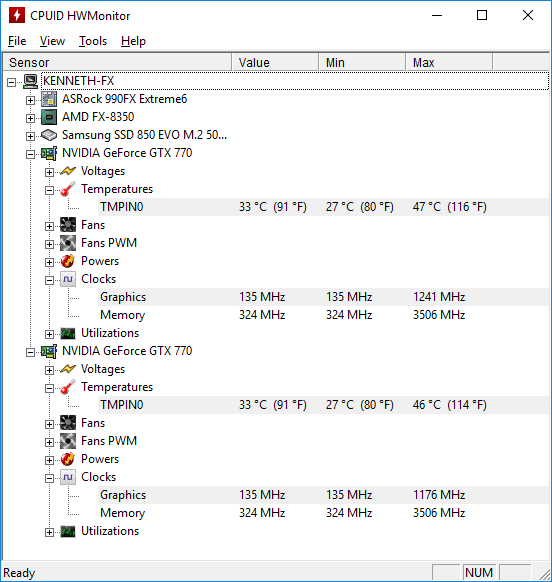
For the CPU testing I ran AIDA64 until the CPU temperatures leveled out. With the GPU testing, I ran Heaven Benchmark until the GPU temperatures leveled out. The CPU temperatures aren’t spectacular, but given the FX-8350 is a 125W processor, I can’t really have high expectations for it — perhaps the temperatures would be better with an FX-8320E. But the GPU temperatures are phenomenal.
You must be logged in to post a comment.