- Beta Orionis
- Beta Orionis – Part II: New fans
- Beta Orionis – Part III
- Beta Orionis – Part IV
- Beta Orionis – Part V
- Beta Orionis – Part VI
- Beta Orionis – Part VII
- Beta Orionis – Part VIII: Delays
- Beta Orionis – Part IX
- Beta Orionis – Part X
- Beta Orionis – Part XI
- Beta Orionis – Part XII
- Beta Orionis – Part XIII
- Beta Orionis – Part XIV
- Beta Orionis – Part XV: Follow-up with Koolance blocks
- Beta Orionis – Part XVI: Overclocking the GPUs (or not)
- Beta Orionis – Part XVII: The AX860
- Beta Orionis – Part XVIII: New power supply and quieting things down
- Beta Orionis – Part XIX: Taking it outside
- Beta Orionis – Part XX: New loop
- Beta Orionis – Part XXI
- Beta Orionis – Part XXII
- Beta Orionis – Part XXIII
- Beta Orionis – Part XXIV
- Radiator box for PC water cooling
- Beta Orionis – Part XXV
- Corsair AX860: A retraction
- Mira
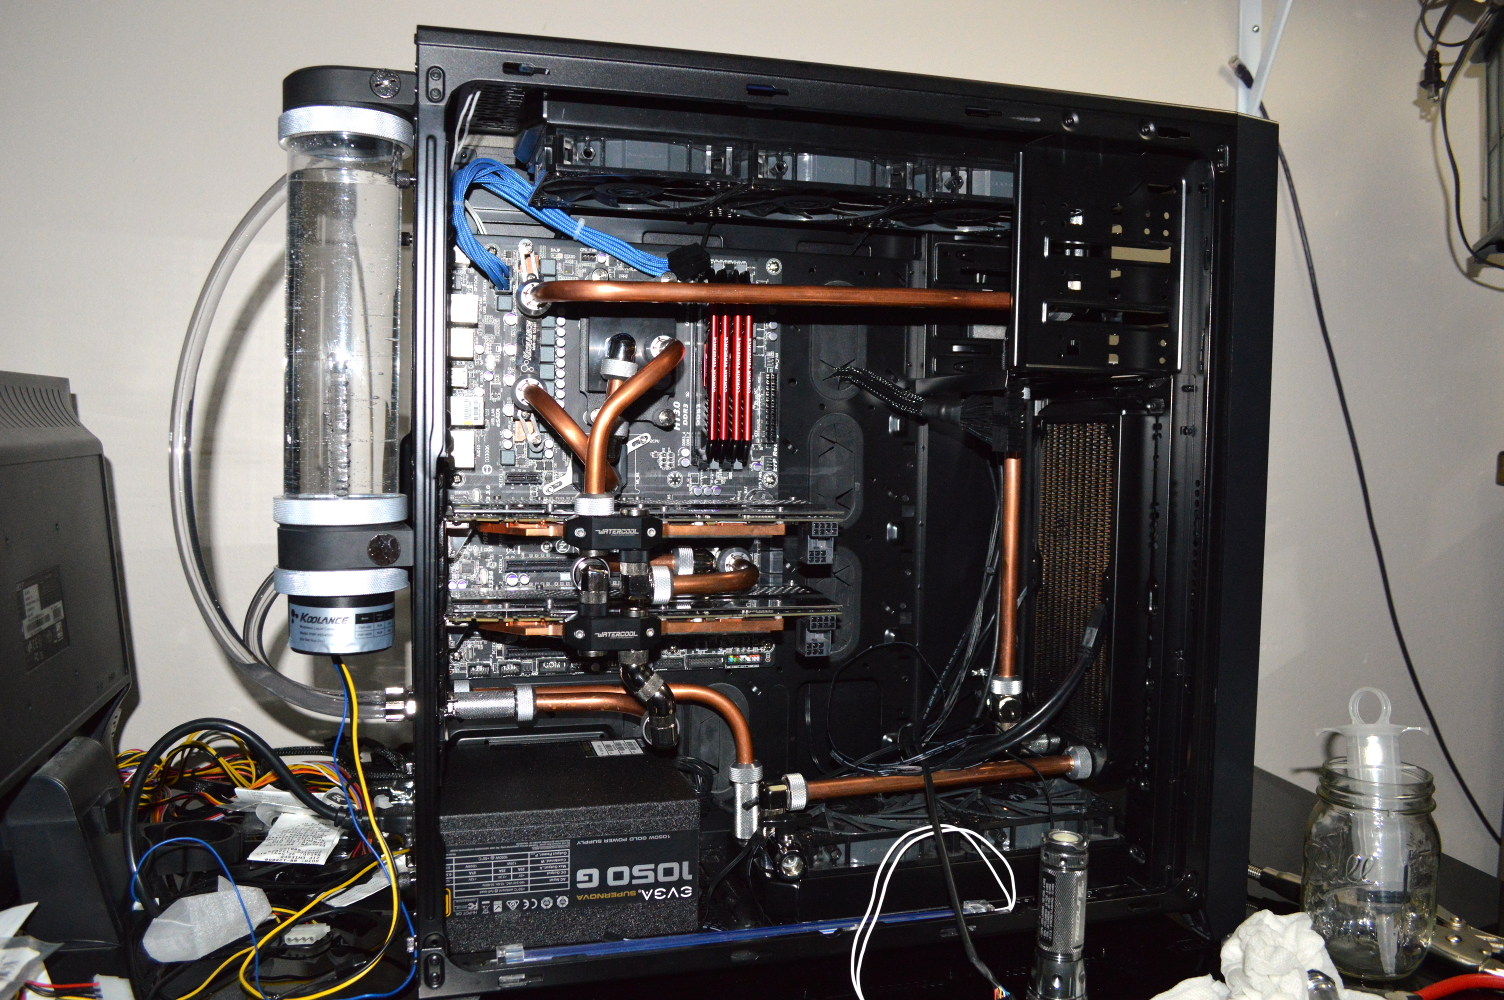
In going to Micro Center, I picked up a pair of Swiftech extension fittings and seated them. While a little tight, I was actually able to seat the tubing without modifying it as well. But this didn’t completely end the leaks. One of the fittings on the pass-through bracket just would not stop leaking regardless of what I did, so I just ended up replacing it. And finally I got a leak test that didn’t result in a leak.
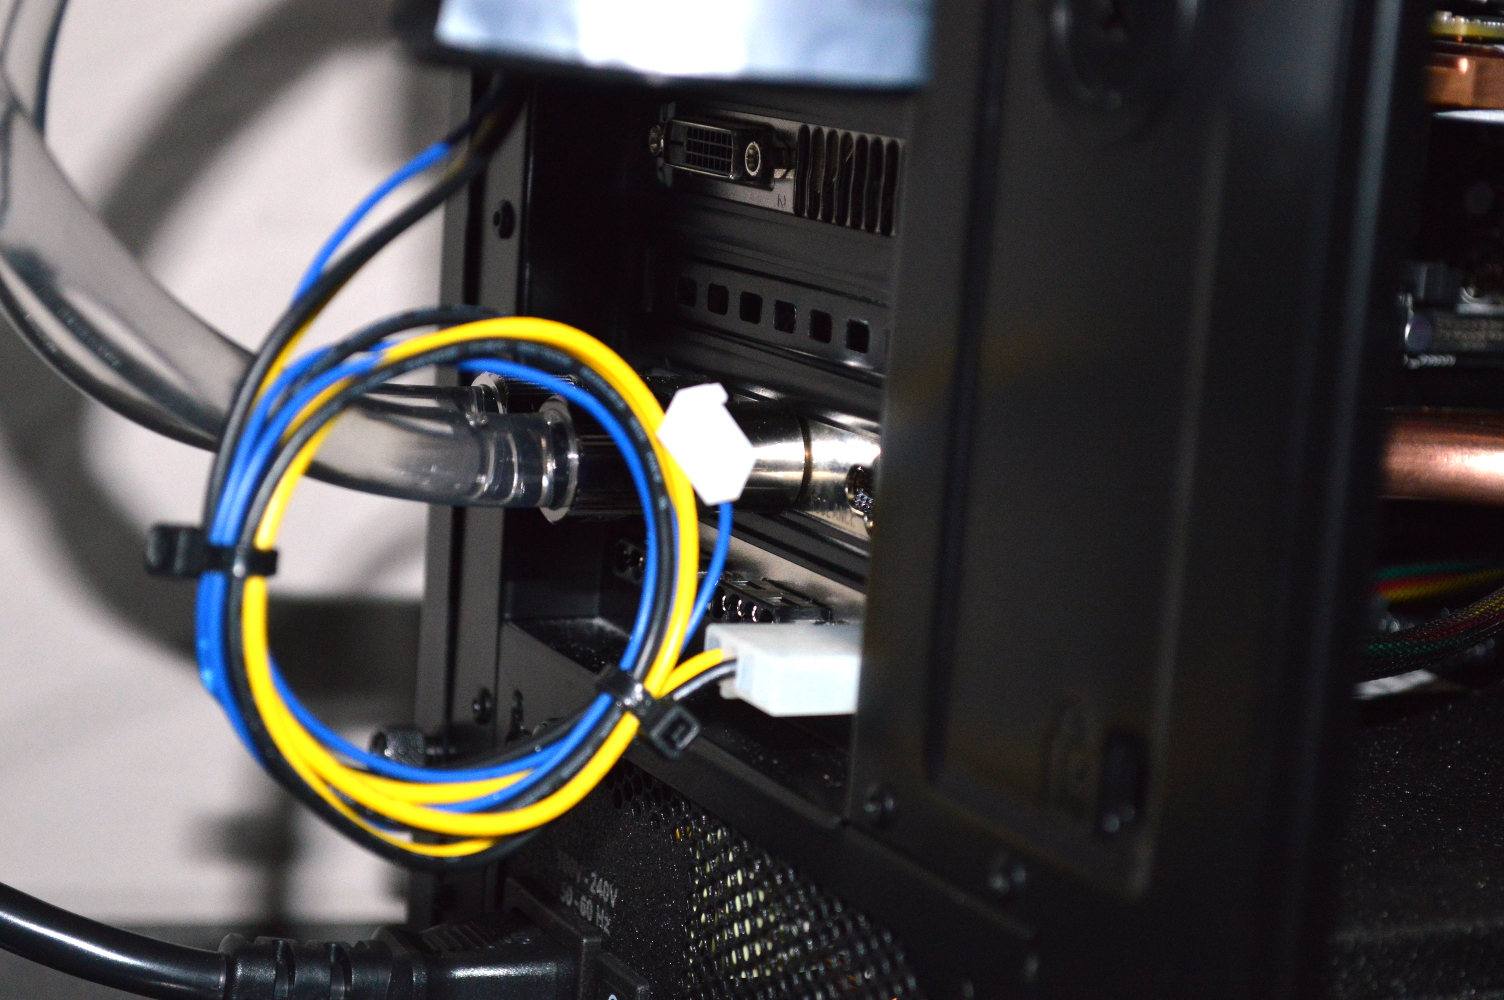
It almost looks like it’s connected to an IV now.
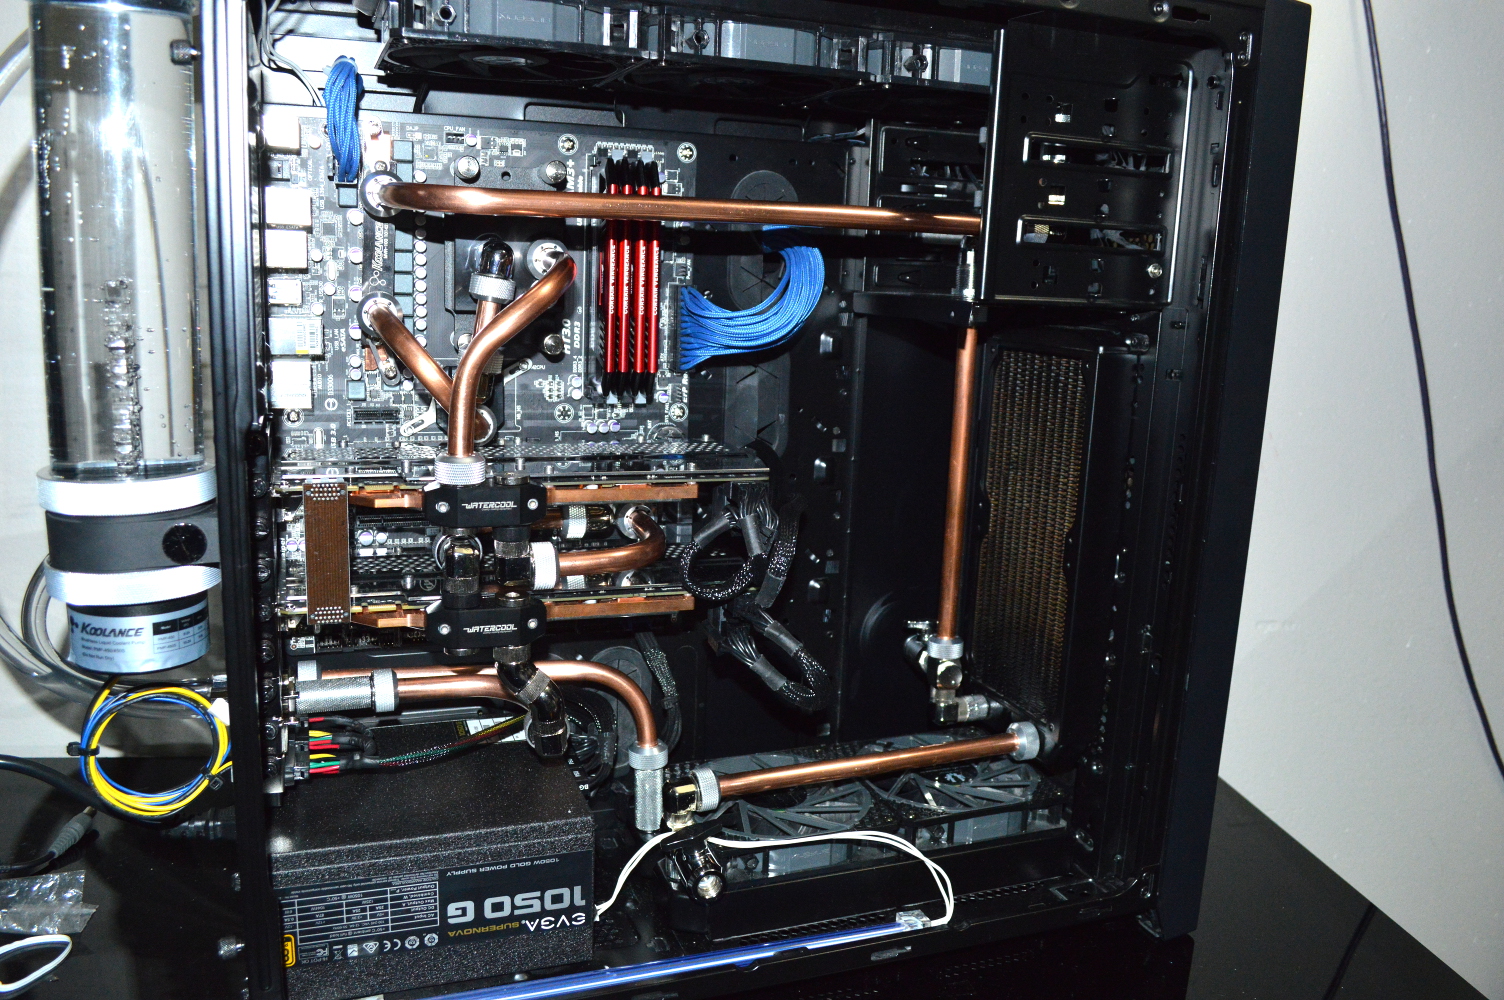
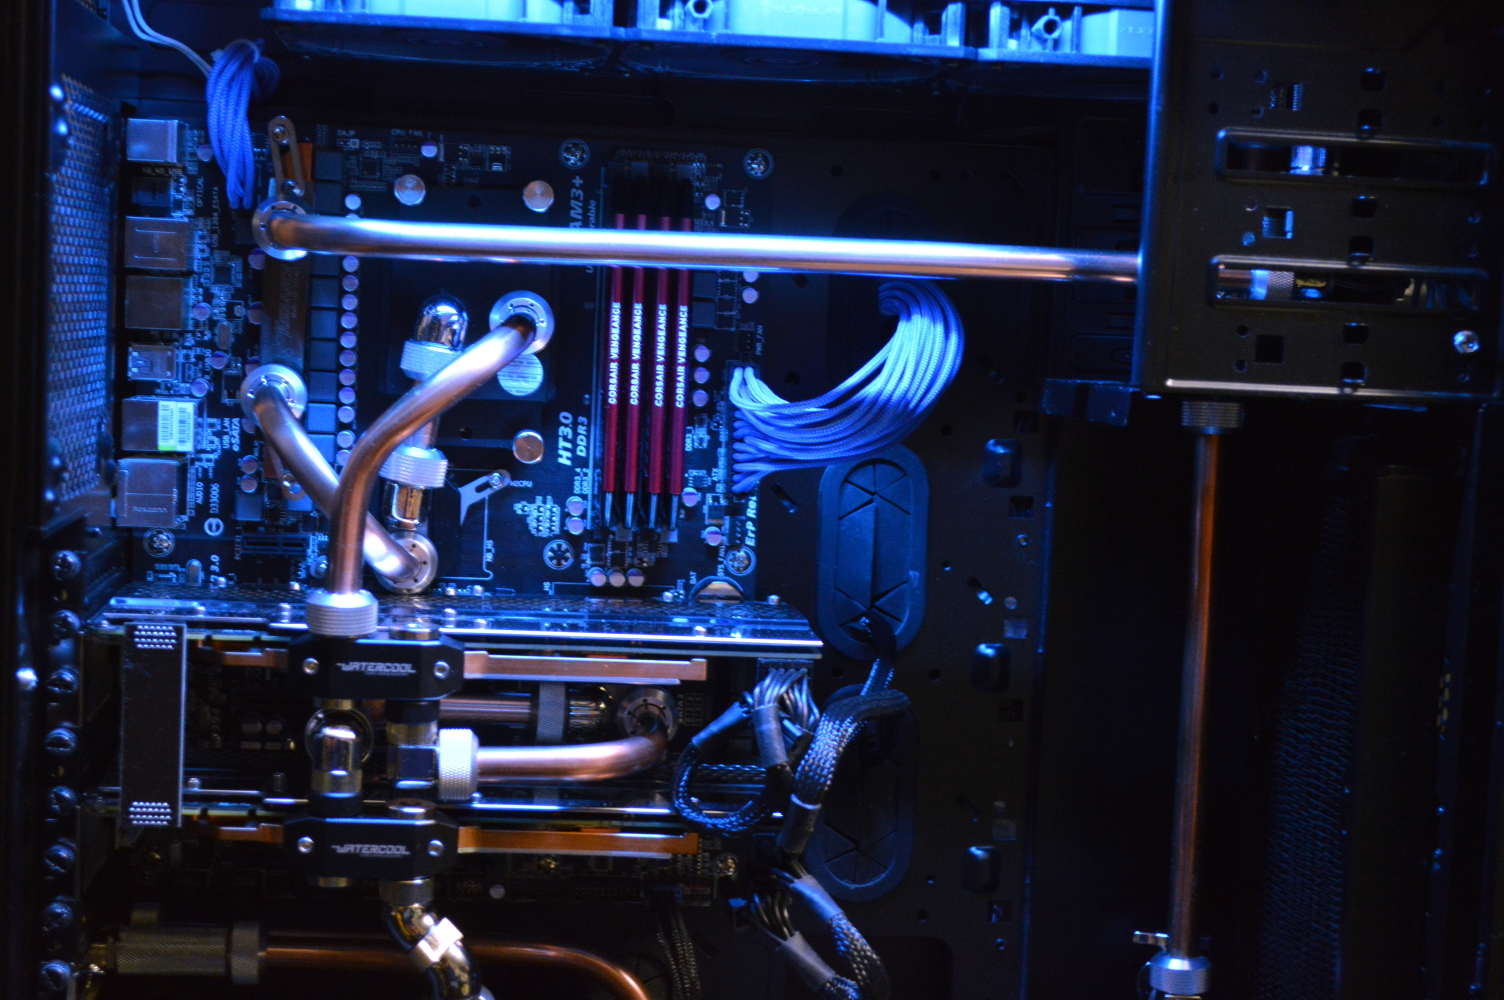
Being lazy it would be a couple more nights before I finished up the system, getting the cables tied up and everything. I accidentally forgot to plug in both CCFLs, so only the top one is lit, but it provides a nice contrast.
* * * * *
So why did I do this? In short to show that water cooling doesn’t have to be restricted to the inside of the case. Several other external water-cooling projects have occurred with others. For example, a guy going by the name AntVenom has his water cooling system — except the blocks, of course — entirely external to his system. The coolant travels through pipes going through his floor and into his basement, where it passes through the radiators and is circulated using a high powered pump.
I’m also planning something similar for both Beta Orionis and Absinthe. Similar to what I have planned for water cooling graphics cards with the Colony West project, it’ll be two triple-120mm radiators instead of the triple and two dual-120mm radiators currently in both setups. The fact all radiators will be external to the system should provide for much better cooling. Plus with Absinthe, the system will be moved back into a case that is far, far from ideal for water cooling:
This chassis has only four fan slots, three of which are for 80mm fans. I’ll be adding another front intake for a 120mm fan similar to how I already have Absinthe. And all the fans will be replaced with silent fans. The 120mm fans will likely be two of the Bitfenix Spectre Pros currently in Absinthe since they are relatively quiet.
For the radiators, I’m leaning toward Cougar Vortex HDB fans. I have two of them in the graphics box for Colony West and love how silent they are. Compared to the Spectre Pro, they have 4 CFM greater airflow, 40% greater static pressure, and a lower noise rating. They’re also focus-flow fans like Noctua, but for a much less price. Having six in close proximity, however, could still prove interesting as far as noise is concerned. I’ll be finding out how well that’ll work first with Colony West, as I’m not using SP120s on the two radiators in that project.
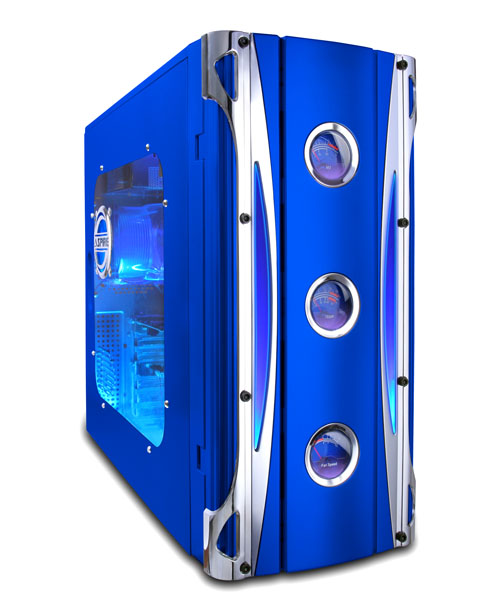
This is the one part that I feel the need to explain why it’s happening. My wife picked out that case back in 2007 to match a Mustang that her friend drove. The lack of fan capacity is why her system was moved into a Corsair 750D when she upgraded to the AMD FX-8350. More airflow was needed. Now that the system is water cooled, airflow isn’t nearly as important. Don’t get me wrong. It’s still important, but since the majority of the heat can be carried out of the chassis through a coolant line, it becomes much less important for cooling and system stability.
So in talking about the plans for Colony West during a drive, I talked about how this project could demonstrate that you don’t need to upgrade your case to have a well-performing water cooling system. This spawned the idea in my wife’s mind to demonstrate that with her case. Move Absinthe back into her blue Apevia case with it all being externally water cooled. A Koolance bracket would provide the coolant lines into and out of the chassis — likely still using copper for most everything inside — and having radiators mounted to an external setup.
The Koolance bracket can be used with most any chassis to provide a coolant line into a system, and while miniITX cases can be an exception to that, other options exist. The radiators need not be mounted internally, as AntVenom demonstrated and as I’ll be demonstrating with Colony West. Instead the radiators will be mounted into an external box of some kind — probably adapted from the IKEA RAST night stand with another wood panel with fan holes to hold the radiators unless I build something up from scratch. The pump and reservoir will be mounted in that box as well such that the coolant basically goes to the box and back, though in my setup I can use just a standard D5 pump, or any quiet pump for which I can adapt fittings and get enough flow and pressure.
Now this kind of setup does require some ingenuity, which is why I don’t see most people who are getting into water cooling doing something like this. Many of the threads I see asking about water cooling boil down to “what should I buy?” or “is this a good setup?”. No attempt to think outside the box — err… chassis.
On that I actually lay fault with the water cooling and modding communities. I know much of the emphasis on water cooling has been with getting everything into the computer case. To this end, computer cases have been designed to allow for more radiator space. But what if you could have any size radiators you want with any chassis you want? That is what I aim to demonstrate.
I could even go further. Instead of two triple-120mm radiators, I could have two triple-140mm radiators. Or quad-120mm or quad-140mm radiators. Or however many radiators I want. AntVenom used just one quad-120mm radiator. And it’s a cooling setup that isn’t tied to your case.
You can even have dual loops if you still want with it all still being external to your case! Once the chassis is removed from the consideration, the possibilities become pretty endless. All you’d need to ensure is that the pump you select can push through it. And I’d highly recommend using quick disconnects on the lines running external between the cooling box and the chassis.
So that’s it for the rant on this for now, I guess. Next iteration of this will probably feature me mostly disassembling this again for moving the radiators external. That should allow me to seriously undervolt these fans — possibly all the way down to 7V or even 6V — and still keep good airflow in the case. And I should be able to use quiet fans on the external radiators allowing for a very quiet setup overall.